How Is Your Soil Texture?
Healthy soil starts with the right proportion of sand, silt, and clay
My friend’s plants were ailing, and she had no idea why. Because I could clench a handful of her garden soil in my fist and form a firm ball, I believed the soil was lacking in organic matter. To be sure, I tested a small sample to determine its texture—the ratio of sand, silt, and clay. As it turned out, her soil was mostly silt, which is easily compacted and poorly aerated. Learn more: Clay busting plants that will break up tough soil.
Collect a soil sample

The ratio of sand, silt, and clay in soil determines its ability to hold moisture and nutrients. The test I use to determine a soil’s texture is a low-tech alternative to sending a sample off to a lab. All you need is a straight-sided jar with a tight-fitting lid (an empty peanut butter jar or mason jar works well), some powdered dishwashing detergent, a ruler, water, a calculator, a soil sample, and a soil texture triangle.
A soil sample should be representative of a gardening area. If the soil in the area I’m testing is fairly uniform, as in a raised bed, I take a sample from the middle of the bed. If the area I’m testing is large, like a lawn, I make a composite by collecting small samples at evenly spaced intervals across the area. I then mix these small samples together to form a representative sample.
To collect an accurate sample, containing soil from where the roots actually grow, I scrape away the first two inches of soil and dig a hole 6 inches down. I place a trowel full of soil (free of large organic matter and rocks) from this hole into a plastic bag and label the bag with the soil’s origin. This is especially important when I’m collecting a number of samples.
The soil must be sifted before testing, so I spread it out on an old cookie tray to dry for a day or so. Once the sample is sufficiently dry, I sift it through a wire-mesh sieve or an old colander to remove small stones and roots and to break down any lumps of soil.
Add soap and water, then shake
After I’ve sifted my sample, I place a cupful of the soil into a straight-sided jar and add a tablespoon of powdered dishwashing detergent. The detergent is a surfactant, which keeps the soil particles separate, resulting in a more accurate test. I fill the jar to the top with water, screw the lid on, and shake the jar for three minutes to thoroughly combine the soap, soil, and water, and to make sure no soil is stuck to the bottom or sides of the jar. I then set the jar on a flat surface to let the sediment settle. See Test your soil sample for instructions on how to proceed.
As the sedimentation progresses, I check the sample periodically to watch the layers form and to note the size of the particles settling out. Sand particles are the heaviest of the three and settle out of the solution after about a minute. The sand layer is coarser in texture than the silt and clay. Silt is the next heaviest particle and will settle out after about an hour. The silt layer is darker than the sand. Clay, the lightest particle in the mix, can take from one to two days to settle out of the solution. The clay layer that settles on top is fine textured and light in color.
Measure each layer of sediment

To figure out the percentages of sand, silt, and clay in my sample, I measure the total amount of sediment with a ruler, once it has all settled. This number represents 100 percent of the soil sample. To derive the percentages of sand, silt, and clay in the sample, I measure the amount of each layer and divide by the amount of total sample. For example, if the total sample measures 1¾ inches and the sand layer measures 1 inch, I divide 1 by 1.75 and get 0.57, which translates into 57 percent sand. If the silt layer measures ½ inch, I divide 0.5 by 1.75 and get 0.29, which translates into 29 percent silt. If the clay layer measures ¼ inch, divide 0.25 by 1.75 and get 0.14, which translates into 14 percent clay.
Amend based on soil type
Sample: The bottom of the triangle is labeled “percent sand.” Because the sample contained 57 percent sand, I find 57 on the sand axis and make a dot (A). I then draw a line from my dot at 57 toward the clay axis. On the clay axis, I make a dot at 14 (B), because the sample contained 14 percent clay, and draw a line from there to the silt axis. On the silt axis, I make a dot at 29 (C) because the sample contained 29 percent silt. I draw a line from the dot to the sand axis. The three lines intersect in the sandy loam segment of the chart.

For general garden use, soils that fall into any segment of the triangle labeled “loam” are good. If a soil tends toward the clay or silt side, soil fertility should not be a problem, but some organic matter should be added to aid in drainage. If the sample is sandy, fertility and moisture retention may be problems. For soils high in clay or sand, I add organic materials to make them more garden-worthy. Organic materials like well-rotted compost and leaf mold will increase the moisture-holding capacity of sandy soil. They will also add fertility to clay soil and reduce its tendency to clump into a monolithic mass of wet, slippery goo in which little will grow.
Analyzing the texture of soil is as important as studying the needs of the plants in your garden, and understanding the science behind soil texture makes that job much easier. Becoming acquainted with your soil may help you discover why your prized rhododendron is doing poorly and why your equally prized pussy willow is doing well. Or you may discover that you possess what every gardener covets—a rich loam in which most garden plants thrive.
Fine Gardening Recommended Products

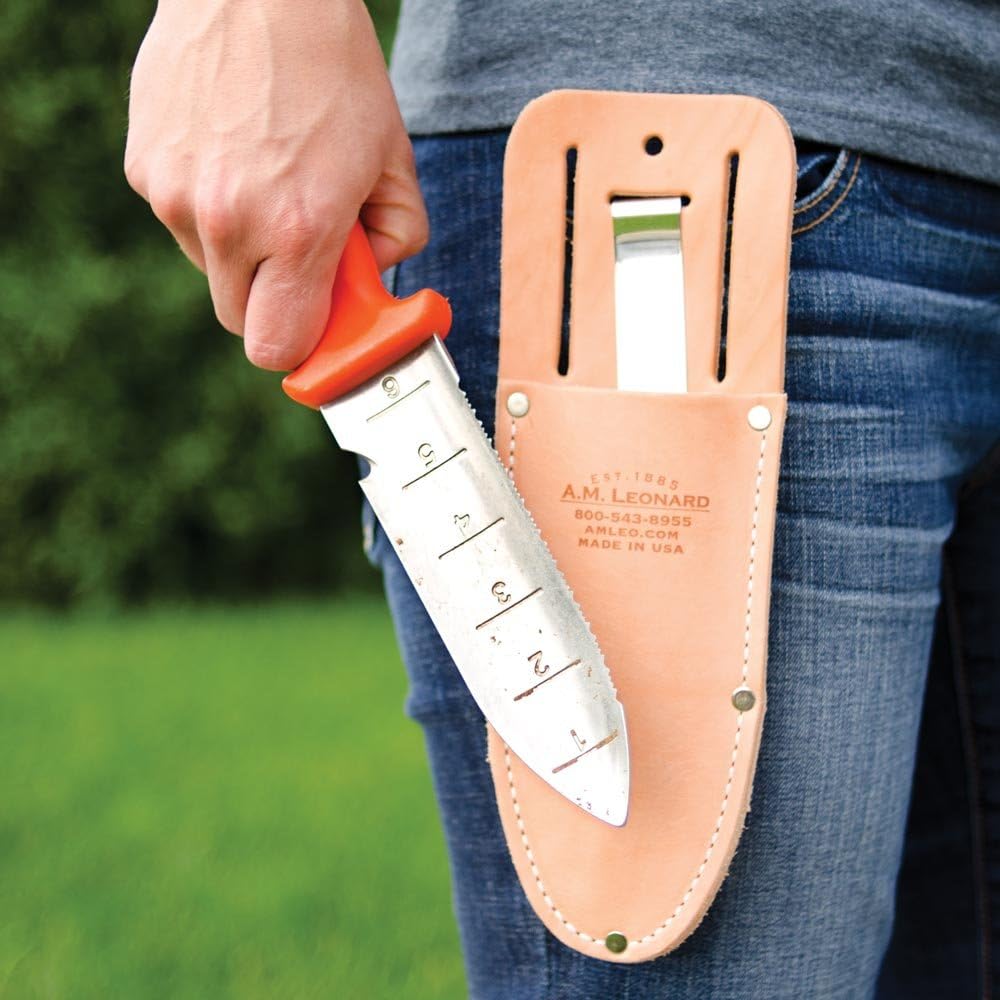
A.M. Leonard Deluxe Soil Knife & Leather Sheath Combo
Fine Gardening receives a commission for items purchased through links on this site, including Amazon Associates and other affiliate advertising programs.


Comments
Is there anyway to see the complete soil texture triangle? It appears that the bottom is cut off. Can't see the sand axis.
You can find a soil texture chart just by typing in "soil texture chart" in the search engine, then finding one that's easy to read. Some are much more packed with info than others.
Is there an alternative surfactant that can be used besides powdered dishwashing detergent?
Calgon is what we use in the lab in a pinch. It breaks apart the clay and silt so it can easily be measured separately. It's also safer to use because it doesn't have any other "stuff" that can cloud the view like soap bubbles can. (It's also cheaper and easier to get than sodium hexametaphosphate, which is what we use in the soils lab.)
Another note that the author didn't make is how long you should wait before measuring the clay. Clay settles at a different rate than silt, but for many people can be hard to identify when it's in layers. It's best to measure the clay "a couple hours" after the initial settling, then the silt the next day. I mark them with a Sharpie (comes off with fingernail polish remover) so I can mark the sediment lines, then do as the author does.
Log in or create an account to post a comment.
Sign up Log in