Learn to Water Well
Develop an effective regimen by testing your soil and getting to know your plants
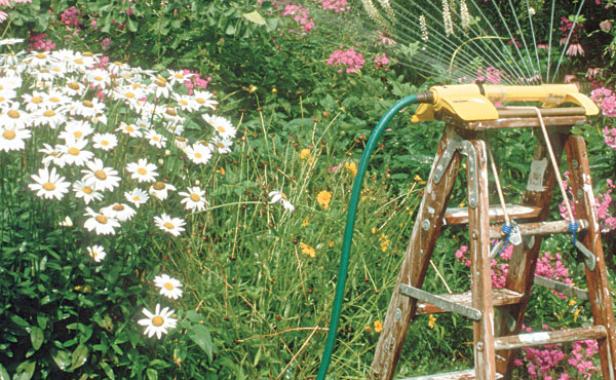
To stand in a garden is to be surrounded by constantly moving water. It takes only a few minutes for a drop suspended from a soil particle underground to be drawn upward from a root tip to the farthest leaf blade and released from leaf stomata as air-cooling vapor. Listen as you stand under that maple. Is that the sigh of the wind you’re hearing or the whispery flow of gallons of water vapor being transpired?
Water makes up 90 to 98 percent of every plant we grow. It holds leaves and stems aloft, just as air in an inner tube keeps a tire round. All the nutrients plants need to grow, color, flower, multiply, and defend their tissues against pests are produced by the solar-powered chemical reactions that take place in the watery soup within the cells. That’s why I make watering a priority every time I’m in a garden. I may not be applying water, but instead involved in another part of the process of watering, like checking soil moisture, improving a soil’s ability to absorb and hold water, learning a new plant’s specific needs, or correcting irrigation flaws.
Twenty years of gardening has taught me to ignore generalities such as “Provide one inch of water each week,” “Don’t wet the leaves,” and “Don’t water at midday.” By becoming aware of my site, my plants, and my options, I’ve learned to break watering rules and averages as often as I abide by them.
Set up a watering schedule by doing a capacity test
The first step when determining a watering regimen is to test your soil’s water-holding capacity. This easy test is a much better way to figure out when to water than waiting for plants to wilt. Lacking the raw materials in water that become life-giving nutrients, a wilted plant burns its own starches to stay alive. It literally becomes smaller because any new tissues that do manage to form during a wilt are malnourished and deficient.
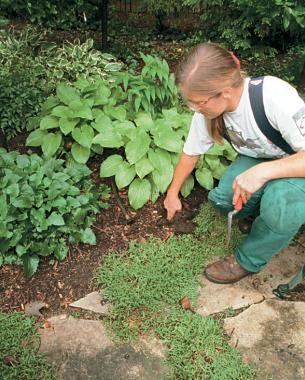
It’s best to conduct a capacity test when a rainless period is in the forecast. First, soak a 12-inch-diameter spot with a hose for about two minutes. After the water has had a chance to settle, thrust the head of a trowel into the spot so it reaches 3 to 4 inches below ground level. Pull the trowel toward you to make an opening, then reach in with your hand to feel the soil at the bottom of the opening. When watered well, soil should feel cool and damp at the bottom of the hole. Dig a new hole in the same spot every day and note the number of days that elapse until the soil at the bottom of the hole feels warm and dry. That’s the number of days you can go without watering during a rainless period.
Weather conditions also play a part in determining a watering schedule, so be prepared to adjust your established schedule throughout the growing season. A bed that remains moist for seven to eight days in the cool, slow-growing days of early spring or early fall may dry out in half that time when large trees are leafing out.
Use a drainage test to diagnose soil problems
Soil type often determines water needs. Some soils drain quickly and some drain slowly. For example, a sandy soil’s pore spaces are often too large to keep water not immediately claimed by roots from simply slipping away to an area below the root zone, so plants in sandy soils may need to be watered more often.
Slope and orientation can also affect a soil’s water needs. In the far corner of my own backyard, my highest, sandiest bed dries out three days earlier than any other bed. In one client’s hilltop garden, a southwest-facing slope dries out in just two sunny, windy days in midsummer, despite being composed of rich, loose clay blanketed with mulch.
While a lack of water can pose problems for some plants, irrigating more often than necessary can be harmful, too. Tightly packed clay soils hold water so well that any excess displaces what little air there is in the root zone, and adding more water at that time will only raise the level of root-rotting puddles. In these beds, I pay closer attention to water levels than I do in other beds.
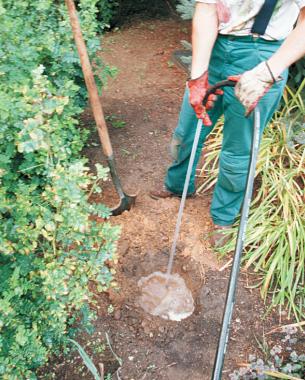
A quick test can determine whether your soil has a drainage problem. Dig a 12-inch-wide by 18-inch-deep hole in your garden and fill it to the top with water. Let the hole drain and fill it again. If the water drains away within a few hours, your soil is excessively well drained, apt to dry out quickly unless watered frequently and lightly. If the water drains out in 12 to 24 hours, your soil is well drained, and you can grow almost anything without a problem. If the hole still has water in it after 24 hours, your soil is poorly drained. Install drain tiles, grow wetland plants, or measure how much water is left in the hole and build a raised bed of that height to achieve the 18-inch depth of well-drained soil that most cultivated plants need.
Pay attention to a plant’s preferred water needs
The next step is to consider each plant’s needs for water. Some species, like queen of the prairie (Filipendula rubra), appreciate all the water they can get. Other plants, like bee balm (Monarda didyma), grow best if soil around their roots is always moist but never soggy. Certain drought-tolerant plants, like butterfly weed (Asclepias tuberosa), are prone to root rot unless the soil around their crowns is dry much of the time.
When designing a garden, you would ideally group plant species according to water needs. Realistically, however, gardeners have to make compromises when watering. Take the case of a lawn. Turf grasses that evolved in cooler climes require water not only for the usual purposes, but also to cool the air enough for photosynthesis to continue on hot days. Without photosynthesis, grass plants burn starch stored in roots to live, which shortens roots into the top inch of soil. It then takes only one superheated day to kill every root tip.
In summer, lawns respond best to 1/8 inch of water a day applied at midday. This regimen suits the lawn’s summer-shortened roots and cools the air when temperatures are otherwise so high that photosynthesis stops. That schedule may work for golf courses, but think it through before trying it at home. Our yards contain many layers of roots—lawn and annuals at the surface, perennials and shrubs beneath those, and deep-delving prairie plants and trees beneath those. Water applied lightly on a daily basis could mean a thriving lawn and stressed shrubs and trees.
My compromise for this situation involves eliminating lawn and annuals within the dense root zones of my trees, that area from the trunk to the drip line. Within the beds I try to group plants with similar thirsts.
How to measure water applied
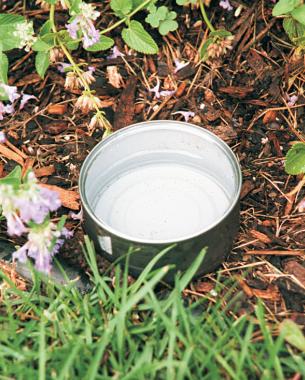
The best way to measure the amount of water supplied by an overhead sprinkling system is to place a rain gauge or a wide, cylindrical, straight-sided container—empty tuna or cat food cans work wonderfully—on the outside edge of the area being covered. Let the sprinkler run until 1 inch of water has accumulated.When using soaker hoses or other direct-to-soil systems, irrigate until a 3-inch-deep test hole dug 1 foot out from the far end of the line is moist. Moisture at that level indicates that an inch of water has been applied.
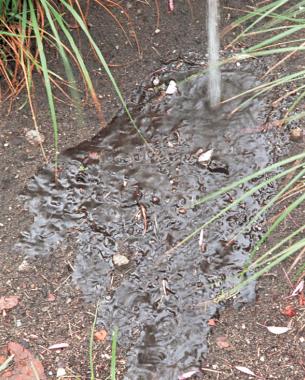
In one neighborhood where I gardened for many years, area birds taught me a lesson about infiltration rate, or how quickly water is drawn into soil pores. Every morning, thirsty birds would line a curb just as a stream of water from a sprinkler system situated on an adjacent hill would arrive. That sprinkler was set to run for 10 minutes, but the soil on that hill could absorb only five minutes’ worth of water. Runoff is a waste of water and a loss to the soil, as it takes with it valuable soil particles and nutrients.
A simple way to test infiltration rate is to water an area and note how long it takes the water to run off onto surrounding areas or begin to puddle in depressions. If run-off occurs before the desired amount of water is applied (enough to moisten the soil to a depth of 4 inches), divide irrigation into smaller sessions until the needed amount of water is applied.
Two types of soil are prone to infiltration problems. Some clay soils can become crusty on top or simply pull water into their pores too slowly to keep up with a hard rain or rapid sprays. Silty soils—those with neither the stickiness of clay nor the grit of sand—pack all too readily under foot traffic and “cap” as they dry. Water actually beads up on silt and runs off if applied too quickly.
To water these types of soil effectively, the first drops must wet the surface slowly and open the way for the rest of the drops to follow. Applying mulch may help to increase infiltration rate. A 2- to 3-inch layer of finely shredded particles of organic matter and the humus that develops between the soil and the mulch create a sponge that can quickly absorb and hold moisture, and then ration it to soil and roots below.
 |
 |
How to apply water is a matter of preference
Water can be sprinkled overhead, trickled at a plant’s feet, or allowed to weep on the soil throughout the bed. Since there are advantages and disadvantages to each method, you need to weigh them for your given situation. My own preferred method of watering is an automatic, in-ground system for lawn areas and separate in-ground zones for beds. The in-ground lines in the beds end in above-the-ground spigots to which I can attach a short hose outfitted with a watering wand to attend to the thirstiest species.
Direct-to-soil delivery with soaker hoses
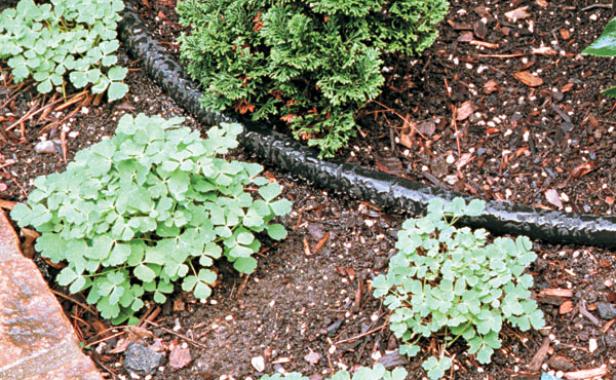
Advantage: Less water is lost to wind evaporation, and water reaches odd corners not covered by overhead sprinklers.
Disadvantage: Weeper hoses are often covered with mulch for aesthetic reasons and become invisible to sharp garden tools. No cleansing water hits foliage to rinse dust away and keep mite populations down.
Overhead delivery by manually placed sprinkler system on timing device

Advantage: Water is applied when needed. Where summers are hot but it does rain, this method may be necessary only four to five times a season.
Disadvantage: Hose wrestling is required and water is not directed to roots.
Point irrigation direct to soil with watering can or wand hose attachment
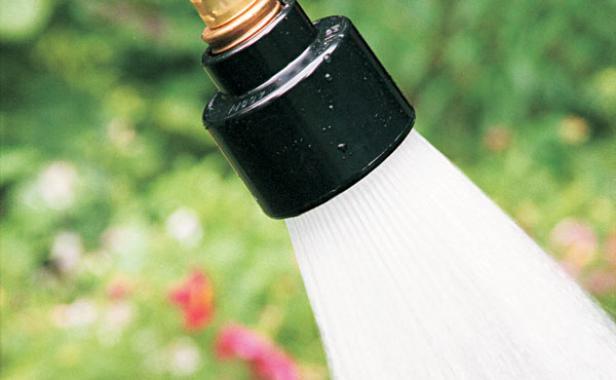
Advantage: Water is applied only where and when needed. Water can be directed to plants that need it most.
Disadvantage: This method can be time consuming. Hose wrestling is required. Watering system breaks down in gardener’s absence.
Point irrigation trickled by emitter
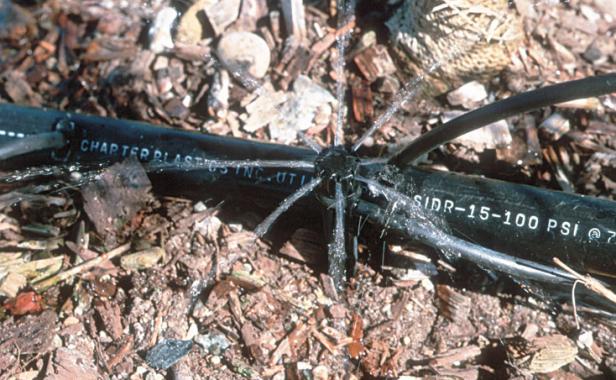
Advantage: No water is wasted in weed zones between plants, and little is lost to wind and evaporation.
Disadvantages: Gardener must check soil moisture levels near emitters, or overwatering can occur. Emitters may clog and plants may dry out. Expanding root systems require repositioning of emitter.
Overhead delivery by in-ground sprinkler system on timing device
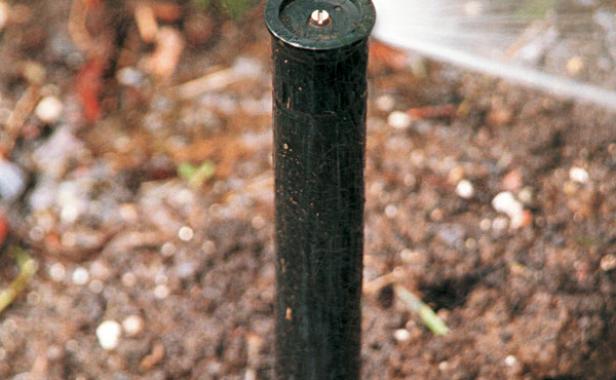
Advantage: No hose wrestling required and water keeps flowing even when the gardener is absent.
Disadvantage: Gardener falls out of the watering loop and fails to notice a watering problem until it becomes a crisis situation.
Fine Gardening Recommended Products
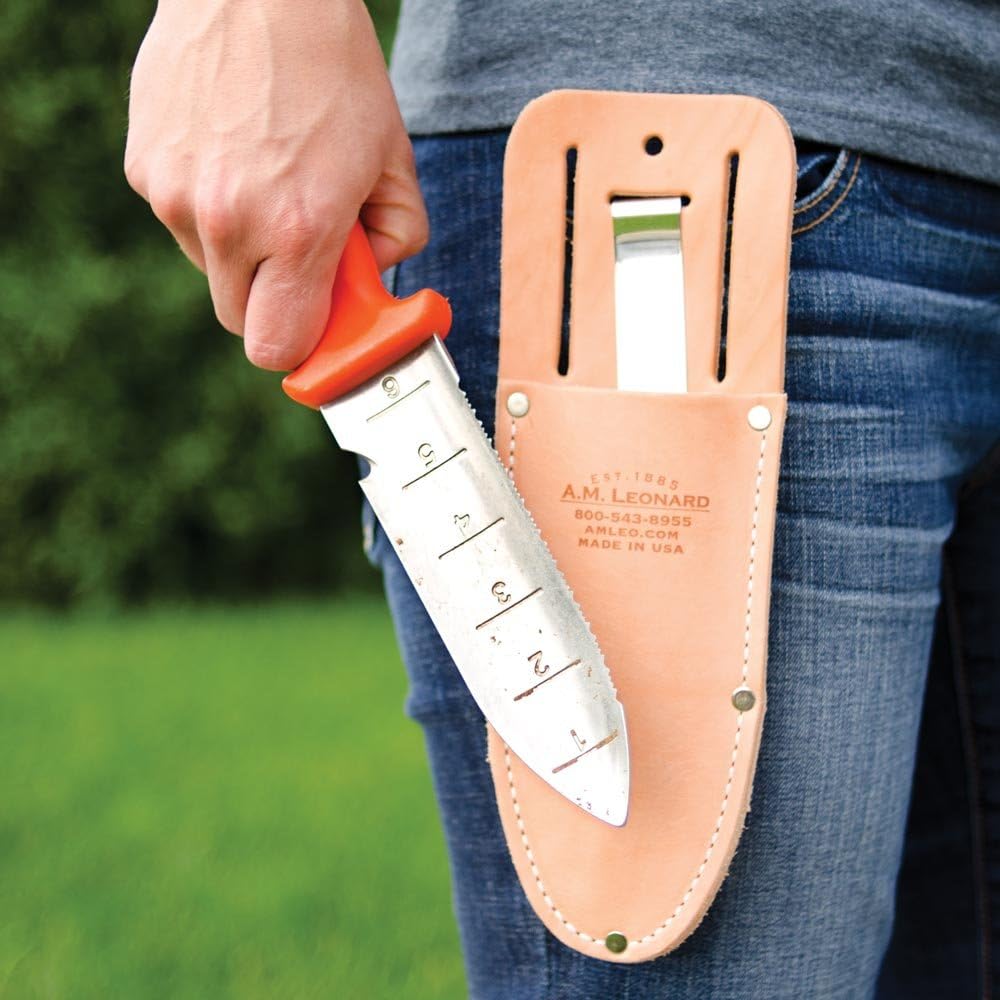
A.M. Leonard Deluxe Soil Knife & Leather Sheath Combo
Fine Gardening receives a commission for items purchased through links on this site, including Amazon Associates and other affiliate advertising programs.



Comments
Log in or create an account to post a comment.
Sign up Log in