
When creating a new garden design, I first analyze existing elements to decide what works, what doesn’t, and why. Architectural and hardscaping elements are a good place to begin.
When my clients asked me to redesign their back garden, we started by looking at the house itself and how it sat on its narrow, sloping lot. We agreed that from the back, the massing of the house felt out of balance. The left side looked very heavy, with a large second-story deck and awkward wooden staircase. The right side of the house was a single story, with only a few leggy rhododendrons to anchor it visually in the steep lawn. I knew that hardscaping and plantings could be used to create a more balanced look. Here’s how we did it.
Outdoor Living Spaces Connect Home and Garden
Graceful transitions between indoor and outdoor spaces make any garden better, so I suggested adding a small patio on the right side of the house. This outdoor room would give that side of the house some visual weight in the landscape and provide garden access from the master bedroom.
My clients added a bedroom balcony to their construction plan and upgraded the second-story deck, giving them two beautiful outdoor rooms for entertaining and relaxing. Tying these transitional spaces into the surrounding garden was our next order of business.

This is where we encountered significant grading and drainage issues in need of creative solutions. By code, a patio that is 30 inches or more above grade must have a railing. If we raised the grade around the base of the new patio to avoid a railing, we would need to ensure that the soil line stayed at least 8 inches below the home’s cedar siding to avoid rot. The back garden would also need to accommodate a septic tank, leech fields, underground electrical conduits, a stormwater filtration system, and an irrigation system. In the middle of it all stood a lovely old paper birch (Betula papyrifera, USDA Hardiness Zones 2–6) that we wanted to preserve for its beauty and the much-prized afternoon shade it provided.
Boulders Give Terraces a Natural Look
Terracing was a logical solution to our grading woes, but conventional retaining walls would have created a fortresslike effect. Instead, we used large, rounded boulders to gently build up the grade between the lower lawn and bedroom patio. The rockery eliminated the need for a patio railing, preserving the beautiful lake view and allowing us to keep soil away from the siding. Simple stone steps connect the bedroom patio to a pathway that winds through the rock garden to the deck stairs. This pathway also provides access to the middle of the garden for maintenance.


The granite steps connecting the main entertaining patio to the lawn were finished by curving them away from the birch tree and down to the lawn grade. The side of this staircase meets the rock garden on its way down and gives the effect of walking through the garden to go up to the deck or go down to the lake for a swim.
The scale of the boulders and the fullness of the garden help to lend a balanced feeling to the house and property. Sitting on the bedroom patio surrounded by the lush rock garden, one feels a sense of privacy and enclosure while still enjoying the lake view.
Plant Choices Pull the Design Together
For this garden, I chose plants more for their texture and varied shades of green than for their flowers. As always, I chose and placed the evergreen and deciduous shrubs first, followed by perennials and ground covers. As is often the case in a rock garden, I found it easiest to “field design” rather than draw a planting plan. We brought in a truckload of plants, set the pots in the garden, and viewed the result from the patio, deck, and lower lawn, and then from inside the house. I moved plants around a lot before finding their perfect planting places. When placing flowering shrubs and perennials, I kept bloom time and color in mind so that there is color balance throughout the season.


The garden has filled in beautifully and now feels like a natural extension of the house. The rocks, weathered to a smooth finish and softened by abundant foliage, feel like they’ve always been there. Instead of being a maintenance problem, the steepest part of the lawn is now the garden’s best feature.
When planting a slope, careful soil preparation can be labor intensive but is entirely worth the effort. If your slope will be viewed from the bottom looking up, select shorter plants to allow the eye to move comfortably through the garden. Use large drifts of the same plant to create a pleasing tapestry, or assemble a variety of small plants for a collector’s garden.
Planting a slope can be difficult, but there are advantages as well. Drainage is sharper, and varied planting heights and vantage points add interest. Rocks help to control erosion and add to the visual appeal. Done thoughtfully, a sloped rock garden can become the focal point of your property, just as it did here.
DESIGN
The plants that made the grade
This relatively small property had a lot going on architecturally, so we kept the color palette simple. The design puts the emphasis on foliage, with waves of seasonal blooms to highlight the verdant mix of leaf colors and textures.
Design goals
• Choose low-growing shrubs and perennials to preserve the patio view.
• Create a dynamic mix of foliage colors and textures that changes throughout the season.
• Keep the design as low maintenance as possible, especially after plants are established.

| Plants | Zones | Number Used |
| 1. Endless Summer® hydrangea, Hydrangea macrophylla ‘Bailmer’ | 4–9 | 7 |
| 2. Dwarf blue spruce, Picea pungens ‘Montgomery’ | 3–7 | 1 |
| 3. ‘Plum Pudding’ heuchera, Heuchera ‘Plum Pudding’ | 4–9 | 10 |
| 4. ‘Europa’ astilbe, Astilbe ‘Europa’ | 4–9 | 5 |
| 5. ‘Amethyst’ astilbe, Astilbe × arendsii ‘Amethyst’ | 4–8 | 5 |
| 6. Golden Japanese forest grass, Hakonechloa macra ‘Aureola’ | 4–9 | 3 |
| 7. ‘Little Rocket’ ligularia, Ligularia ‘Little Rocket’ | 2–9 | 5 |
| 8. ‘Blue Zinger’ sedge, Carex flacca ‘Blue Zinger’ | 5–9 | 10 |
| 9. ‘Evergold’ variegated Japanese sedge, Carex oshimensis ‘Evergold’ | 5–9 | 10 |
| 10. ‘Big Daddy’ hosta, Hosta ‘Big Daddy’ | 3–8 | 1 |
| 11. ‘Blue Wave’ hydrangea, Hydrangea macrophylla ‘Blue Wave’ (syn. ‘Mariesii Perfecta’) | 5–9 | 1 |
| 12. ‘Peach Blossom’ astilbe, Astilbe × rosea ‘Peach Blossom’ | 4–9 | 5 |
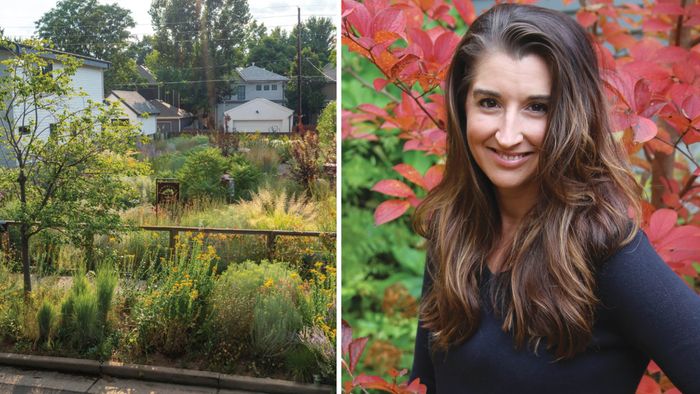
Catharine Cooke and her husband, Ian Gribble, own Spring Lake Garden Design in Sherman, Connecticut.
Fine Gardening Recommended Products
A.M. Leonard Deluxe Soil Knife & Leather Sheath Combo
Fine Gardening receives a commission for items purchased through links on this site, including Amazon Associates and other affiliate advertising programs.
The Crevice Garden: How to make the perfect home for plants from rocky places
Fine Gardening receives a commission for items purchased through links on this site, including Amazon Associates and other affiliate advertising programs.

SHOWA Atlas 370B Nitrile Palm Coating Gloves, Black, Medium (Pack of 12 Pairs)
Fine Gardening receives a commission for items purchased through links on this site, including Amazon Associates and other affiliate advertising programs.




Comments
Log in or create an account to post a comment.
Sign up Log in