Photo/Illustration: Paul Zimmerman Roses
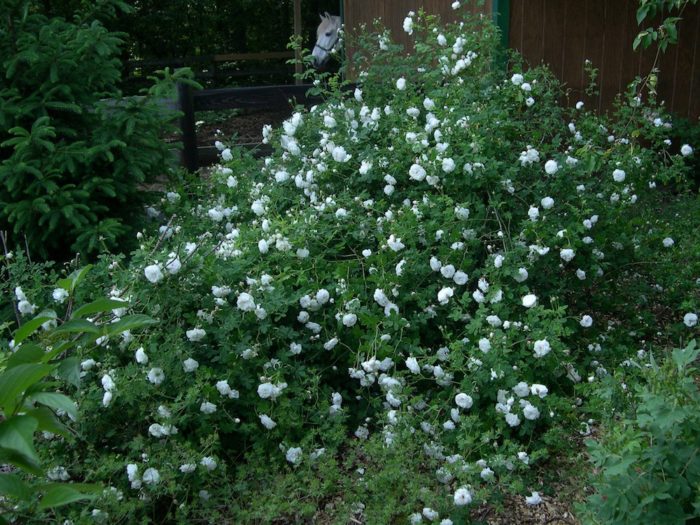
By now many of you have had your spring bloom flush and the roses are getting ready for another round of flowering. This means they are also getting ready for a round of rampant growth – particularly the newly planted ones. I find newly planted roses really take off after they deliver an initial spring bloom flush.
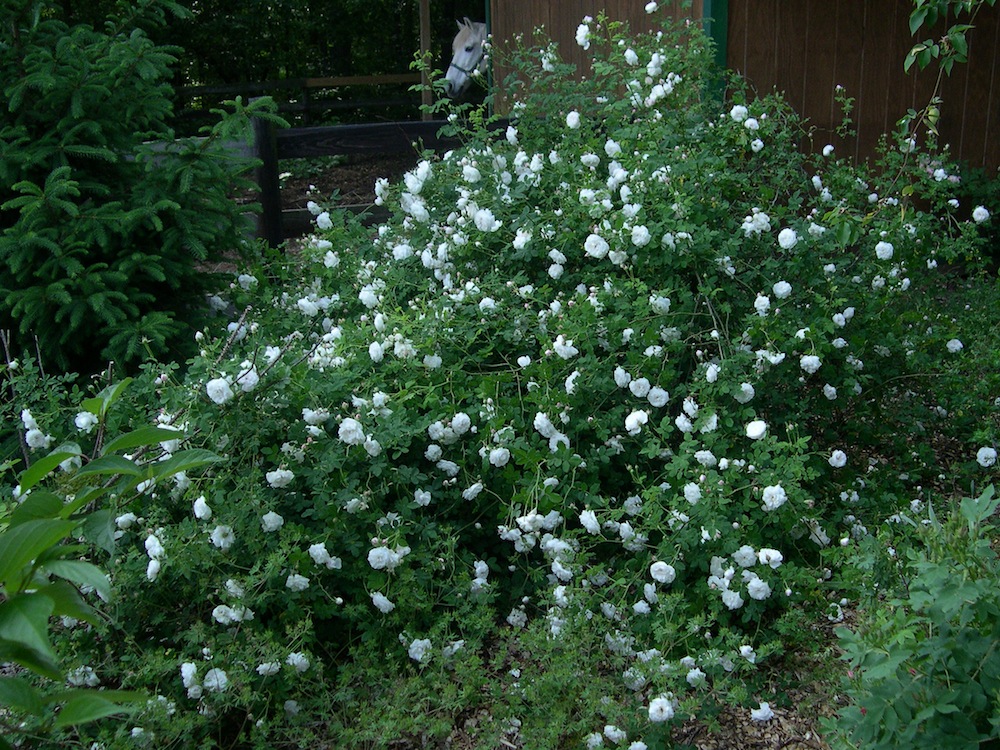
You are about to find out if the rose you hoped would be a tidy little spot of color next to the path is going to be just that, or it’s going to be a rampant monster snatching the shirts of people’s backs as they walk by. While nurseries are responsible in suggesting mature sizes of roses, sometimes due to your climate, soil or whatever they simply get bigger than anyone expected.
When this happens you are faced with two choices. Cut it back or move it.
I’m not big on constantly cutting back big roses to be small. Roses, like other plants, want to grow to their mature size. I feel repeatedly cutting them back very hard during the season stresses them. It also forces them to put their energy into growing at the expense of the flowers. The rose isn’t happy because it’s not being allowed to be what it wants to be, and you are not happy because it underperforms in flowering.
The best thing to do is move it.
In the middle of the hot summer????
Ideally it would be best to wait until winter and move it right before pruning time. However, if this monster is taking over the kid’s play area you probably need to take action now. I’ve moved quite a few mature roses in my lifetime and often in the middle of summer. Some with flowers on them and barely lost a blossom. Here are some tricks I’ve learned.
First, in the spot where it’s going dig a big hole and make sure you mix 50% compost in with the soil you are going to put back in the hole. How big should the hole be? Start with 2’ x 2’ because you are going to try to keep a large a root ball on the rose you are moving. You want that hole big enough to take the entire rootball.
Let’s start getting the rose ready to move.
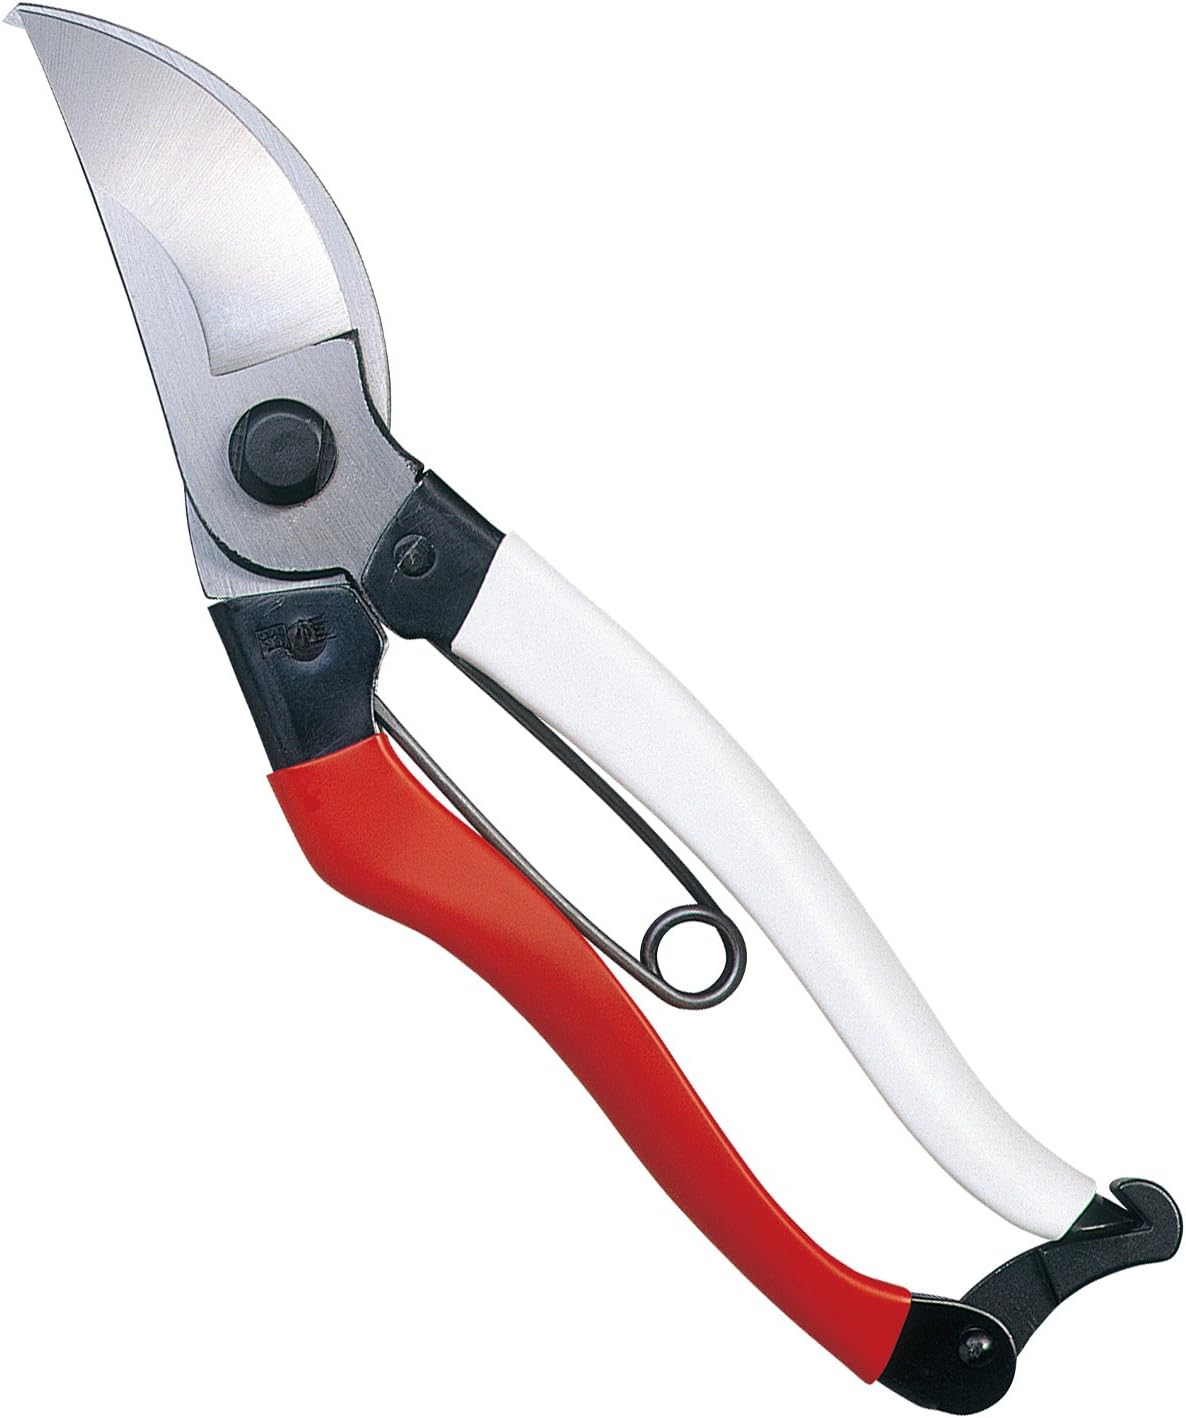
Before you grab the shovel, take your secateurs and clip off any thin, weak or dead growth. Reduce the rose’s size by about one-third. If you have many canes and can take out an old one now is the time. The purpose of this is to reduce the amount of top growth the soon to be smaller root zone will have to support without radically cutting the rose back. As a last step take some twine or rope and tie it around the plant to keep the canes together so they don’t hit you when you are trying to dig up the plant. Don’t be afraid to pull the canes in snug, but don’t break them either!
Using your shovel, start cutting a circle around the plant by driving the shovel straight into the ground about 1’ away from the center of the plant. This will give you a circle 2’ in diameter. Have something standing by you can wrap around the rootball when it comes up to hold it together. A piece of burlap, old sheet, plastic; it doesn’t matter as long as it will hold the rootball in place while you move the rose.
Now go around the plant again, sticking your shovel in the cuts you previously made. Only this time when the shovel is all the way in the ground, rock it back a little to start lifting the rootball out of the hole. You are trying to cut/tear the root ball away from the roots that will be left behind. If you have two people, work on opposite sides of the plant continually going around the circle.
Photo/Illustration: Paul Zimmerman Roses
When you feel the rootball starting to come loose it’s time to try to slide it out of the hole and on to whatever you are going to wrap around it. Take your time, go slow, use a buddy if you have one, and occasionally slip your shovel under the rootball to feel for/cut roots going straight into the ground. You might even need a pair of loppers to cut them.
When you have the rootball sitting on top of your wrap, gather the wrap around the it to hold it in place. Then move it to the new location. Once there gently slide it off the wrap, into the new hole and backfill around the rootball with the 50/50 mix of soil and compost. Lastly, water in very, very well and add mulch to keep the root zone moist and cool.
Your job is just starting.
It will take the rose three to four weeks to regenerate a root ball big enough to support the top growth. To help the rose survive during that period, here are two essential watering tricks I’ve learned over the years.
First, when you water use drip irrigation or put the hose on a slow stream and leave it for at least thirty minutes. Because the rose now has a smaller rootball it will take longer to drink up the amount of water it needs. Think of it this way. If you need to drink six glasses of water a day, you can drink them quickly if you just gulp them down. However, if you have to drink them through a thin straw it will take longer to get the same amount of water down. That’s what is happening with your rose. The smaller rootball means it is now drinking through a straw. The drip, or slow stream over thirty minutes, gives it the time it needs to soak up enough water.
Second, for the first two weeks mist the rose a couple of times of day. If you have a full time job, in the morning and at night is fine. I use a hose with my finger over the end. Don’t soak it – just a brief light misting rain. I came up with this one observing rose cuttings in a misting greenhouse. The idea behind the mist on the new cuttings is to allow them to take in water through their leaves until they develop roots and can take it up from the soil. Same with your newly moved rose. The drip, or slow soaking, is the first part to making sure it gets enough water from the roots and the misting is the second way it will get enough water. Think of it as a backup system!
While moving a large rose during summer is not ideal, taking the time to get a good rootball and then following that up with slow watering and misting will greatly increase your chances of success.
Plus save some shirts from being torn off your back!
Happy Roseing
Paul
Fine Gardening Recommended Products
Okatsune 103 Bypass Pruners General Purpose Medium
Fine Gardening receives a commission for items purchased through links on this site, including Amazon Associates and other affiliate advertising programs.

Gardener's Log Book from NYBG
Fine Gardening receives a commission for items purchased through links on this site, including Amazon Associates and other affiliate advertising programs.
ARS Telescoping Long Reach Pruner
Fine Gardening receives a commission for items purchased through links on this site, including Amazon Associates and other affiliate advertising programs.



Comments
Paul, Thank you for the instructions regarding moving rose bushes - I have to move a 65 year old bush beside my parents house as it will be torn down for reconstruction. You mention the slow drip watering - how often does it have to be watered assuming it's not hot (we're in Toronto) and and there is not much rainfall - does it have to be kept very moist at all times? Thank you!
How frequently should the bush be watered? Should the slow drip watering happen every day for a month after the bush is transplanted?
Water it every day for two weeks. Yet, most important is to heavily water the rose three to four days before moving it. I also use a liquid vitmin B1 fertilizer a week before moving it. This stimulates root growth(water before the fertilizer and then lightly after you put it on). Roses don't like wet feet. So, depending on the size of the bush, anywhere from a 1/2 gallon to 1 gallon of water per day for two weeks may be more than enough water after the initial watering in at its new hole. Also, during the first month avoid any granular fertilizer or adding fertilizer to the new hole. I find a little fish bone meal (1/2 cup) and 1/2 good soil and 1/2 aged compost makes very happy roses. Fetilizer in the hole or granular fertilizer can actually burn the new roots and stunt the growth of the plant.
I need to move some roses into a pot for a home extension. They will be replanted in soil 6-8 months later. Can I follow the advice above or should I do anything different?
Log in or create an account to post a comment.
Sign up Log in