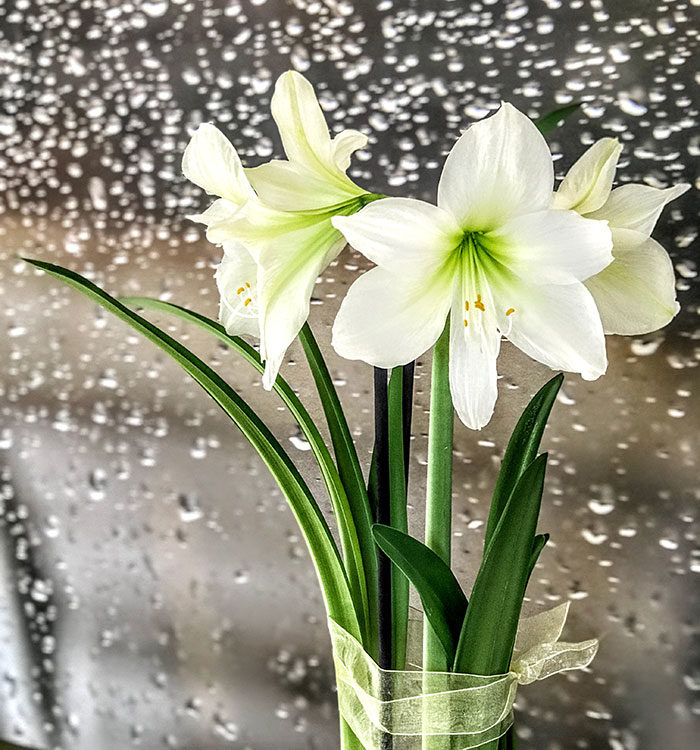
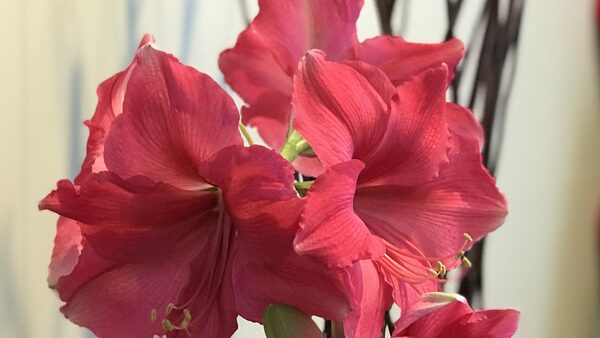
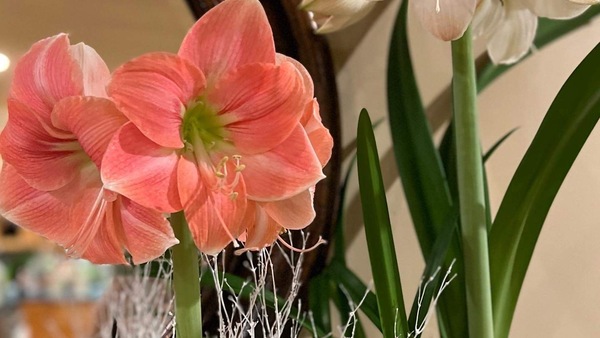
The old adage is true: “The early bird gets the worm.” Or in this case, the early shopper gets first choice of the newest, most unusual, and most beautiful amaryllis (Hippeastrum spp. and cvs., Zones 8–10) cultivars. Amaryllis are the tall, tropical-looking trumpet-shaped beauties that carry the most ardent gardeners and their friends through winter. You know who you are.
Why am I telling you to order them now, when winter is months away? The biggest and best bulbs can take 10 to 12 weeks to bloom. That’s up to three months! In fact, if you find some of the more exotic, newer varieties of amaryllis online, it is worth a phone call to the seller to ensure that the bulbs will arrive in time for you to plant them and bring them to bloom in time for Christmas—or New Year’s. You can also purchase bulbs later, at local nurseries, most of which are designed to bloom for the holidays. But take note: my friends implored me to insist that you buy the biggest amaryllis bulbs you can get your hands on.

The jumbo bulbs generally send up one or two stalks, with each stalk sporting four to five blossoms. Since they are top heavy in bloom, create some sort of scaffolding or support for each pot of bulbs. A favorite solution is to use twig cuttings from the garden and to tuck them into the pot when you set the bulbs. I like to use strong branches of red- or yellow-twig dogwood shrubs (Cornus sericea spp. and cvs., Zones 3–8). If tall stems aren’t your thing, you can now find a nice variety of “miniature” or dwarf amaryllis. They will have more stems and smaller flowers but will still sport lots of blooms. They will reach about 18 inches high.
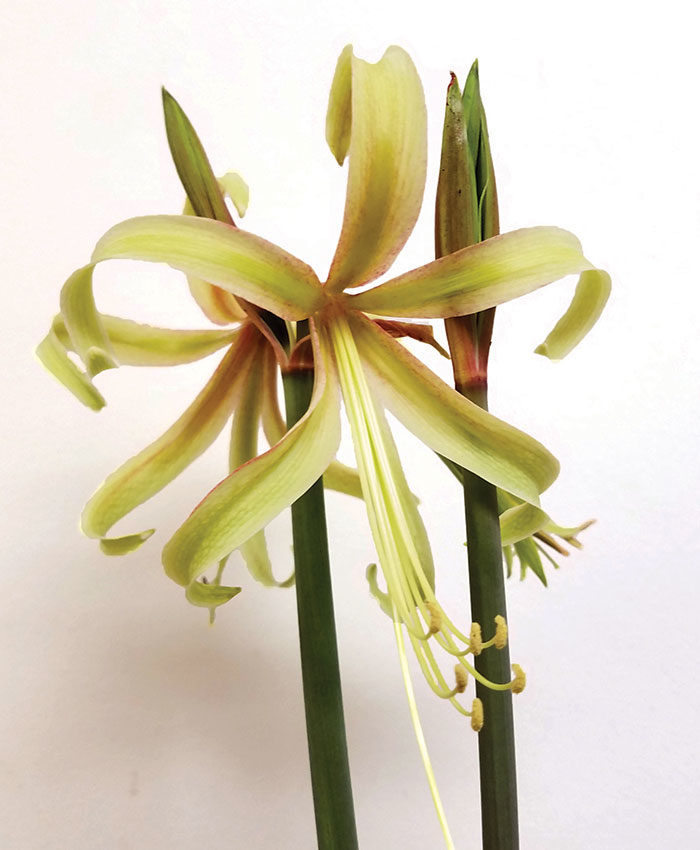
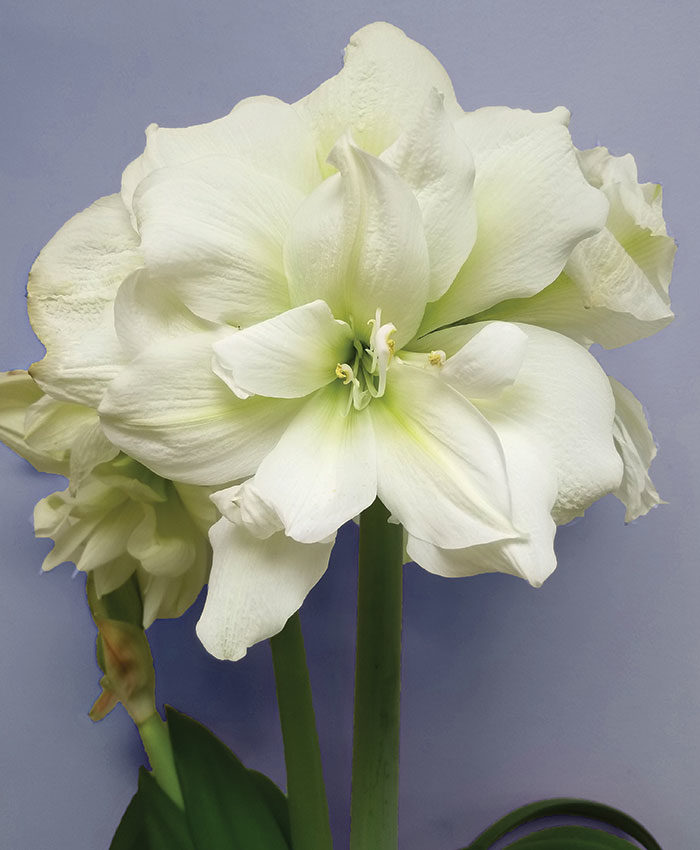
Or try some of the more exotic types of amaryllis, like butterfly amaryllis (Hippeastrum ‘Papilio’, Zones 9–11) and cybister amaryllis. Cybisters have long, pointed, spidery petals, often tinged with lime green. I’m thinking of trying a couple of the ‘Emerald’ cybisters with the large flowering ‘Lemon Star’, and maybe even a jumbo double pale ‘Marilyn’.
You can order bulbs in kits, complete with soil and snazzy containers. There are kit packages for every taste: rustic, contemporary, modern, or traditional. It is just as easy to make your own planters; I’ve used clear glass, pottery (scrubbed clean after coming into the house from the garden), an old fruit crate, and a bucket. To plant your bulbs, put an inch or two of gravel or gritty soil in the bottom of the container, add another inch or two of soil, place the bulb(s) on top of the soil, put the supporting sticks (bamboo, chopsticks, twigs) in place, and add the remaining soil, leaving the top of the bulb exposed. If naked shoulders give you the fits, feel free to place decorative moss over the bulbs for a more demure appearance. Water thoroughly when you plant the bulbs, and don’t water again until you see the stalks emerging.
Mary Ann Newcomer is the author of two books: Rocky Mountain Gardener’s Handbook and Vegetable Gardening in the Mountain States.
Fine Gardening Recommended Products

Gardener's Supply Company Summerweight Fabric Plant Cover
Fine Gardening receives a commission for items purchased through links on this site, including Amazon Associates and other affiliate advertising programs.
VegTrug Classic Cold Frame
Fine Gardening receives a commission for items purchased through links on this site, including Amazon Associates and other affiliate advertising programs.
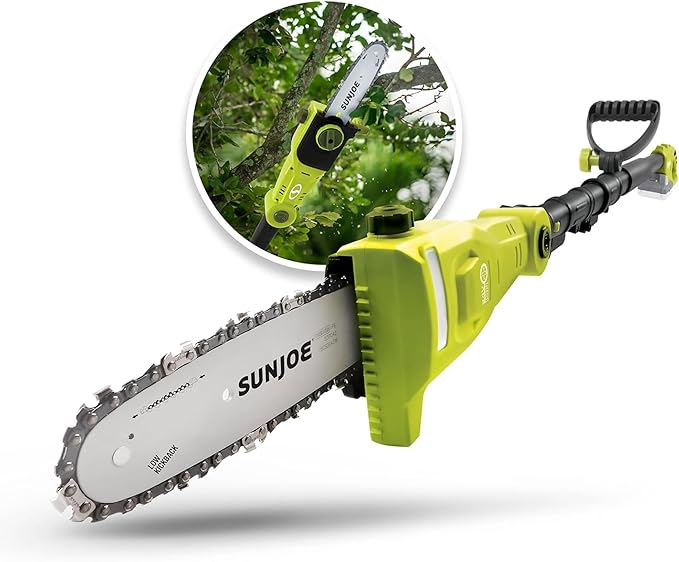
Sun Joe Cordless Telescoping Pole Chain Saw
Fine Gardening receives a commission for items purchased through links on this site, including Amazon Associates and other affiliate advertising programs.






Comments
Log in or create an account to post a comment.
Sign up Log in