
Happy Friday GPODers!
We’re nearing the end of our series with Cherry Ong on her small garden transformation and dream greenhouse build. Last week Cherry shared the first greenhouse accessories and additions that were installed to ensure the greenhouse provided the perfect growing conditions for her precious collection of plants. This week she has even more accessories and add ons to share, most of which were added after the greenhouse was already in use and minor areas of improvement were discovered.
As you’ll see from Cherry’s detailed explanations and descriptions, the greenhouse is much like the garden as a whole. No matter the size, the more you work in the space the more you will find opportunities for changes, redesign, and upgrades.
If you’ve missed any previous installments of this series, check them out here: Part 1, Part 2, Part 3, and Part 4.
And before we dive back into Cherry’s greenhouse, I’m sounding the alarm that we’re in need of spring gardens on Garden Photo of the Day! Though I know many of us are still waiting for spring to get into swing, but I also know that other areas have already experienced their first dose of seasonal color. If you’re seeing the first signs of spring around you, please consider sharing with GPOD!
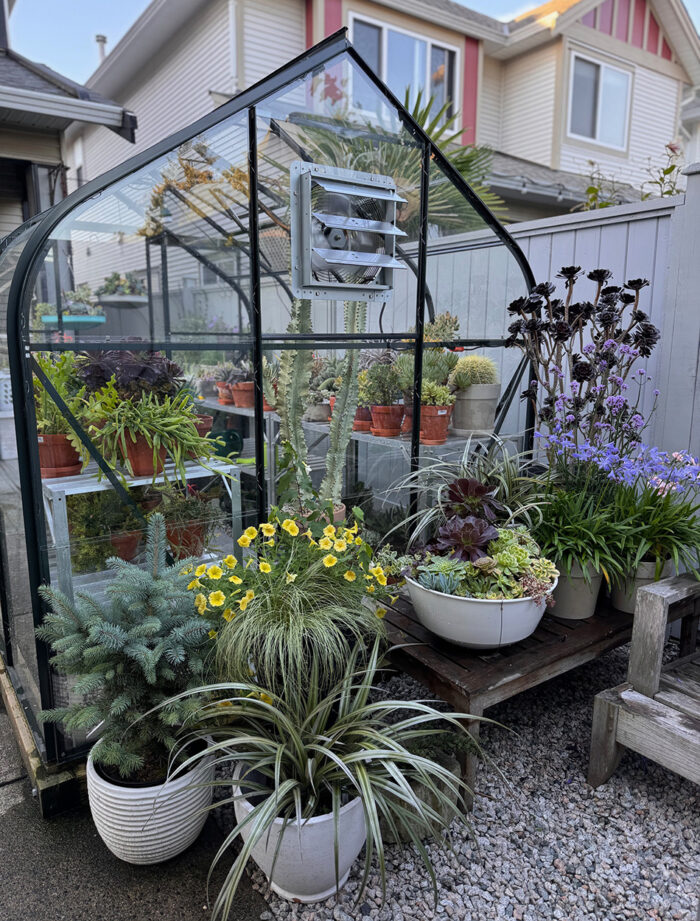
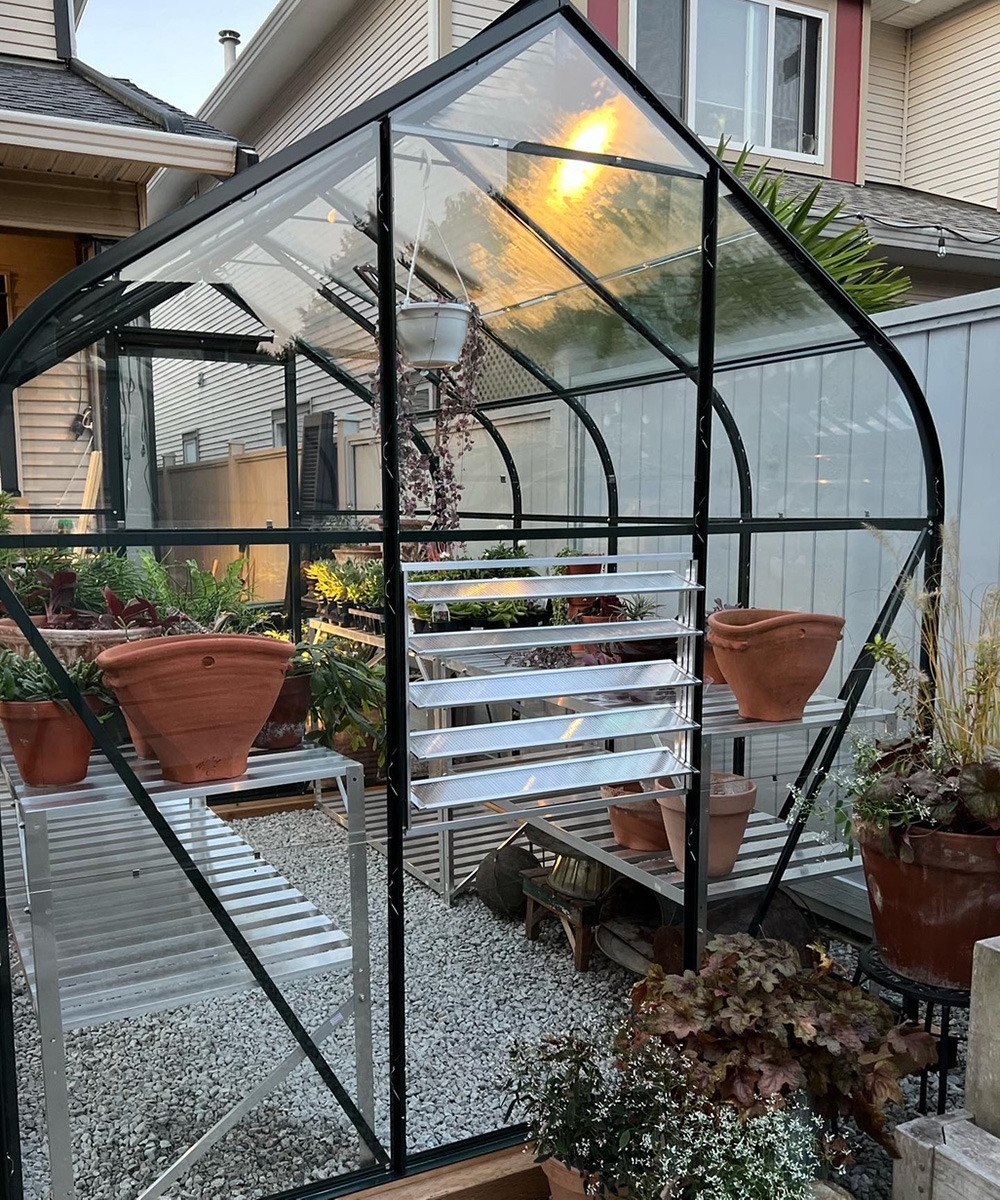
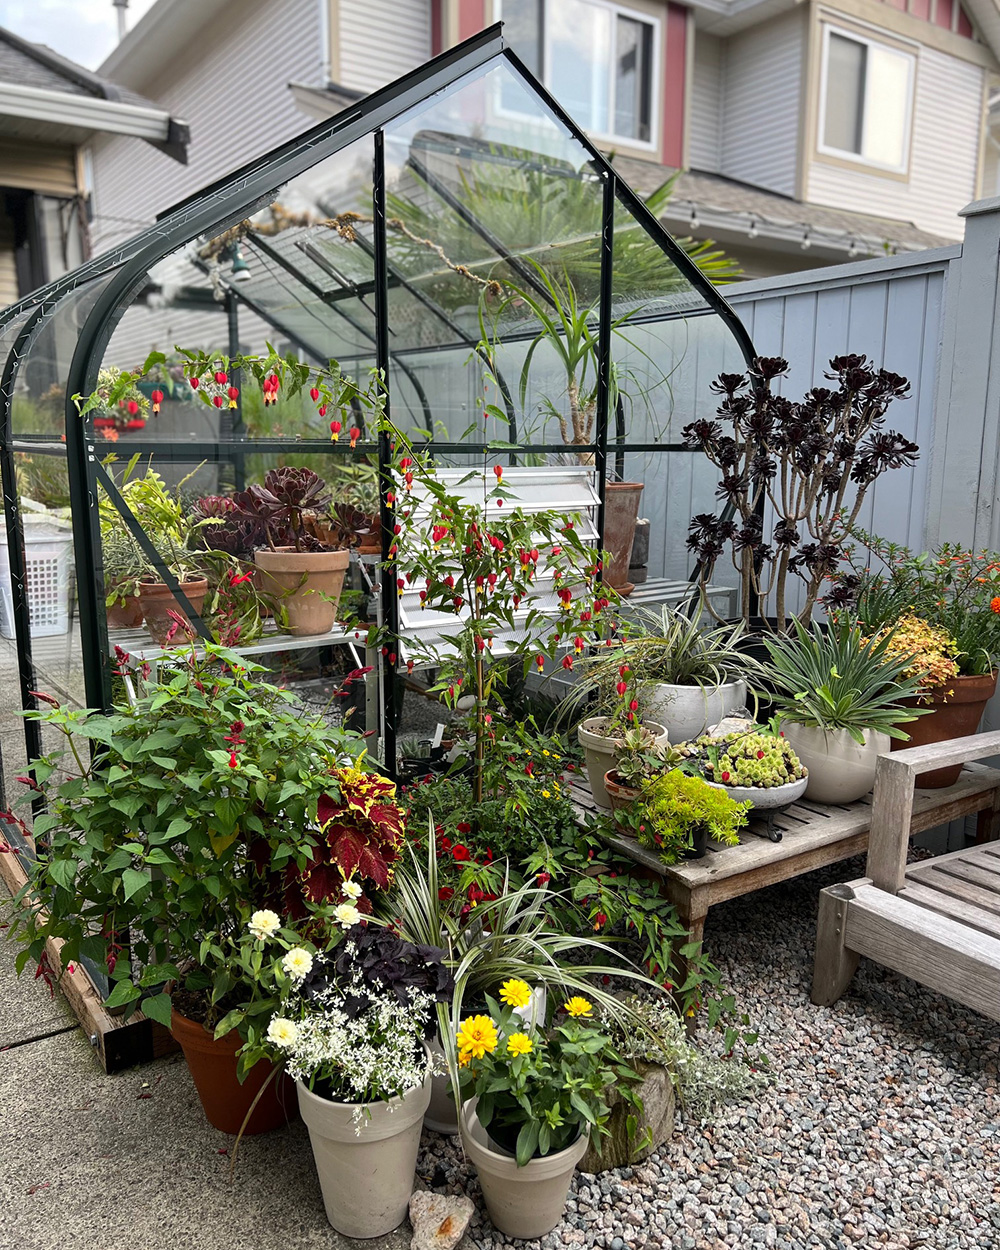
Greenhouse Accessories and Add Ons (Continued)
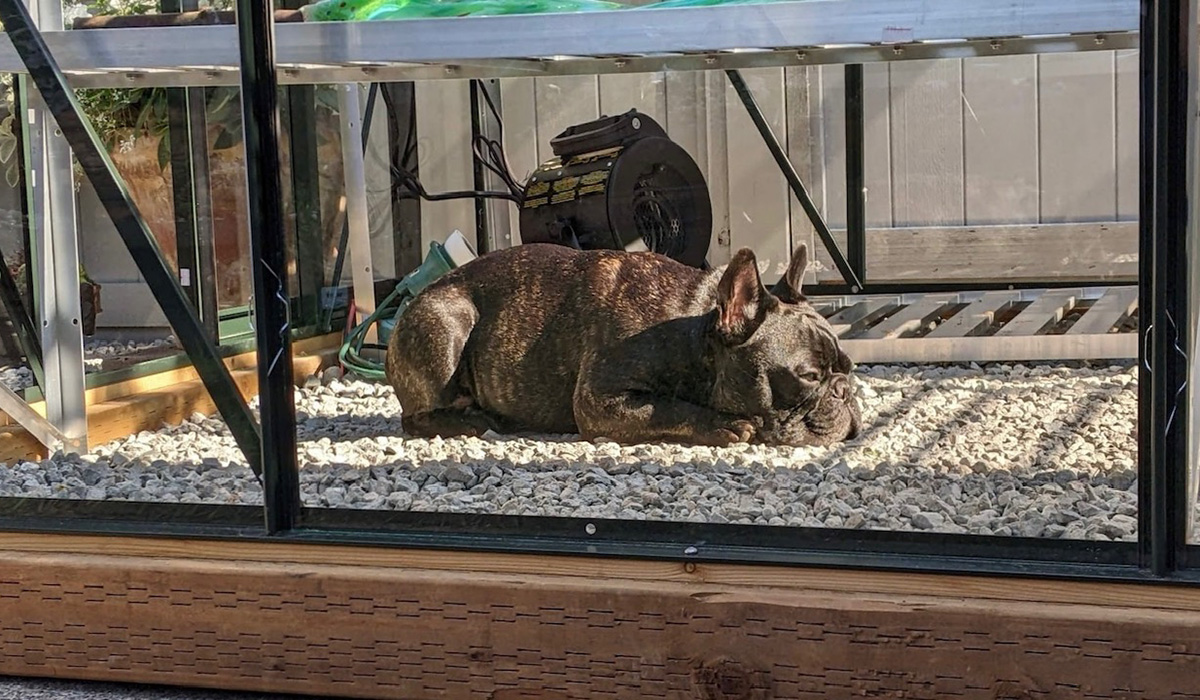
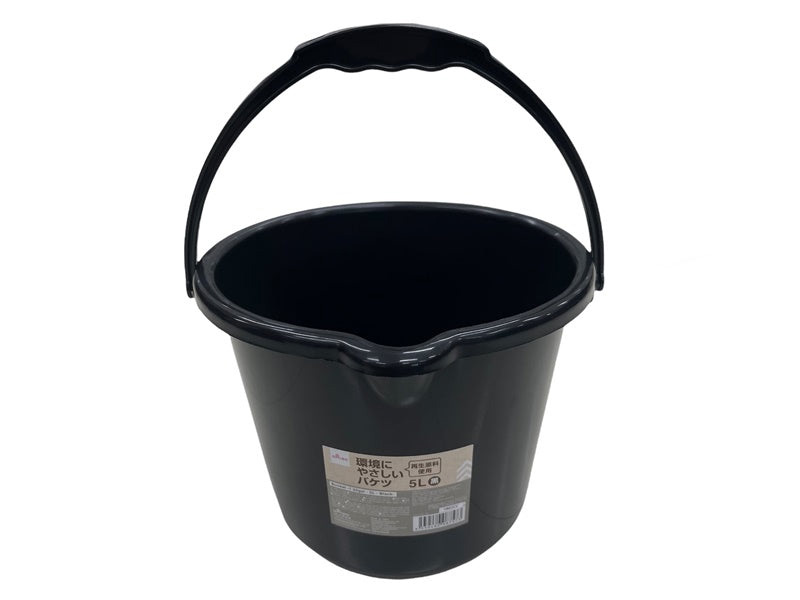 Black Buckets: As an additional means of passively heating the greenhouse, we have two black buckets of water inside. It was somewhat challenging to find black ones, but after shopping around, we found some at Daiso.
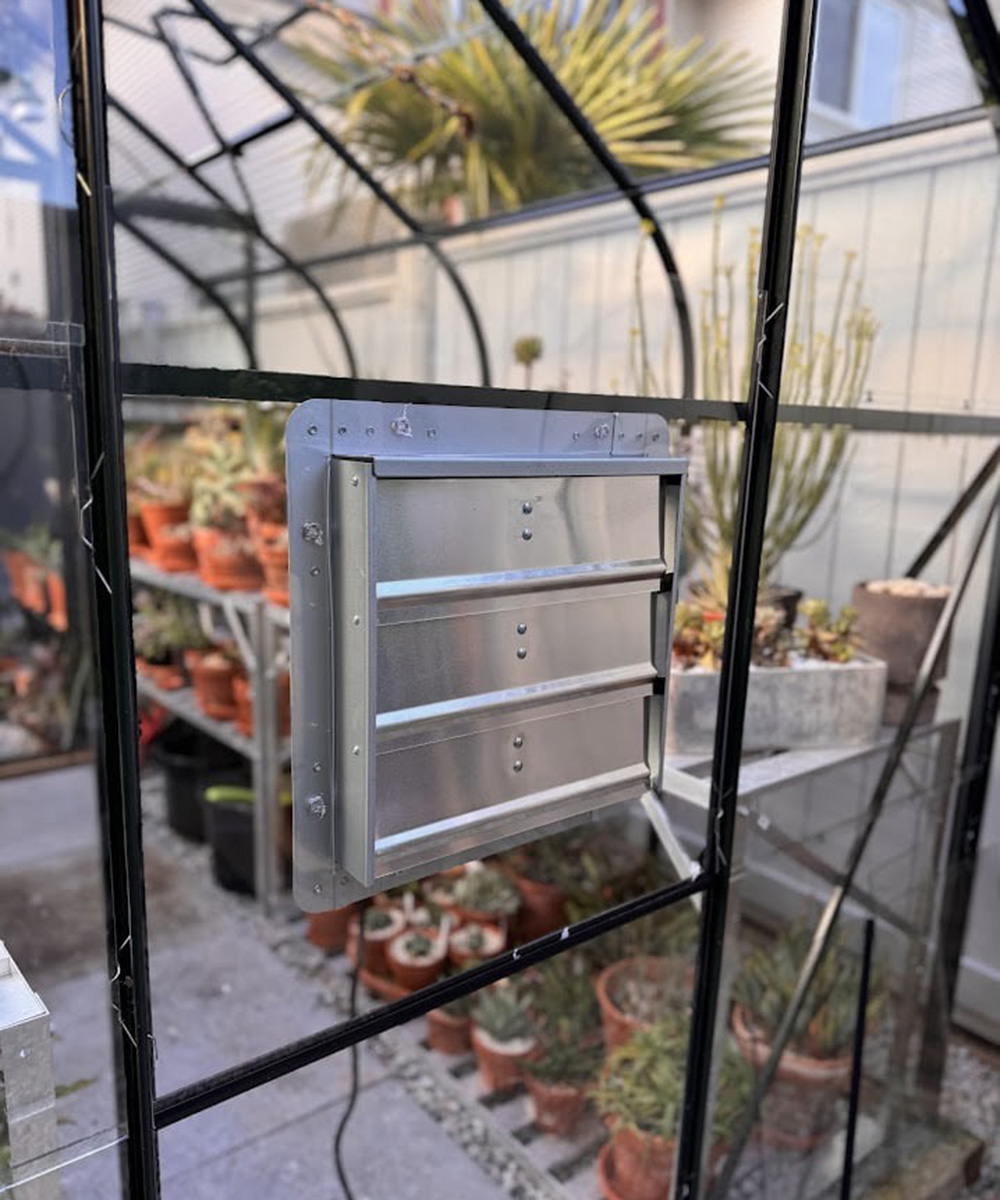
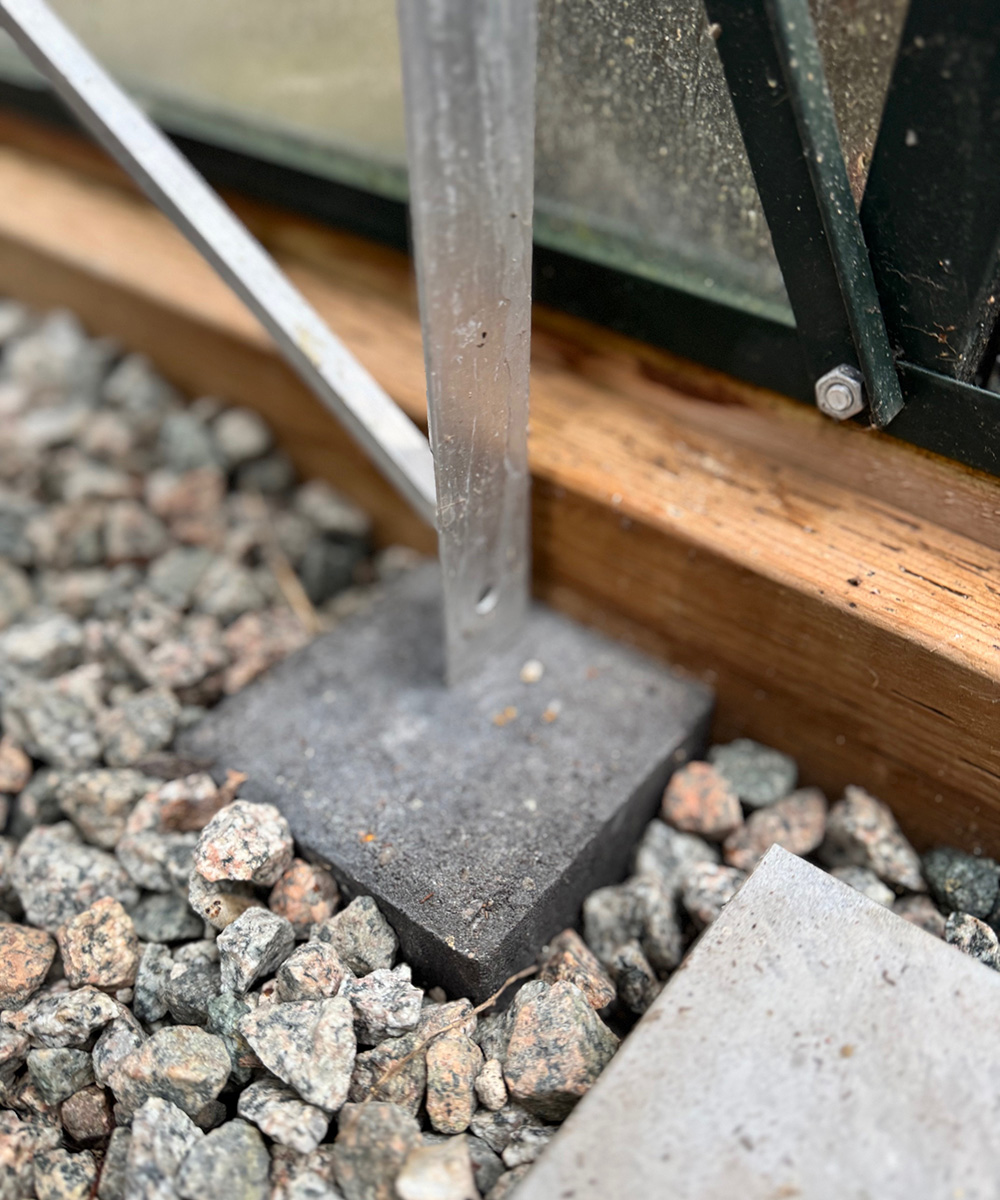
Add Ons in 2024

Thank you so much for continuing to provide invaluable information on this project, Cherry! Across the Internet we often see the glamorous side of gardening (fully mature beds, well-decorated greenhouses, techniques that have been tested and perfected), but it’s refreshing to see someone layout the whole process and share the lessons they learned along the way.
Spring is in the air, and I know that means many people are starting spring projects just like this greenhouse build Cherry so graciously shared with us. While you’re redoing an old bed that needs an update, constructing a new patio, removing lawn for more planting space, or anything in between, be sure to take lots of pictures and then consider sharing them with the blog! Follow the directions below to submit your garden photos via email, or send me a DM on Instagram: @agirlherdogandtheroad.
We want to see YOUR garden!
Have photos to share? We’d love to see your garden, a particular collection of plants you love, or a wonderful garden you had the chance to visit!
To submit, send 5-10 photos to [email protected] along with some information about the plants in the pictures and where you took the photos. We’d love to hear where you are located, how long you’ve been gardening, successes you are proud of, failures you learned from, hopes for the future, favorite plants, or funny stories from your garden.
Have a mobile phone? Tag your photos on Facebook, Instagram or Twitter with #FineGardening!
Do you receive the GPOD by email yet? Sign up here.
Fine Gardening Recommended Products

Plant Covers Freeze Protection 10 ft x 30 ft Floating Row Cover 0.9oz/yd²
Fine Gardening receives a commission for items purchased through links on this site, including Amazon Associates and other affiliate advertising programs.

Buffalo-Style Gardens: Create a Quirky, One-of-a-Kind Private Garden with Eye-Catching Designs
Fine Gardening receives a commission for items purchased through links on this site, including Amazon Associates and other affiliate advertising programs.


Comments
Thanks for sharing so much info on your project.
Lots of work, but the finished project is so beautiful. I hope you enjoy it for many years!
You’re welcome.
So far so good! Fingers crossed.
Log in or create an account to post a comment.
Sign up Log in