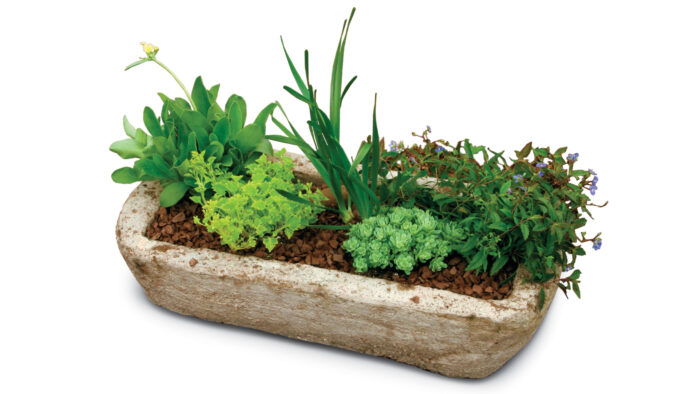
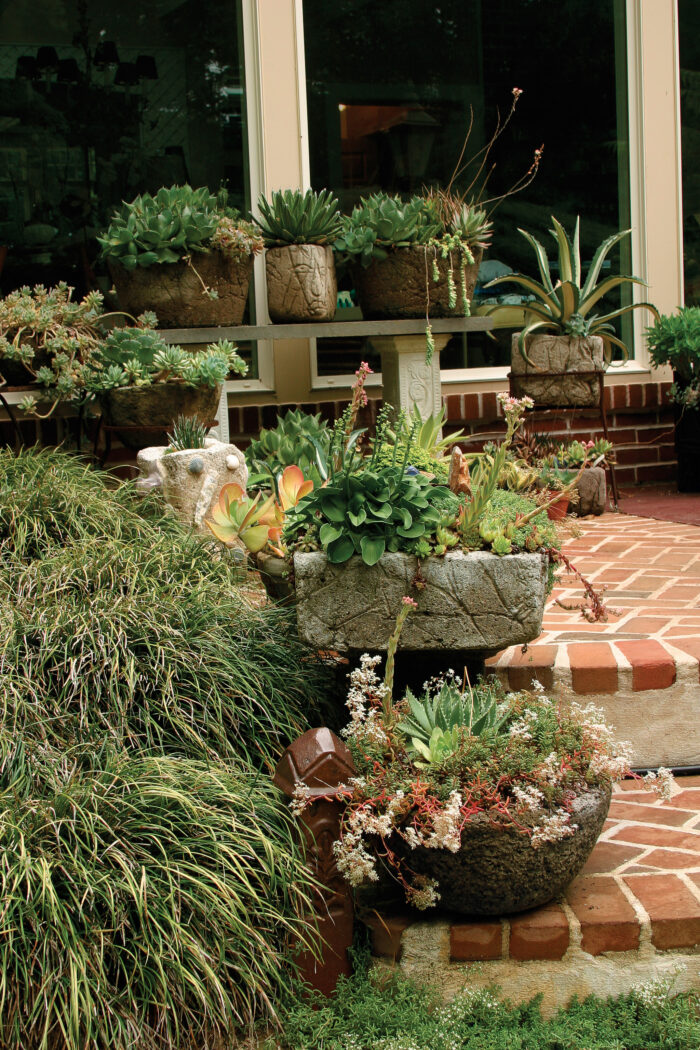
For a gardener like me who doesn’t have a lot of time or cash to throw away on annuals each year, alpine troughs are the perfect low-maintenance, wallet-friendly container garden. These designs look like sophisticated, small-scale landscapes because they are filled with alpine plants, which are often miniature versions of popular perennials and shrubs. Another plus is that because most alpine plants are extremely hardy and are usually planted in hypertufa pots that are porous and resistant to freezing, they overwinter well. This eliminates the need to replace the plants every year, which saves you energy and money.
Alpine troughs work in a variety of settings: placed on a deck or patio, tucked along a walkway, adorning a front porch or entry, or even nestled right into the garden as a focal point. The latter application works especially well if the trough is placed on some sort of pedestal, allowing observers to appreciate your creation up close. Troughs are a friendly container option for urban gardeners and condo dwellers—anyone without much space to garden. In short, because most troughs are small and low profile, they can fit almost anywhere—even in spots where you thought you could never put a container. Creating one of these unique minigardens is fairly easy, if you follow a few key steps.
Step 1: Select the right container
Need a hypertufa pot?
We’ve got a foolproof recipe for hypertufa pots right here !
Step 2: Mix the soil
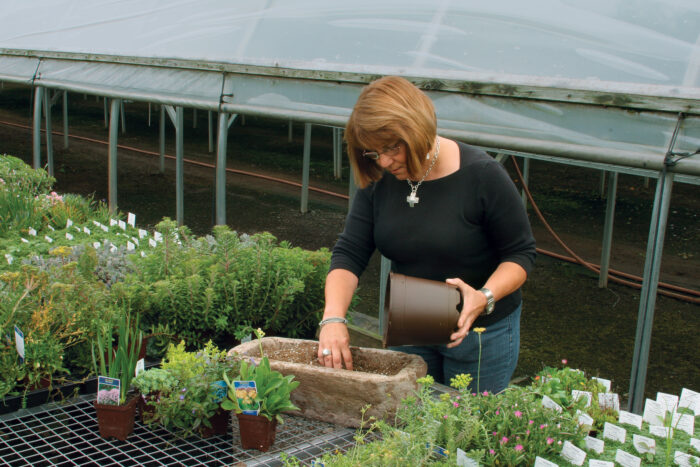
The soil for your alpine trough should be one-third organic and two-thirds inorganic. If the soil contains too much organic matter, it will be too rich for the plants, causing them to rot. Remember that alpine plants have adapted themselves to survive with minimal amounts of nutrients and prefer a well-draining scree (loose mountain stone) mix, replicating the soil conditions of an alpine environment. The best material to use is a mixture that contains one-third standard potting mix, one-third sand (bagged play sand works well), and one-third crushed shale or gravel. Fill the container two-thirds full with your mix.
What is an alpine?
Step 3: Choose the plants
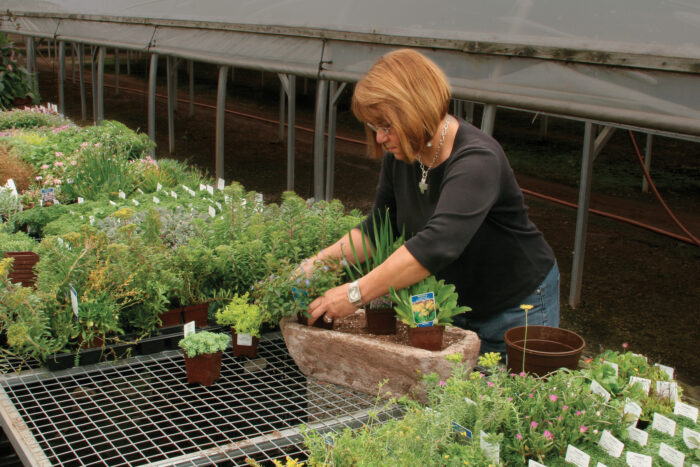
Because troughs are basically miniperennial gardens, many of the design principles are the same as when you are designing a garden that isn’t in a pot. Here are some criteria to consider before selecting your plants:
- Pick hardy plants because troughs last from year to year. Most alpine plants fall into Zones 3 to 5, so that pretty much covers even the northernmost zones in the United States.
- Mix in something tall for a focal point. I sometimes like to use dwarf conifers for this, then nestle shorter-growing alpine plants at its base. You may have to trade out the conifer after a few years if it outgrows the scale of the other plants, so be sure to choose a slow grower—one that is considered an ultradwarf. Alpine grasses are also a good option.
- Pay attention to texture because troughs can look hard and rough thanks to the hypertufa pot. Fleshy plants are needed to soften the overall look of the container. Consider beauties like ice plant (Delosperma spp., Zone 6–11) or orostachys (Orostachys furusei, Zones 8–10), which is an unusual perennial with gray rosettes. And don’t forget about the multitude of dwarf sedums and sempervivums to choose from. It’s best to stick to the small-headed sempervivums because you don’t want the larger-headed varieties to crowd out the other plants in the trough or look out of scale.
- Fill in the gaps with trailers because alpines are slow growing; you’ll need something that works as a space filler while the rest of the trough matures. I prefer to use creeping thymes for this purpose; if they start to take over, they can be divided.
- Stagger your bloom times so that something is always in color throughout the season. Because alpine troughs—unlike most containers—don’t use annuals, you need to pay close attention to what flowers when. There are many spring, summer, and fall bloomers—just be sure to have one of each.
Step 4: Prep the roots and place the plants
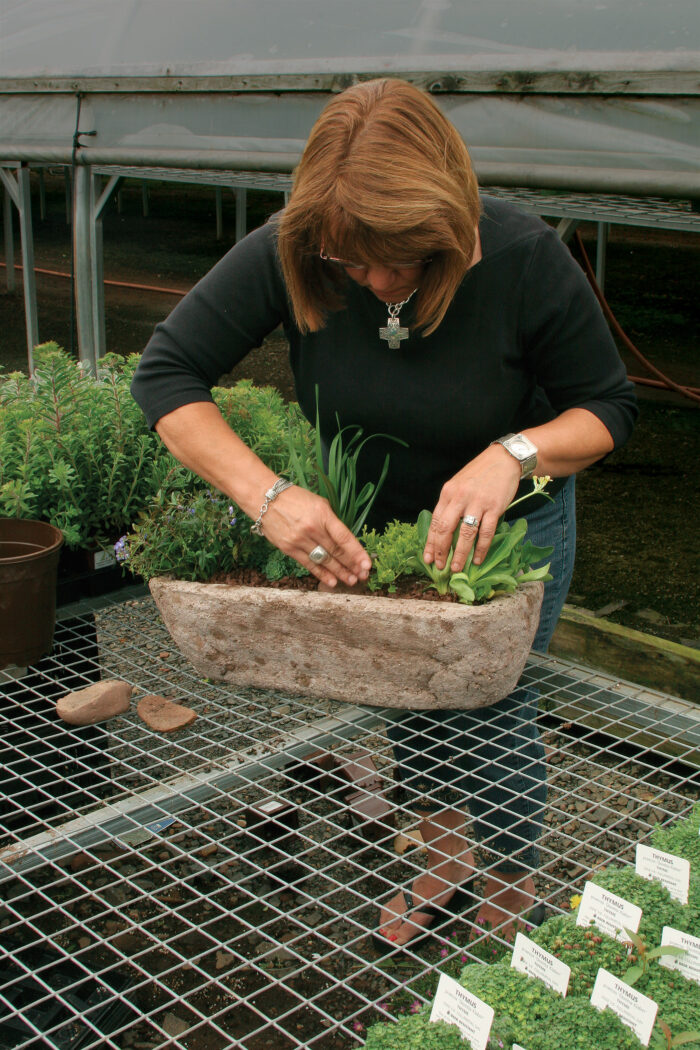
When removing each plant from its pot, I rip off half of the root-ball and slightly tease the remaining roots loose. This temporarily slows the plant’s growth. Because most troughs are fairly shallow, you can nestle each plant in at the proper soil level, with room below for the new roots to grow. The mistake most people make is that they cram too many plants into a trough (which is understandable because the plants are so damned cute). You want to place plants so that they are at least a couple of inches apart. You can also incorporate a decorative rock or two, which can fill a space that is temporarily empty.
Winter storage is a snap
When temperatures drop, simply store your trough under a deck or in an unheated garage. The biggest overwintering concern is keeping your trough protected from cold, drying winds. The plants will go dormant just like the plants in the ground in your garden. Come spring, bring out the container, give the plants a little grooming (if necessary), and let them flush out and bloom again for another season. You can fertilize (N–P–K 10–10–10) in spring to give the container a little jump-start.
Step 5: Top-dress the tough
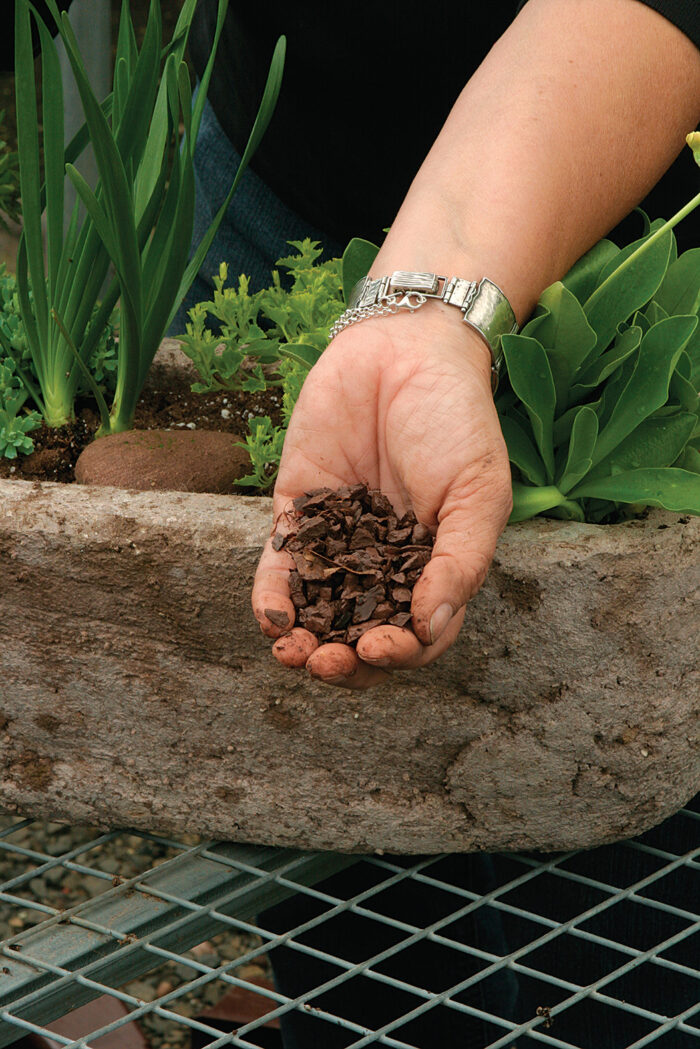
Once you have finished planting the trough, you’ll want to mulch it with a thin layer of gravel. Small pea stone or crushed brick works well and sets off the plants visually in the trough. The gravel helps hold in moisture and heat, making the trough virtually self-sufficient. It is crucial not to use any type of organic mulch; the material is too rich and can promote rot at the plants’ crown. Once you’ve finished placing the mulch, you can lightly water in the plants. Because alpines don’t require a lot of moisture, periodic rainfall is usually the only subsequent water your trough will need. In fact, overwatering is the most common cause of a plant’s demise. Remember—carefree is the key here.
Picking a favorite can be tough
Whenever I see several mixed trays of alpine plants in their little pots, I swoon—I just want to plant them all. These plants have such an allure that participants in my alpine-trough workshops plant two—sometimes three—troughs to take home because they feel just like me: They want them all and can’t resist. If I had to pick just a few plants, however, here are the ones I would choose:
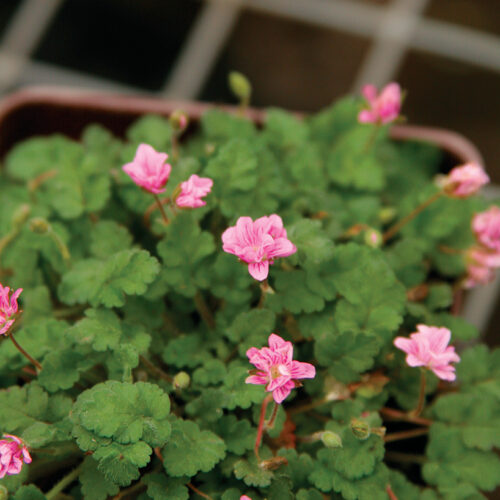
‘Flore Pleno’ erodium (Erodium × variabile ‘Flore Pleno’, Zones 5–8)
Looking very much like a super-minigeranium (and, actually, it is a relative), ‘Flore Pleno’ erodium is a tidy little ground cover with perfect little star-shaped, soft pink double flowers with dark pink veins. Blooming late spring through summer, this 2-inch-tall beauty always has at least a few blossoms to draw your attention.
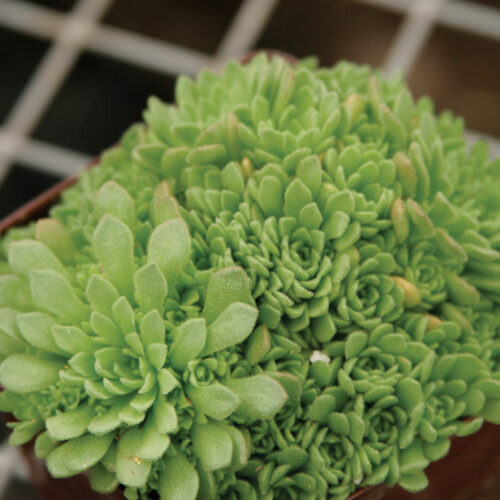
Sempervivella (Rosularia pallida, Zones 4–9)
Because it looks like a miniature sempervivum, Rosularia has an appropriate common name. It forms rosettes of foliage with several groups of offsets. In spring, the 8-inch-tall flower stalks have white to yellowish blooms, often with red stripes. This is a fairly hardy choice if you want to add succulent texture.
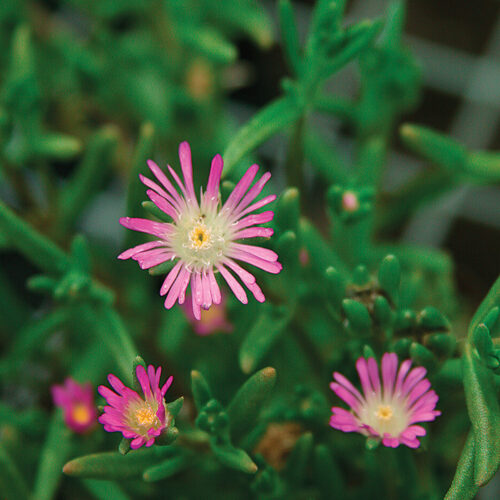
‘Starburst’ ice plant (Delosperma floribundum ‘Starburst’, Zones 5–9)
An ice plant with 4-inch-long, metallic green leaves, ‘Starburst’ bears bright, hot pink flowers with white centers in summer. It forms low cushions of fat succulent foliage and is happiest in full sun.






Comments
Log in or create an account to post a comment.
Sign up Log in