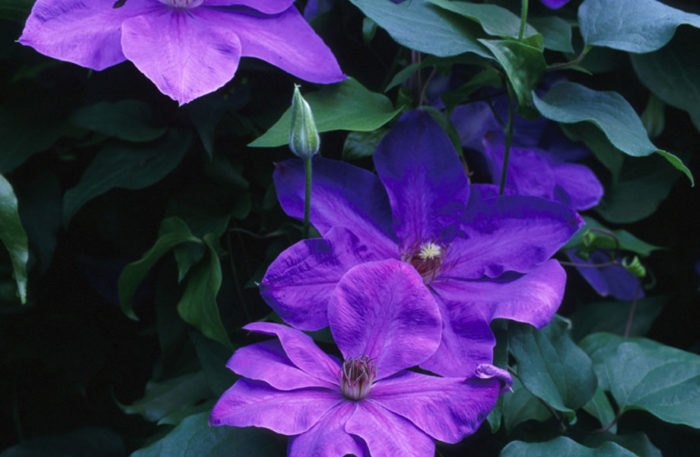
Known as the “queen of climbers,” clematis (Clematis spp., and cvs., Zones 4–11) are long-lived perennial vines of amazing diversity, available in a wide range of heights, growth habits, bloom times, and flower colors and forms. Some are evergreen and some are deciduous. Some are even sweetly scented. They can be small, delicate, and dainty, or they can have showy blooms measuring up to 8 inches across. The forms vary too, from star-shaped singles to frilly doubles, or from dainty clusters of miniature stars to nodding bell-shaped blooms.
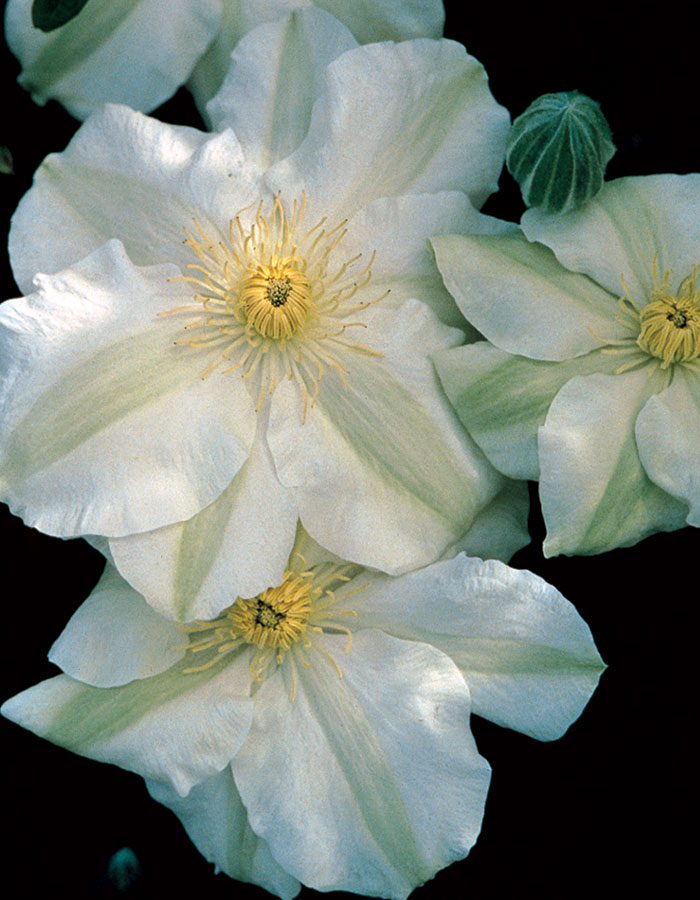
Clematis can play a multiseason role in any flower garden with their dazzling display of colorful blossoms quickly followed by a textural show of soft, fluffy seed heads. Their value as cut flowers is unsurpassed; they look delightful in a bouquet.
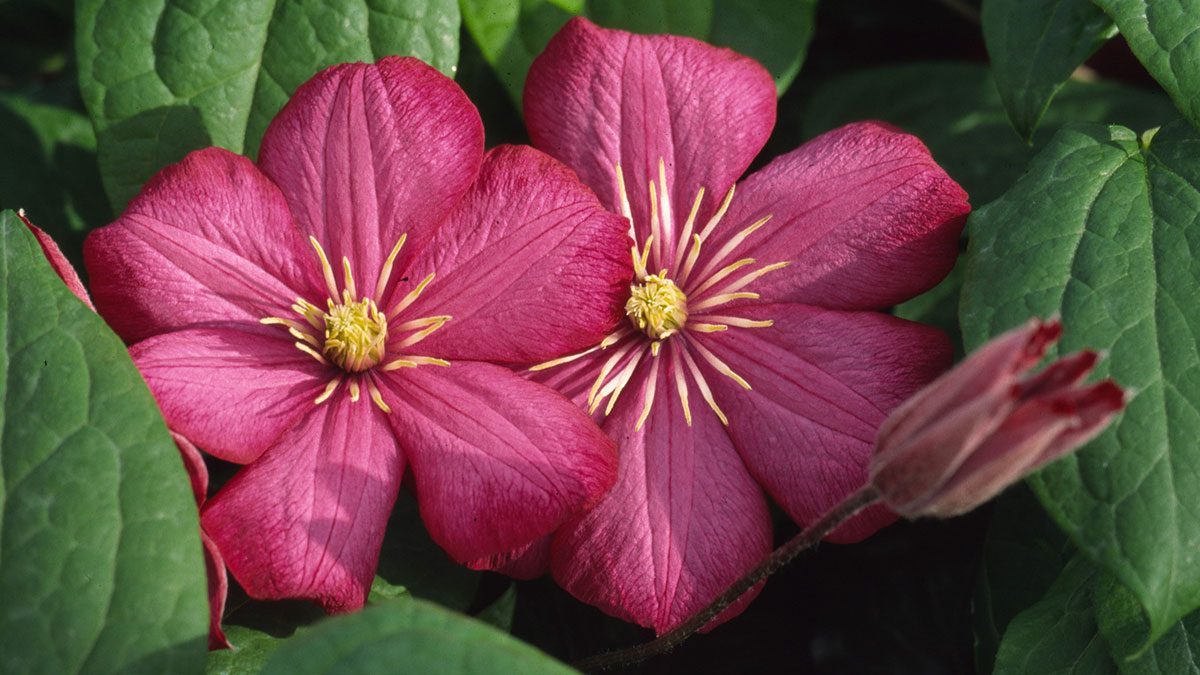
Nervous about growing your first clematis vine? ‘Elsa Spath’, ‘Guernsey Cream’, ‘Ville de Lyon’ and ‘Sapphire Indigo’ are four super easy-to-grow, vigorous, long-blooming beauties that produce two blooms of abundant flowers for even the novice gardener.
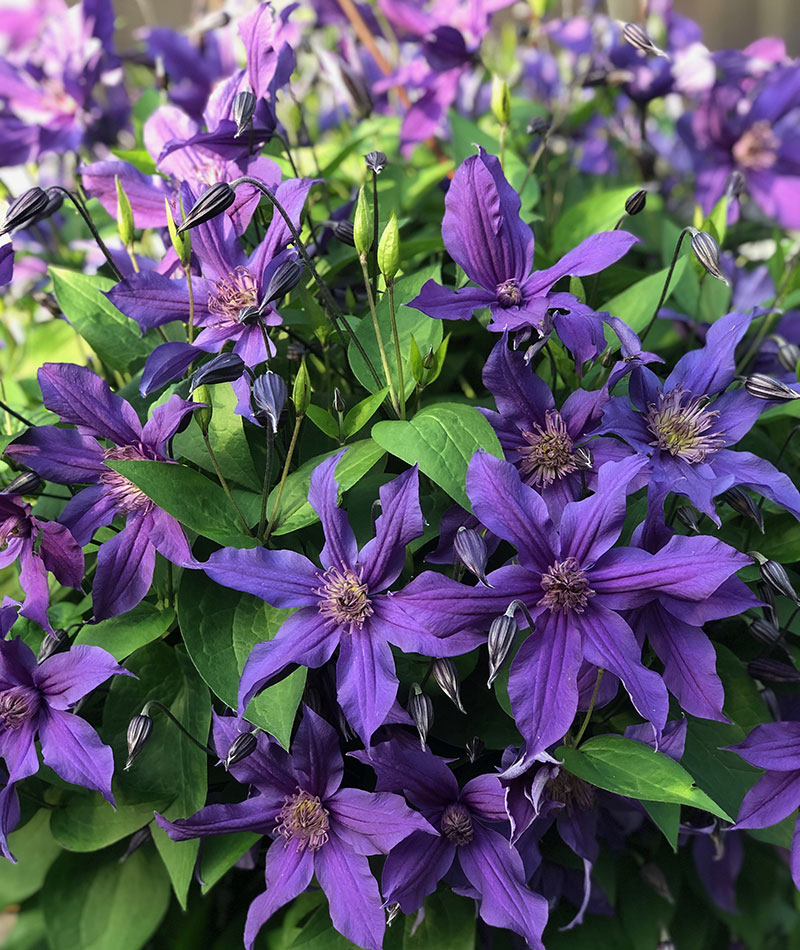
Follow the growing guide below to be an expert clematis cultivator in no time!
Exposure
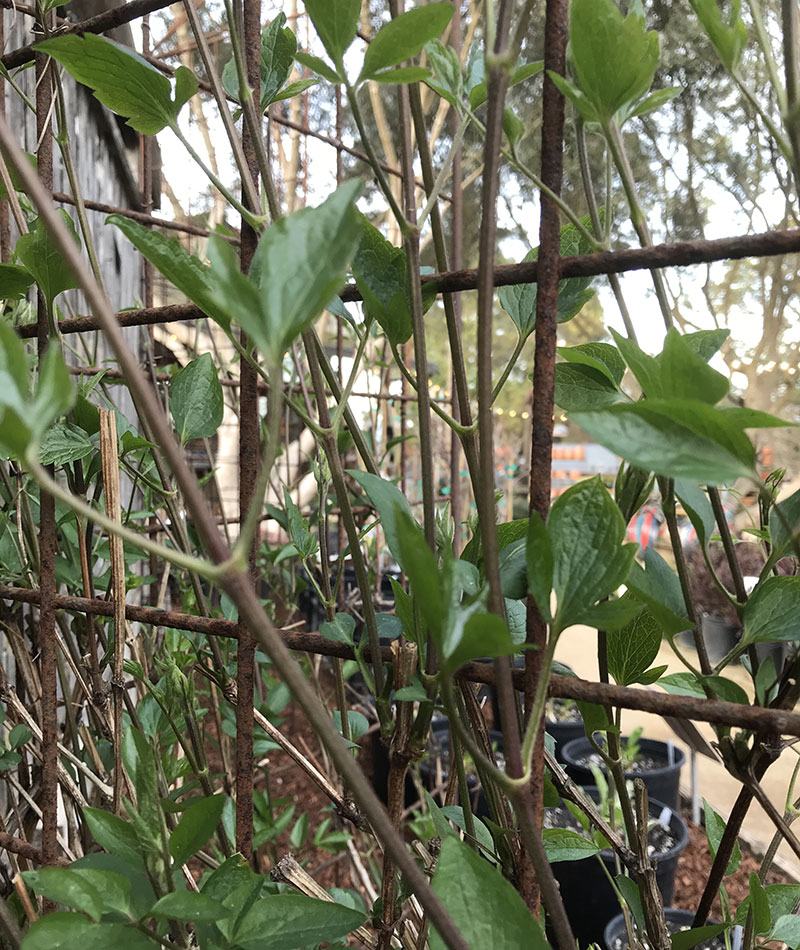
In Northern California, clematis vines are happiest when planted in locations shaded from the hottest afternoon sun. Coastal gardeners with foggy, misty, cooler conditions can grow clematis in full sun, and Italian clematis (C. viticella, Zones 4–11) and scarlet clematis (C. texensis, Zones 4–8) are more sun-tolerant than others. However, for most clematis species, in most parts of California, the ideal location should receive at least 4 hours of morning sun with shade from noon onwards, or filtered bright light all day.
Soil
Clematis appreciate deeply cultivated, rich, well-drained, and slightly alkaline soil, amended with compost or well-aged manure. When planting a new vine, dig a wide, deep hole (18 inches deep and 18 inches wide at a minimum for a 1 gallon plant), and mix 2/3 of your native soil to 1/3 amendment, adding bone meal or E. B. Stone Organics Sure Start into the mix. Position your plant slightly deeper than it was growing in the pot, so the first set of true leaves lies just under the soil’s surface. Finally, spread a 2-to-3-inch layer of mulch around the base of your newly planted clematis to keep the roots cool and help with moisture retention.
Watering and feeding
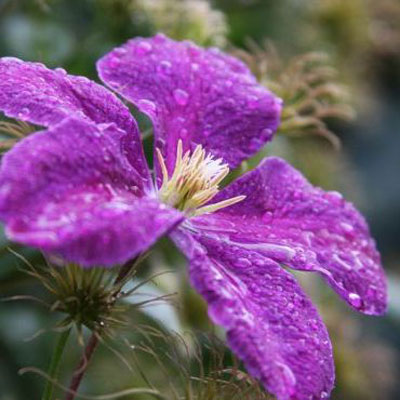
Clematis are thirsty vines and grow most vigorously and bloom most generously with regular irrigation. This is especially important during the hotter summer months. Deep and thorough watering at least twice weekly is recommended, but with every garden having its own unique conditions, be sure to observe your own plant’s needs to determine best irrigation practices.
From March through September in Northern California, a regular fertilizing schedule is recommended to encourage the development of deep, healthy roots, vigorous growth, lush foliage, and of course, abundant and spectacular blooms. Use a well-balanced, all-purpose fertilizer—either granular or liquid—and feed your clematis every 4 to 6 weeks throughout the growing season.
Support
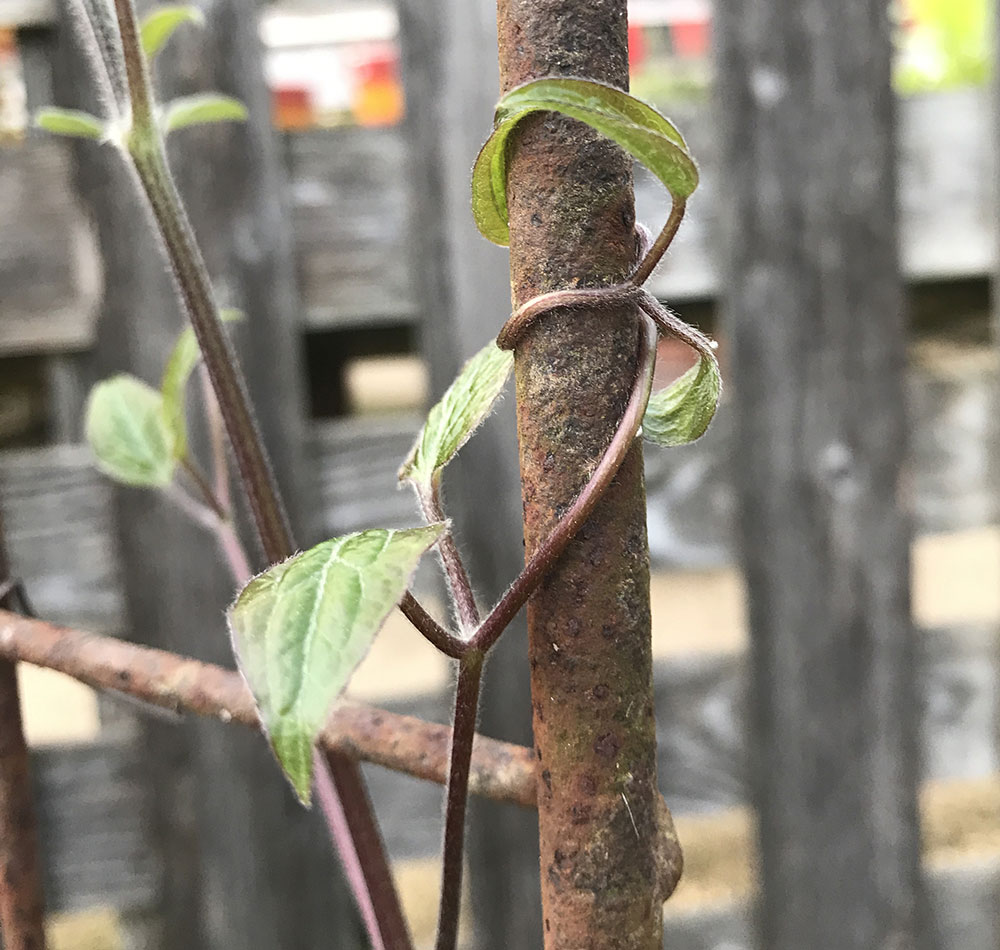
Though there are some exceptions, most clematis are climbers and require support. A clematis vine doesn’t twine as a pole bean or a morning glory (Ipomoea purpurea, annual) would, instead wrapping its leaf stems around its support. These leaf stems are not long, so the best possible supporting structure should be composed of grabbing opportunities not measuring more than 1/2-inch in diameter. Though twine, wire, garden netting, or simple twigs can be used, the attractive, American-made, steel topiaries and trellises from Artisan Trellis provide perfect support for growing your clematis vines, with the well-spaced, 1/4-inch-diameter steel mesh ideal for encouraging vigorous upward growth and abundant blooms. Allowing your clematis to twine through a climbing rose or clamber up a tree is even more spectacular!
Pruning
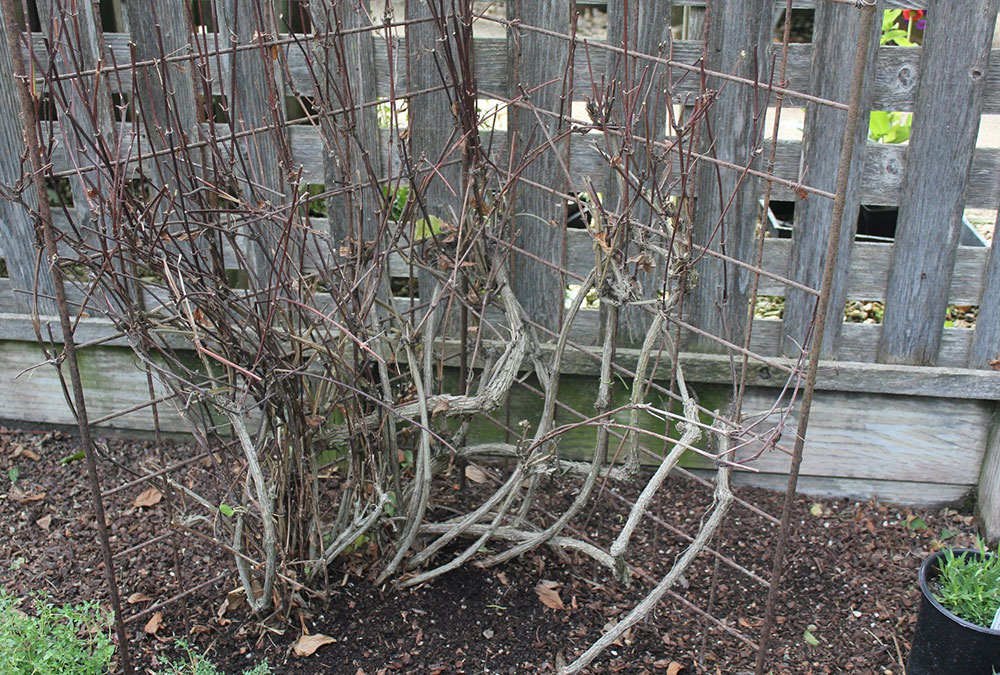
Simplifying the mystery around clematis pruning, I recommend no pruning (apart from tidying up or redirecting) for those in the Montana group (Clematis montana and cvs., Zones 4–9) or for evergreen varieties such as ‘Armandii’ and ‘Avalanche.’ For all others, I’ve discovered the following to be the easiest, most reliable method, guaranteed to promote the best, most floriferous results: In late winter, before spring growth has appeared, cut your young clematis vines down to a pair of buds about 10 to 12 inches from ground level. For vines three years old or older, prune to a pair of buds 2 to 3 feet from ground level. After pruning, feed your plants using your choice of well-balanced fertilizer, and sit back and wait for the show! After this lovely long-blooming first flush of colorful flowers is spent, it’s time to prune and feed again—cutting your vines back by half this time. This hard pruning stimulates lots of new growth and a second breathtaking display of colorful blooms in the fall, which lasts all the way to the first frost. Always use sanitary pruning procedures to help keep your plant healthy.
Pests and diseases
Deter pests and diseases by keeping your clematis stress free and at optimal health by following the growing instructions above. Thrips, whiteflies, scale, aphids, and leaf-rolling caterpillars are all potential pests, so monitor and treat appropriately if necessary. Clematis wilt and powdery mildew are fungal diseases that can affect these vines. They can be remedied by physically removing all the infected stems and leaves from the plant, along with any fallen leaves or debris in the area. If you decide to use a fungicide or insecticide to combat any problems affecting your vine, check the label to make sure it is suitable for clematis plants, and follow package directions carefully.
—Fionuala Campion is the owner and manager of Cottage Gardens of Petaluma in Petaluma, California.
Fine Gardening Recommended Products
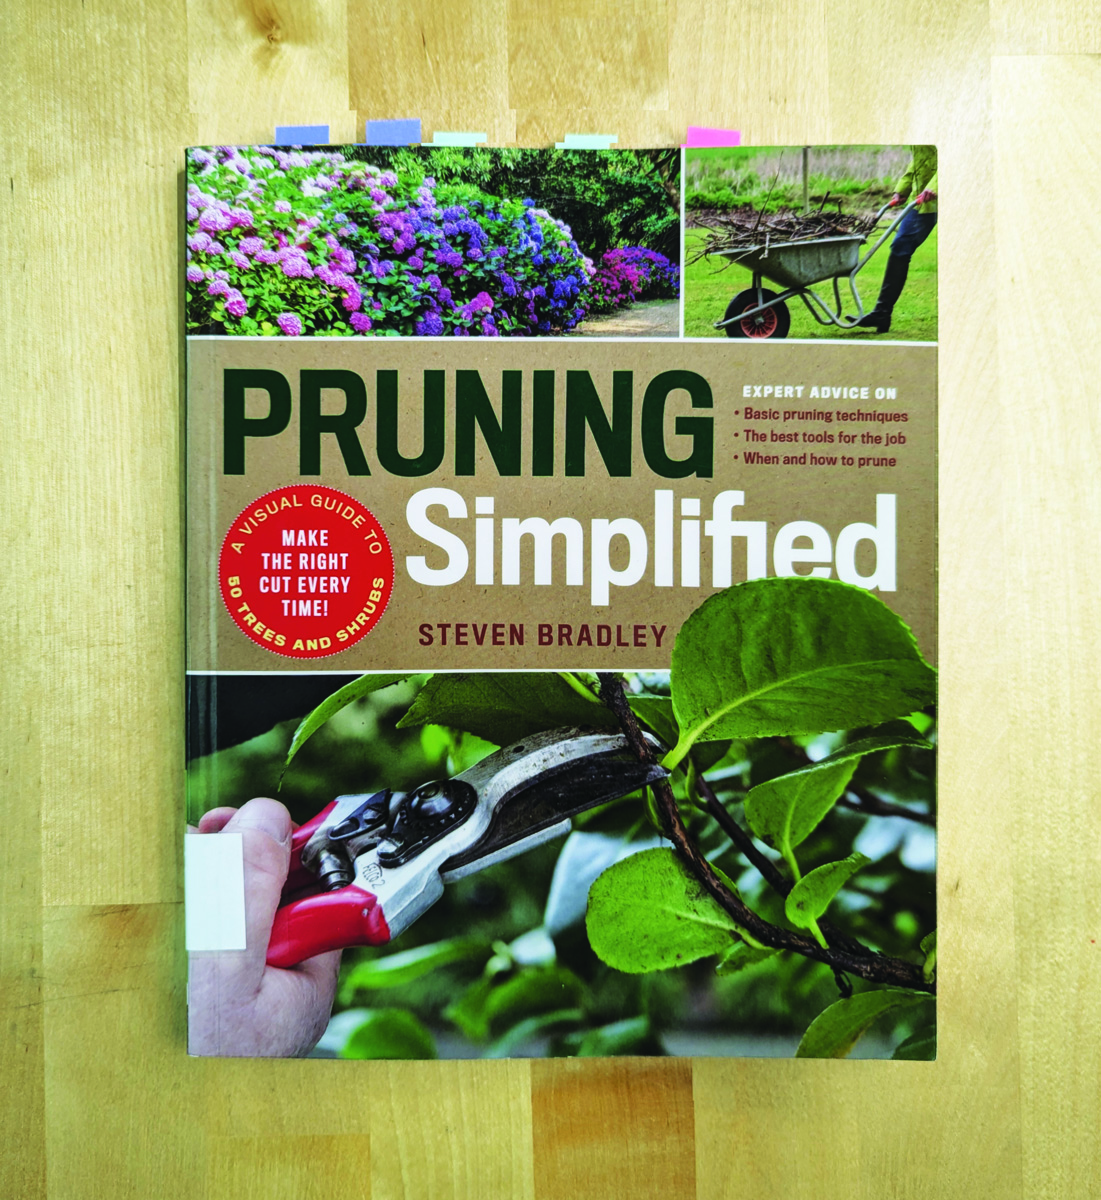
Pruning Simplified: A Step-by-Step Guide to 50 Popular Trees and Shrubs
Fine Gardening receives a commission for items purchased through links on this site, including Amazon Associates and other affiliate advertising programs.
Lee Valley Garden Obelisks
Fine Gardening receives a commission for items purchased through links on this site, including Amazon Associates and other affiliate advertising programs.
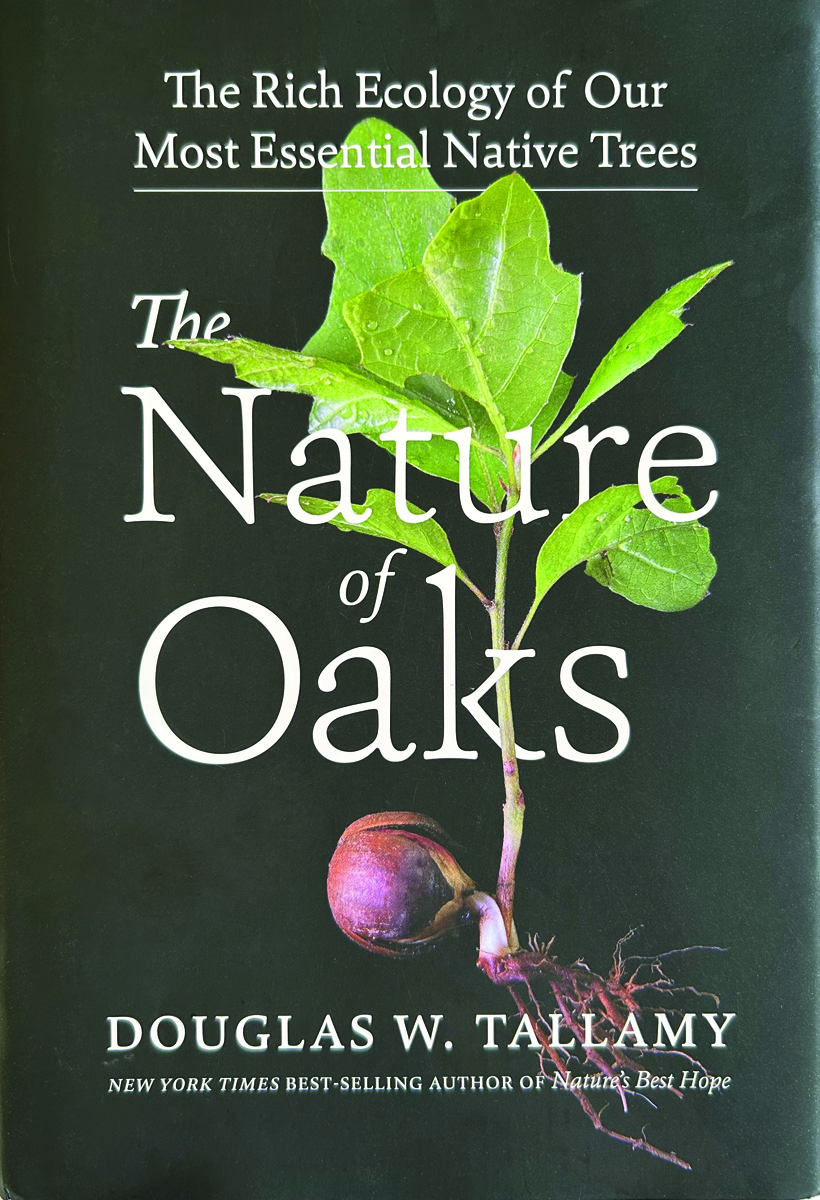
The Nature of Oaks: The Rich Ecology of Our Most Essential Native Trees
Fine Gardening receives a commission for items purchased through links on this site, including Amazon Associates and other affiliate advertising programs.






Comments
Log in or create an account to post a comment.
Sign up Log in