

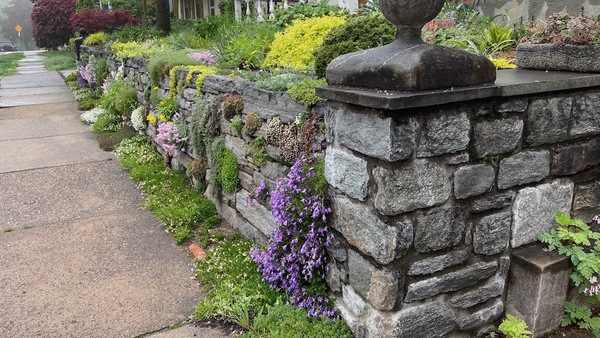
Rock gardens are ideally suited for experimentation. The pockets and crevices between rocks are like a horticultural laboratory, providing microclimates where specialized plants produce a kaleidoscope of interest throughout the gardening season. The dynamic juxtaposition between plants and well-placed stones has an intrinsically artistic, sculptural effect. And to top it all off, a rock garden will often persist with far less cutting back, deadheading, and fussing than a bed filled with perennials or annuals would require.
A rockery is a sensible and practical landscape solution for a naturally sloped or rocky site, but if you have a flat, suburban lot or a tiny urban space, creating a natural-looking design will present more of a challenge. Fortunately, there are many resources to help you incorporate rock work into your garden, and to pull it off with style.
See more:
Great Rock Garden Plants for Beginners
Video: Rock Gardening Basics: Tips and Tricks with Panayoti Kelaidis
First, consider where you live
Although it’s tempting to jump right in and start shopping for rocks, it’s best to start with a thoughtful evaluation of your existing growing conditions and climate, and a review of your goals for the new installation. The classic rock garden is modeled on the European Alps and features true alpine plants. To achieve a similar effect, rock gardeners in hotter regions often try to contrive microclimates to help plants from colder climates survive. However, there are compact, rock-loving perennials that thrive in every climate. The most successful rock gardens often combine regionally native species with compatible plants from similar climates around the world. It takes less effort to establish and care for plants that are well suited to your site’s unique soil composition, sun exposure, rainfall, humidity, and winter temperatures.
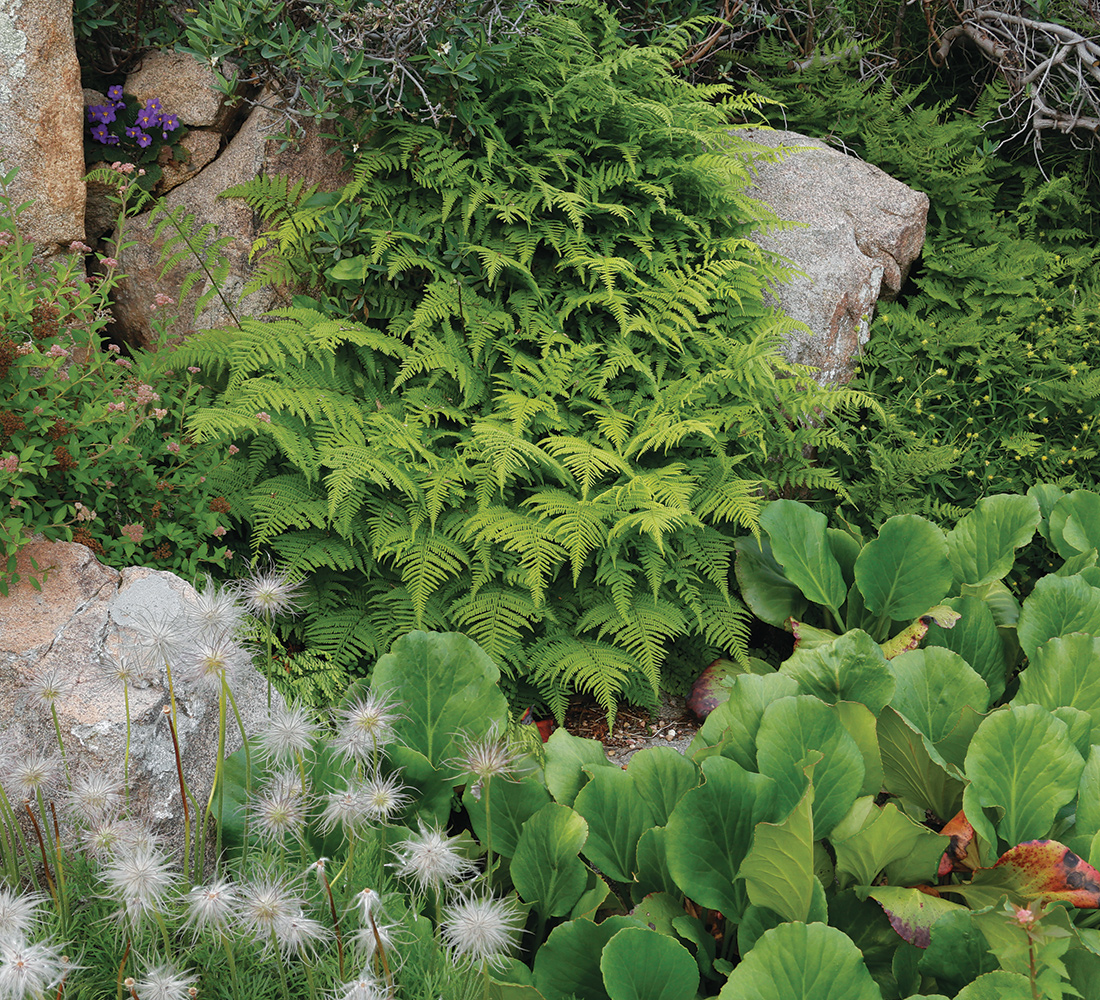
Many of us live in regions that are naturally forested, and there are countless rock-loving plants that grow perfectly well in full to partial shade. A woodland rock garden filled with spring ephemerals, ferns, and crevice gems will be dazzling in the spring months, and by incorporating some summer and fall bloomers you can ensure the show will continue until winter.
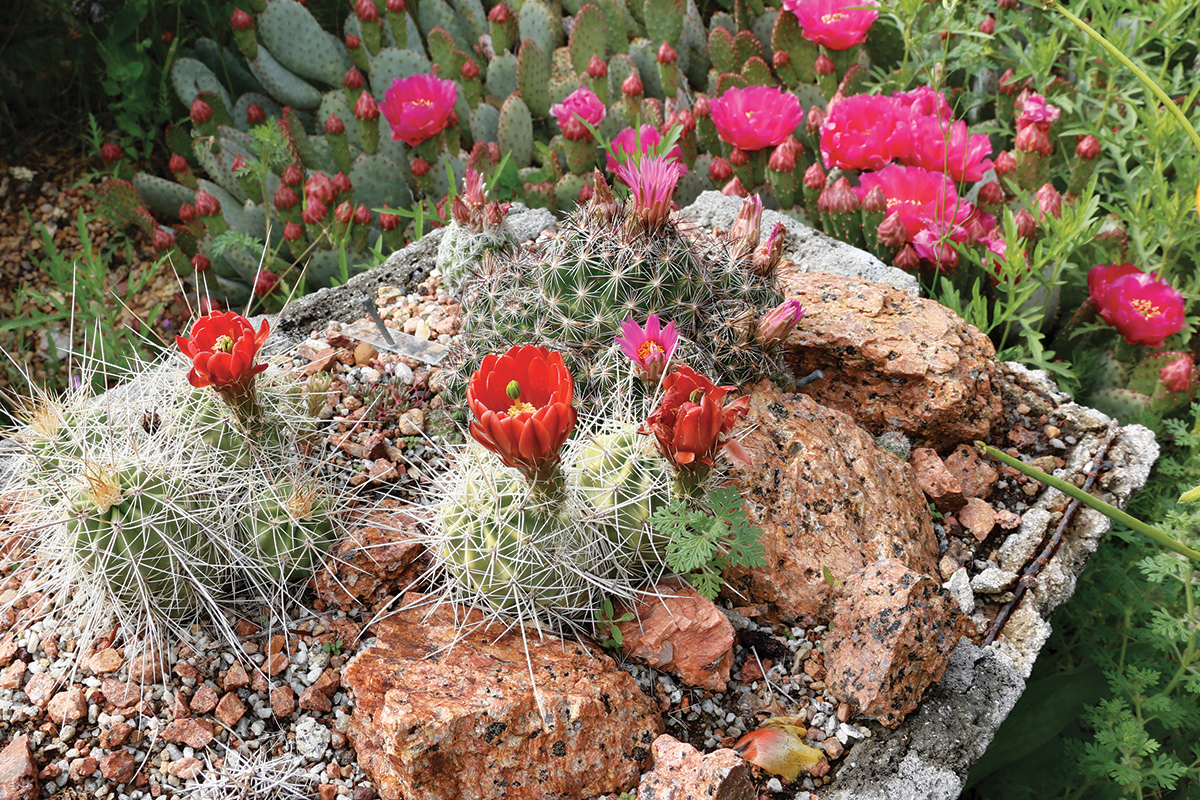
One of the fascinating things about rock gardening is that you can create a range of niche habitats within a relatively small space. For example, you might be able to grow miniature cacti on the sunny south side of your rockery, while tiny azaleas (Rhododendron cvs., Zones 3–9) thrive in the cooler shaded recesses of the north face.
Tip: Rock-garden plants love expanded shale
Available throughout much of the United States, this fast-draining growing medium balances aeration with moisture and nutrient retention, encouraging deep roots and strong growth. To keep crevice denizens happy, try filling the spaces between stones with copious amounts of expanded shale mixed with sand and just a bit of loam.
Analyze the site, pick a style, then place the rocks
Unless you are one of the lucky few who possess a natural outcrop, the process of creating a rock garden will require some degree of effort and expense. Before you begin, evaluate your property to find the optimal location for your new installation. Ideally, the rocks you use will tie in with the surrounding landscape, creating a compelling focal point or a useful screen.

One thing to consider early on is that rocks are heavy, and you must make sure to take on only what you can manage. There are designers and installers who specialize in rock work, and there’s no shame in hiring someone else to do the heavy lifting. Before proceeding, be sure to check out samples of what they’ve done in the past to be sure their style and taste are compatible with yours.
If you are a hands-on gardener who finds the challenge of designing with rocks irresistible, studying examples at botanical gardens is the perfect way to spark your creativity. Consider joining the North American Rock Garden Society (NARGS), which offers many excellent resources for beginners and experts alike. Most local NARGS chapters arrange tours during the months of peak bloom when rock gardeners are thrilled to show off their projects and to offer sage advice. Some will even share garden propagules.
Books can also be quite helpful during the design phase. I particularly recommend The Crevice Garden: How to Make the Perfect Home for Plants From Rocky Places by Kenton Seth and Paul Spriggs, a recently published book that has become an instant classic. It includes a host of diagrams and useful tips on building this new, very successful style of rock garden.
Once you have a general idea of what you’d like to build, I recommend practicing with scale models. Something as simple as a cardboard flat filled with sand and appropriately sized pebbles will give you the freedom to dabble with ideas and commit errors in miniature, where they are easily repaired. Troughs made from stone, concrete, or hypertufa are also great places to practice arranging stonework on a small scale.
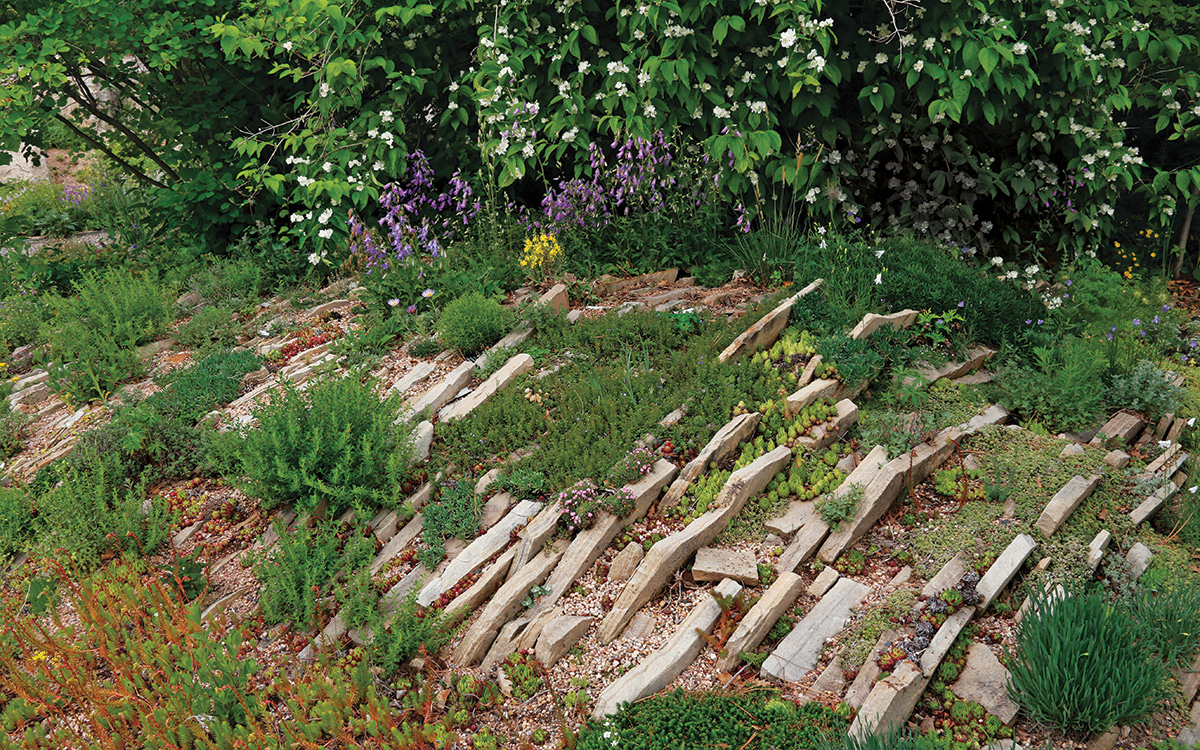
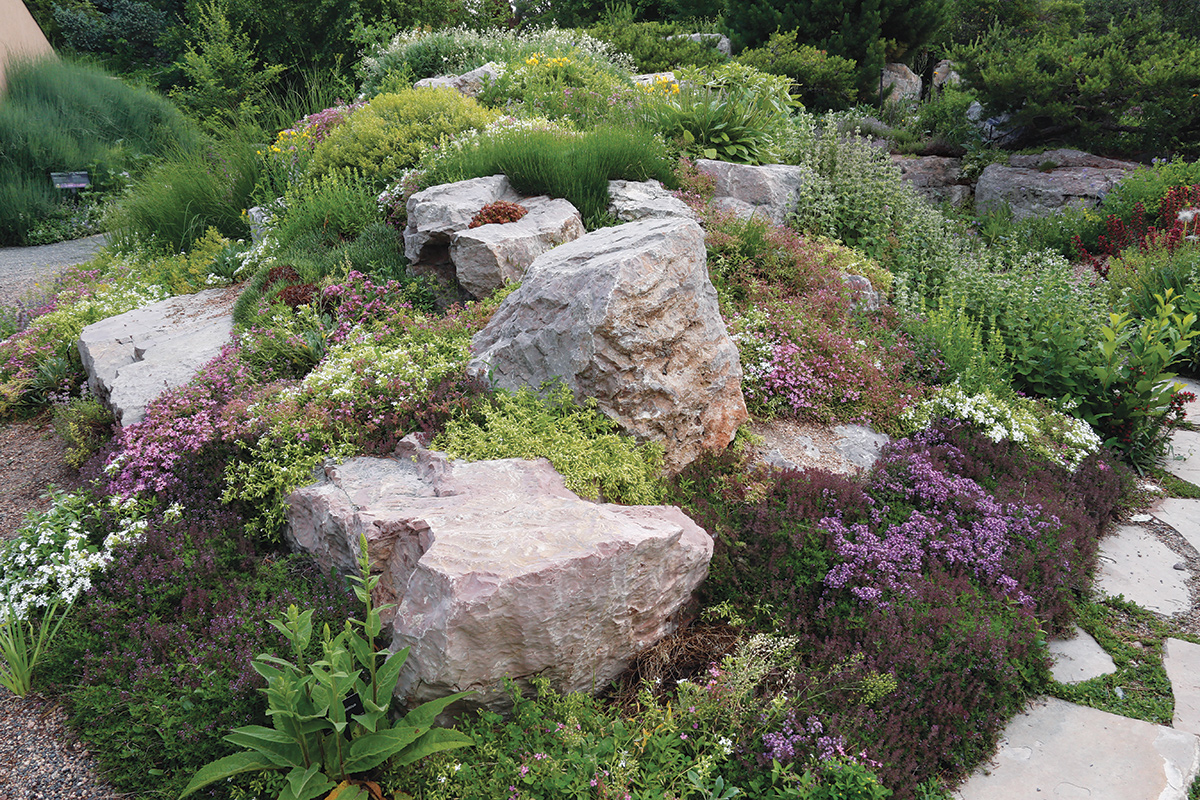
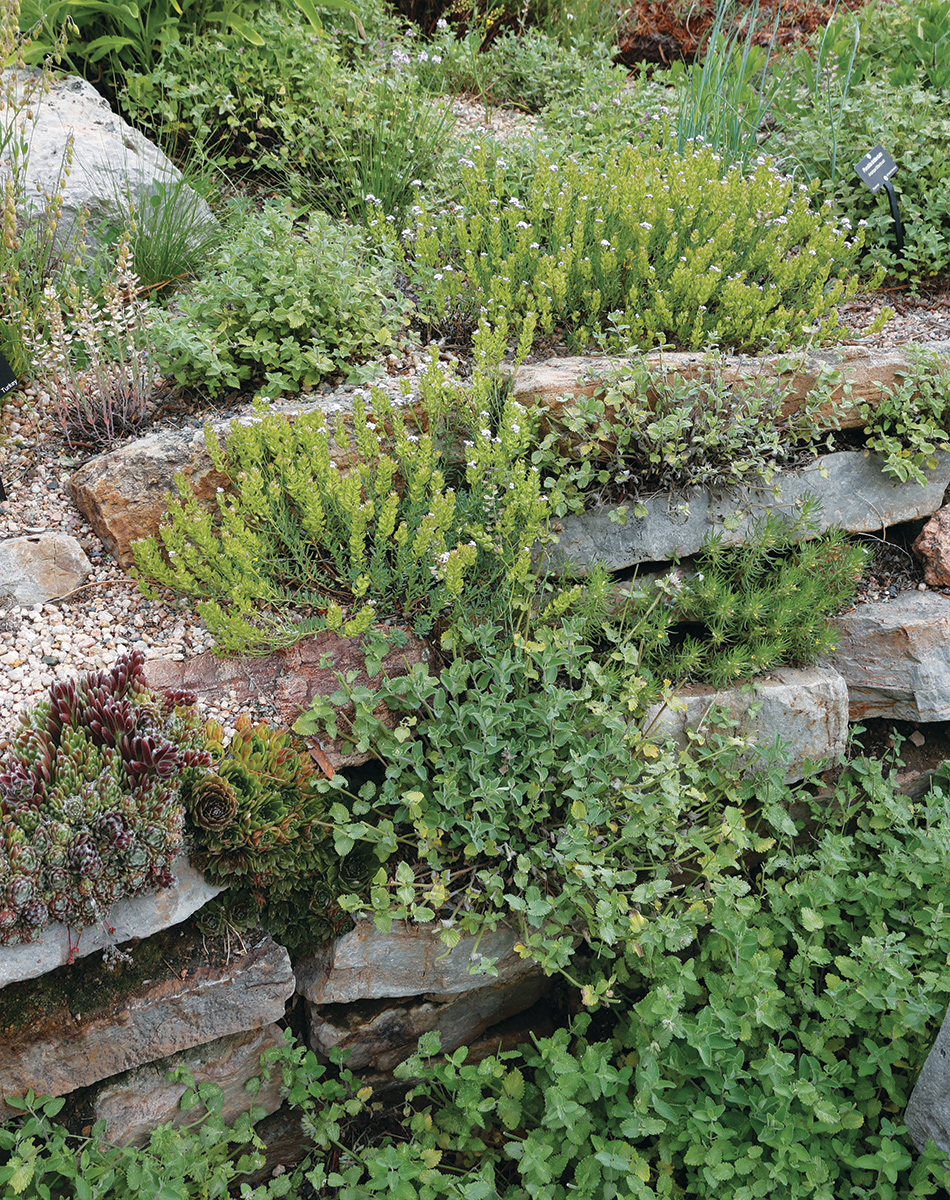
When you are finally ready to start placing full-size stones, the big idea is to avoid regularity. Resist the temptation to space out stones evenly, like the fruit in a plum pudding. Instead, work with a mix of rock sizes, clustering groups together and leaving irregularly shaped spaces between.
Create naturalistic patterns with stone

Rather than working with rocks that are more or less the same size, try fitting groups of variously sized stones together to create the illusion of a larger boulder with natural fissures. Experienced rock gardeners often group rocks in odd numbers to make a layout look more natural.
Plant with care to ensure survival
If you have done your homework, you are likely to create a successful and beautiful rock garden without too many scratches or pinched fingers. After the rocks have been set and the spaces between them have been backfilled with planting medium, I recommend allowing the materials to settle a while before planting. Planting in early spring or fall, when temperatures are cool, will give your plants their best chance at success. Plant when rainy weather is predicted, or provide plenty of supplemental water at planting time. Even plants native to dry regions will need to be watered regularly throughout their first year, especially during hot spells.
I have found that gently removing as much potting soil as possible from the root system before planting results in a much better survival rate. Whenever possible, tuck your plants against rocks, where they often grow better, instead of centering them in their planting pockets. Nothing dispels the illusion of nature faster than symmetrical patterns and evenly spaced plants.
| Basics |
How to Create a Tough Garden
If arranging stones and caring for rock-garden plants sounds like fun, why not try an affordable, small-scale project first? A trough container planting offers an excellent introduction to all the skills involved with rock gardening, and you can assemble one in just a few hours. Remember that your garden will be very heavy once it is filled and planted, so choose your location and get the planter situated before you add rocks, soil, and plants.

1. Choose a trough or pot
Steep-sided, frost-proof containers made from a durable material such as stone, concrete, hypertufa, or metal are ideal. If the trough doesn’t have drainage holes in the bottom, add them. Setting the container up off the ground on bricks, flat stones, or pot feet will improve drainage even more.
2. Find suitable stones
As is the case in a full-scale rock garden, a mix of sizes arranged in clusters looks more naturalistic.
3. Mix the planting medium
Rock-garden plants thrive in sharply drained soil; you can do a bit of research to learn what kind of mix works best for the plants you’d like to grow. Expanded shale mixed with sand and a small amount of loam or organic matter is an ideal substrate for many rock-garden plants.
4. Arrange rocks to create planting pockets and crevices
A layer of planting medium in the bottom of the container may be helpful for holding the stones in place and setting them at the desired angles. Once you are happy with your arrangement, fill the spaces between rocks with soil, tamping to remove air pockets.
5. Add plants
Gently remove as much potting soil from the roots as you can, and remember to do “the tuck,” nestling the root system up against a rock instead of setting the plant in the middle of the space. These practices encourage the formation of deep, healthy roots.
Panayoti Kelaidis is the senior curator and director of outreach at Denver Botanic Gardens.
Photos, except where noted: Carol Collins
Fine Gardening Recommended Products

The Nature of Oaks: The Rich Ecology of Our Most Essential Native Trees
Fine Gardening receives a commission for items purchased through links on this site, including Amazon Associates and other affiliate advertising programs.
Spear & Jackson 4930FZ Razorsharp Telescopic Tree Pruner
Fine Gardening receives a commission for items purchased through links on this site, including Amazon Associates and other affiliate advertising programs.
A.M. Leonard Deluxe Soil Knife & Leather Sheath Combo
Fine Gardening receives a commission for items purchased through links on this site, including Amazon Associates and other affiliate advertising programs.


Comments
Log in or create an account to post a comment.
Sign up Log in