For many of us, this scenario may sound familiar: You move into a new house and everything is perfect—except that huge rhodie out front that is threatening to swallow the porch. Or, maybe you purchased a gorgeous lilac several years ago and now it is enveloping half the front walkway. I like to call the culprits in these cases the “beasts” of the garden: perfectly wonderful shrubs that tend to get out of hand. Perhaps you planted them at the start of your gardening career; or maybe you simply inherited a property with 1 (or 6) of these beasts already in place. Sometimes, you don’t want to get rid of the shrub completely, but after many decades of being ignored, you need to get things in check. Luckily for overwhelmed gardeners, there are specific ways to get these imposing monsters under control once and for all. True, there are far more beasts of the garden out there than are mentioned here—but you may be able to deal with them in a fashion similar to our three examples.
Forsythia (Forsythia spp. and cvs., Zones 5–8)

When to prune
This is a good fall project once all the leaves fall from the plant.
How to prune
Forsythia is a plant that runs through your garden almost as fast as Usain Bolt. Most folks take the power shears and shape it into a gumdrop. Although this tactic reduces the plant’s size in the short term, it also reduces the flower show in early spring (which is mainly the point of having forsythia). Remember: the longer the canes, the more flowers. Unfortunately, this may be a three-year renovation project, depending on the size of your plant.
Start by yanking out all the runners until you get to the meat of the plant. Use a pair of loppers or a reciprocating saw to remove up to a third of the stems that have a diameter bigger than a quarter back to ground level. Always remove branches that rub against each other first, then remove those that have that potential to do so in the near future. The goal is to have the plant’s stems go up and then cascade down to look like a fountain. After that, follow out the branches from their base and remove any larger stems that fork into two, leaving one meaty stem in place. I like to leave the topmost ones to create a more pleasing cascading effect. The branches you leave in place will usually have flowering spurs on them, so your show next spring will still be a good one.
Additional control tips
The thinning of the forked branches should be done over the next two years because, chances are, you won’t find all the offenders the first year. After this, yearly, you will be only removing those branches that get larger than a quarter in diameter and trimming back any branches touching the ground.
Other plants that benefit from this approach
- Japanese kerria (Kerria japonica and cvs., Zones 4–9)
- Weigela (Weigela spp. and cvs., Zones 4–9)
- Deutzia (Deutzia spp. and cvs., Zones 5–8)
Common rhododendron (Rhododendron spp. and cvs., Zones 4–8)

When to prune
This is a good fall project once all the leaves fall from the plant.
How to prune
This is a heavy-handed pruning job and not for the faint of heart! You’ll be cutting into the old wood severely, all of it, even if it’s as thick as a baseball bat. A good rule of thumb is to remove at least two-thirds of the shrub’s overall size. Use a large saw (chain, reciprocating, bow, etc.) to cut back each primary branch of the plant’s framework. Try to make clean, slightly angled cuts just above a latent bud (small, tannish-pink dots on the bark). When you’re finished, the rhodie will look like an old stump waiting to be yanked out by your neighbor’s pickup truck. When the warmth of spring arrives, little green buds will sprout from those “dead” trunks. Be aware that the new branches will not bloom the first year and it’s best to leave these plants alone (no other trimming) for the first year, too.
Additional control tips
In the following years, you can do your pruning (thinning, shaping, etc.) right after flowering to keep these beasts in line. Removing spent flowers helps fill in the plants faster. This renovation will keep the plant at bay for about five years before you may have to remove it.
Other plants that benefit from this approach
- Japanese andromeda (Pieris japonica and cvs., Zones 6–9)
- Mountain laurel (Kalmia latifolia and cvs., Zones 4–9)
How do you know when a shrub is not worth saving?We’d like to think that all plants are worth keeping, but truthfully, sometimes they just aren’t. First consider if you can transplant it. Obviously, you must take into consideration size, health, and space requirements before attempting the move. Some plants can be relocated to the borders of your property to help screen unwanted views. Here are a few times when you should pull the plug:
|
Old-fashioned lilac (Syringa vulgaris and cvs., Zones 3–7)

When to prune
Late fall (after a number of hard frosts) through early spring
How to prune
Chances are, your old lilac has a bunch of big ol’ gnarly trunks. Lilacs also tend to produce suckers (branches growing straight up from the ground). If there are lots of suckers at the base of your lilac, you can remove most, if not all, of the big trunks right at ground level. If that gives you anxiety, you can leave a few for structure. At this point, you might want to reduce the footprint of the plant, too. If so, you can dig the suckers, roots and all, right out of the ground. If there are larger buds at the top of some of these stems, consider leaving those, unless they’re out of bounds; they will be most likely to produce flower buds. Try not to remove more than half of the total number of suckers if possible in order to preserve the flower display next year.
If your lilac doesn’t have any suckers around the base, or if someone has already removed them all, you should only cut out some of the big trunks at this time. Start with any that cross or rub each other. The goal is to save two-thirds of the nicest trunks that have water sprouts (small branches that grow vertically from an older branch or trunk). Cut these trunks as close to the ground as you can, leaving three to five water sprouts (which grow quickly and help the plant fill out) coming out of the trunks.
Additional control tips
As for future maintenance, remove any crossing or rubbing branches as they get fatter, remove spent flowers, and continue to keep the suckers at the lilac’s base in line. A sharp, deep edge on the bed surrounding your plants will help. You should be able to keep this plant for a lifetime after this renovation.
Other plants that benefit from this approach
- Pussy willow (Salix discolor and cvs., Zones 4–9)
- Rose of Sharon (Hibiscus syriacus and cvs., Zones 5–8)
- Tree lilac (Syringa reticulata and cvs., Zones 3–7)
Ed Gregan is a nurseryman with 30 years’ experience and the coastal Northeast field representative for Carlton Plants, a wholesale bareroot grower.
Illustrations: Elara Tanguy
Fine Gardening Recommended Products

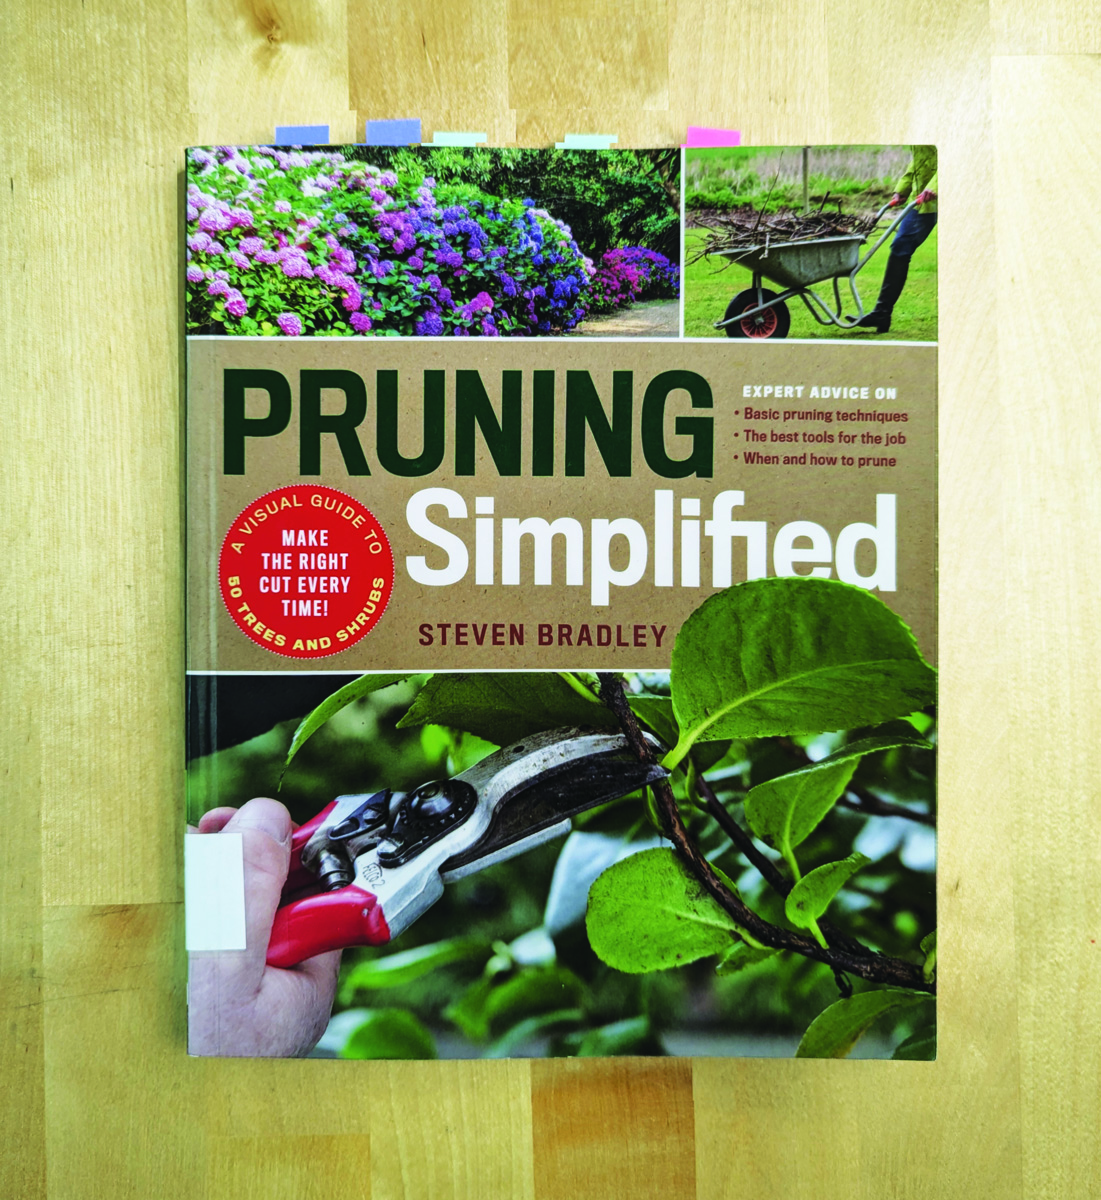
Pruning Simplified: A Step-by-Step Guide to 50 Popular Trees and Shrubs
Fine Gardening receives a commission for items purchased through links on this site, including Amazon Associates and other affiliate advertising programs.

DeWit Spring Tine Cultivator
Fine Gardening receives a commission for items purchased through links on this site, including Amazon Associates and other affiliate advertising programs.


Comments
Log in or create an account to post a comment.
Sign up Log in