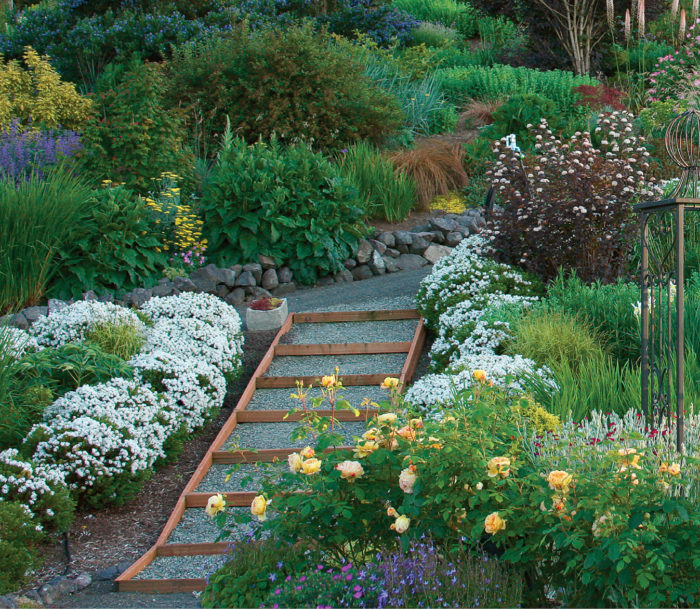
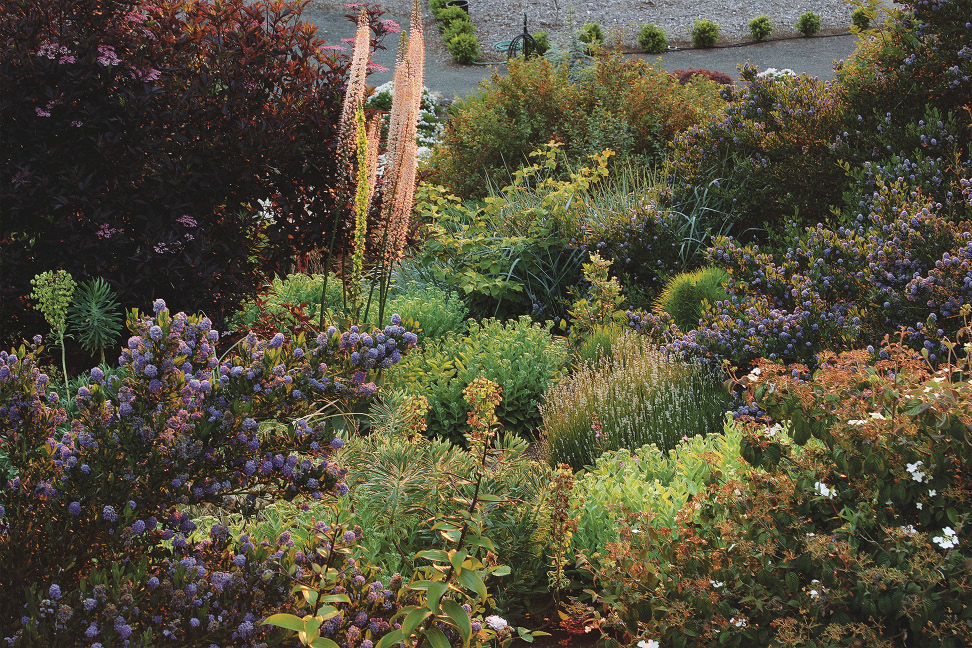
A drift is a ribbon of the same plant that meanders across the landscape, adding color and texture as it travels around shrubs and trees. Its free-flowing shape offers more visual movement than a stan-dard mass planting, which looks more like a giant patch of one plant. In contrast, a drift is often long and sweeping, starting out wide and then becoming thinner as it trails off. Individual plants, or even small groupings, have a busy, confetti-like look when viewed from a distance, while drifts stand out and pack a punch. Layering drifts among other perennials creates a colorful, eye-catching tapestry, and the repeating patterns and recurring plants give the landscape a sense of order. The result is a loose, carefree design, with just the right touch of formality.
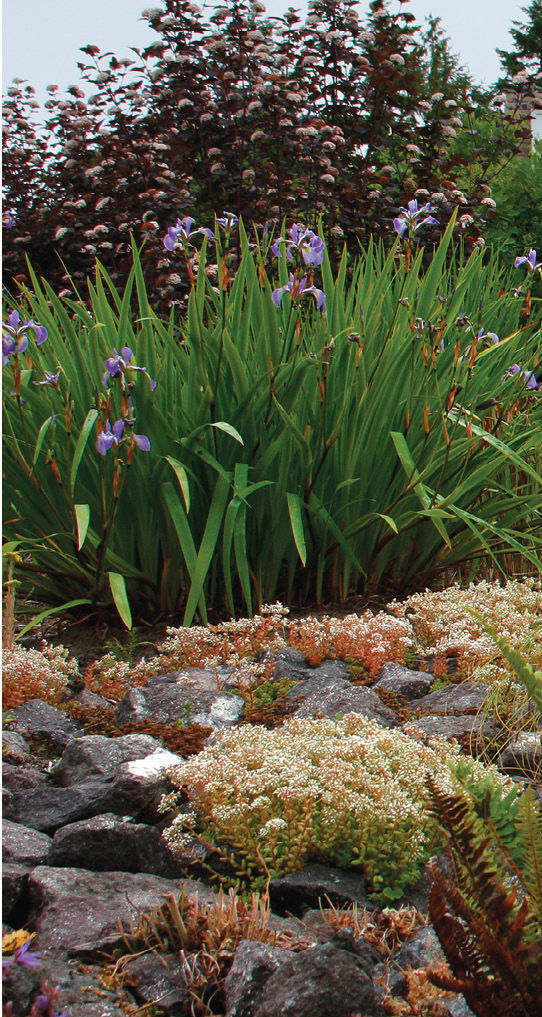
You can use drifts to adorn any landscape, but the trick is to make them look natural. Knowing which plants to pick and where to place them goes a long way toward ensuring a successful design.
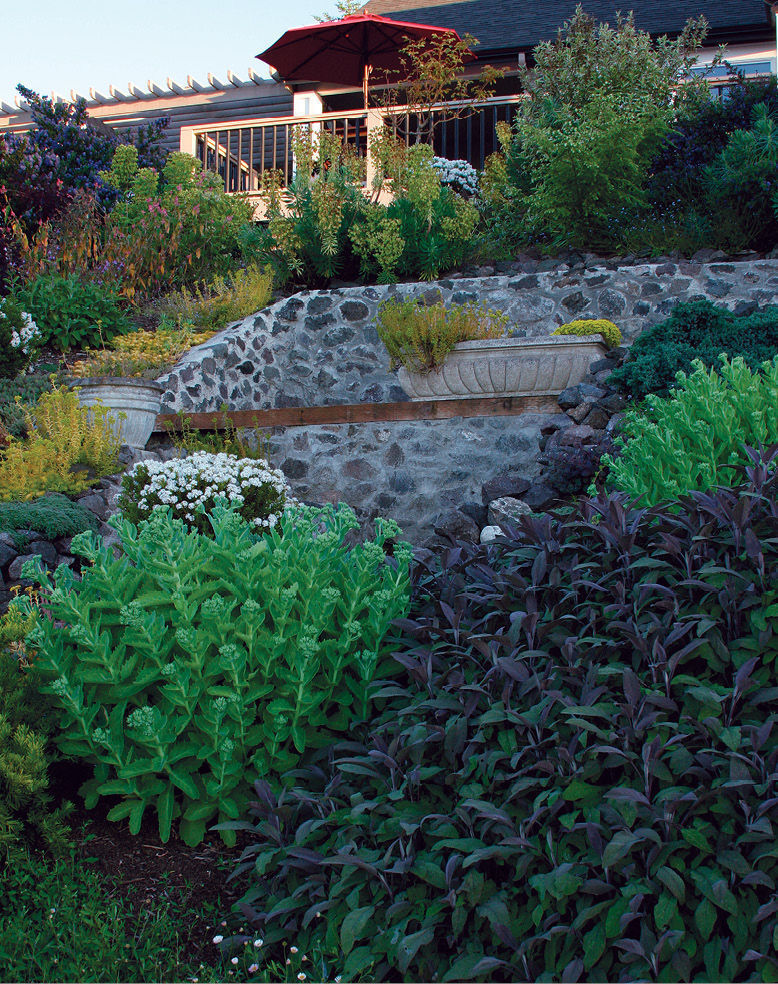
Tailor your approach to fit your landscape
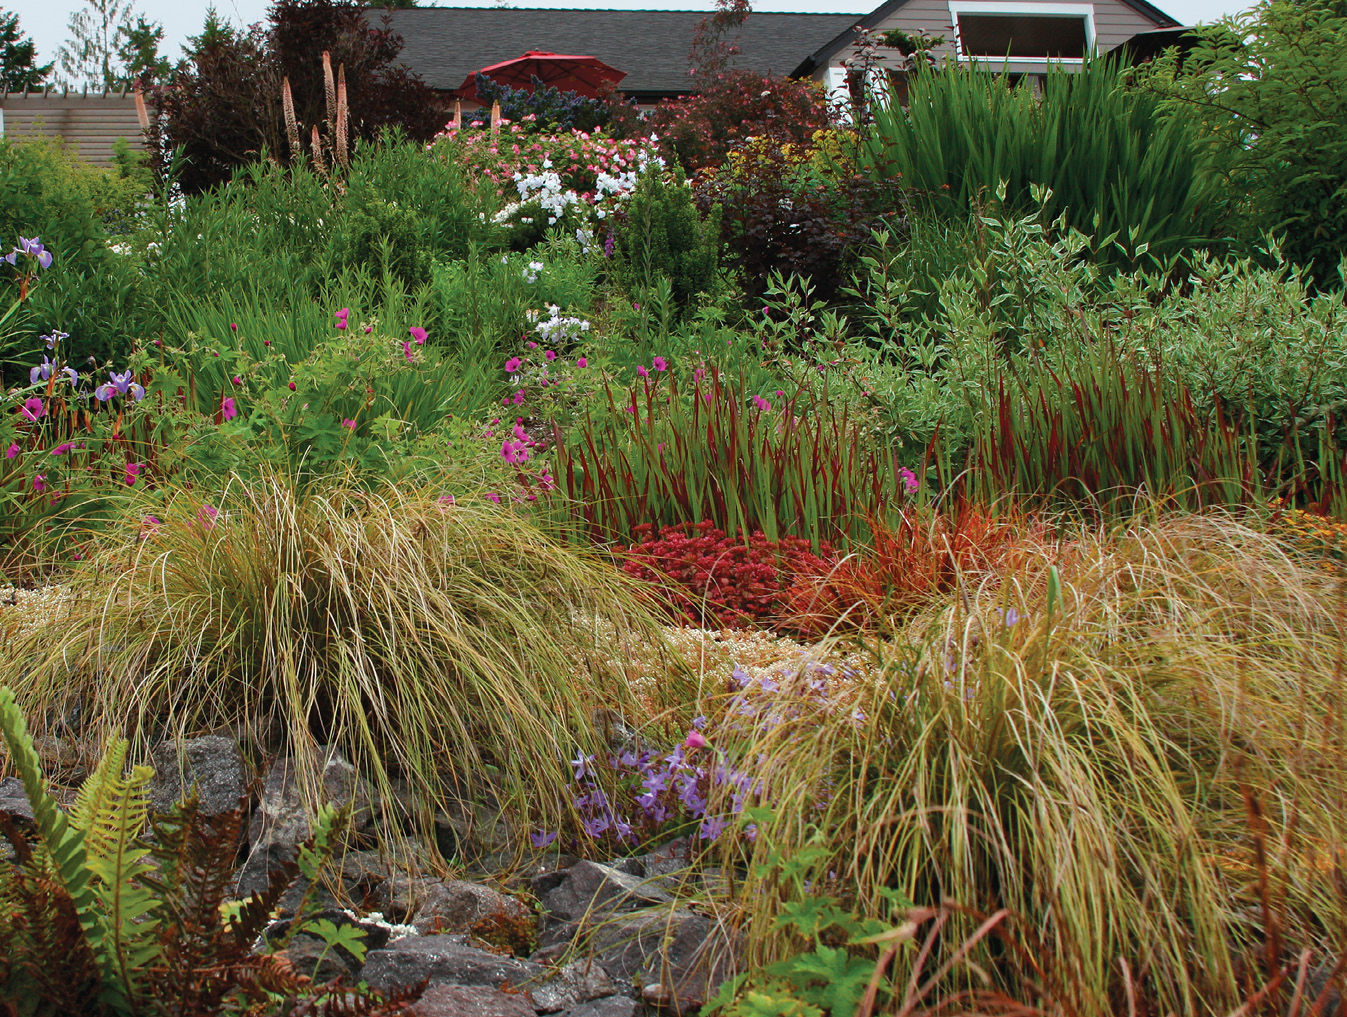
The size of your yard should influence your planting approach. If your space is small, consider restricting yourself to three to five plants to form your drifts. Narrowing your palette will keep the garden from looking busy. Large spaces aren’t as easily overwhelmed and can usually accommodate a wide number of different perennials. Every space, however, has a limit to how much variety it can absorb. Using up to six colors consistently and picking plants with similar textures make a spacious area look cohesive without becoming formal. In my garden, I repeat shades of purple, blue, yellow, pink, and white, and I frequently use succulents, like sedums (Sedum spp. and cvs., USDA Hardiness Zones 3–11), and grassy foliage, from plants like irises (Iris spp. and cvs., Zones 3–9) and sedges (Carex spp. and cvs., Zones 3–9), to tie the different plantings together.
Don’t rely on drifts alone
Before I started planting swaths of perennials, I made sure the garden had good bones. To make our large hillside more approachable, I divided it into three sections by installing stone steps along the sides and down the center. The stairways visually break up the space and improve access, making the garden easy to maintain. Each section is roughly 25 feet deep and 20 feet long. Only a third to one-half of each section is dedicated to drifts. The rest is covered with anchor plants, typically shrubs and small trees, which give the garden yearlong structure. Many of these plants, such as boxwood hebe (Hebe odora ‘Nana’, Zones 8–10) and California lilac (Ceanothus spp. and cvs., Zones 4–10), do double duty by also serving as focal points. These anchor plantings are larger in height and scale than the plants used for drifts, which lets them serve as backdrops within the garden. Spacing evergreen anchor plants among deciduous ones distracts from bare spots and gives the garden winter interest.
Stagger plants for a natural look with year-round appeal
Once you have your anchor plants and focal points in place, it’s time to start laying out your drifts. Because my drifts are usually viewed at a distance or from above, I keep my plant choices on the short side. I generally select plants that are no more than one-third of the height of my tallest anchor plants, which ensures a tiered look with foregrounds and backdrops.
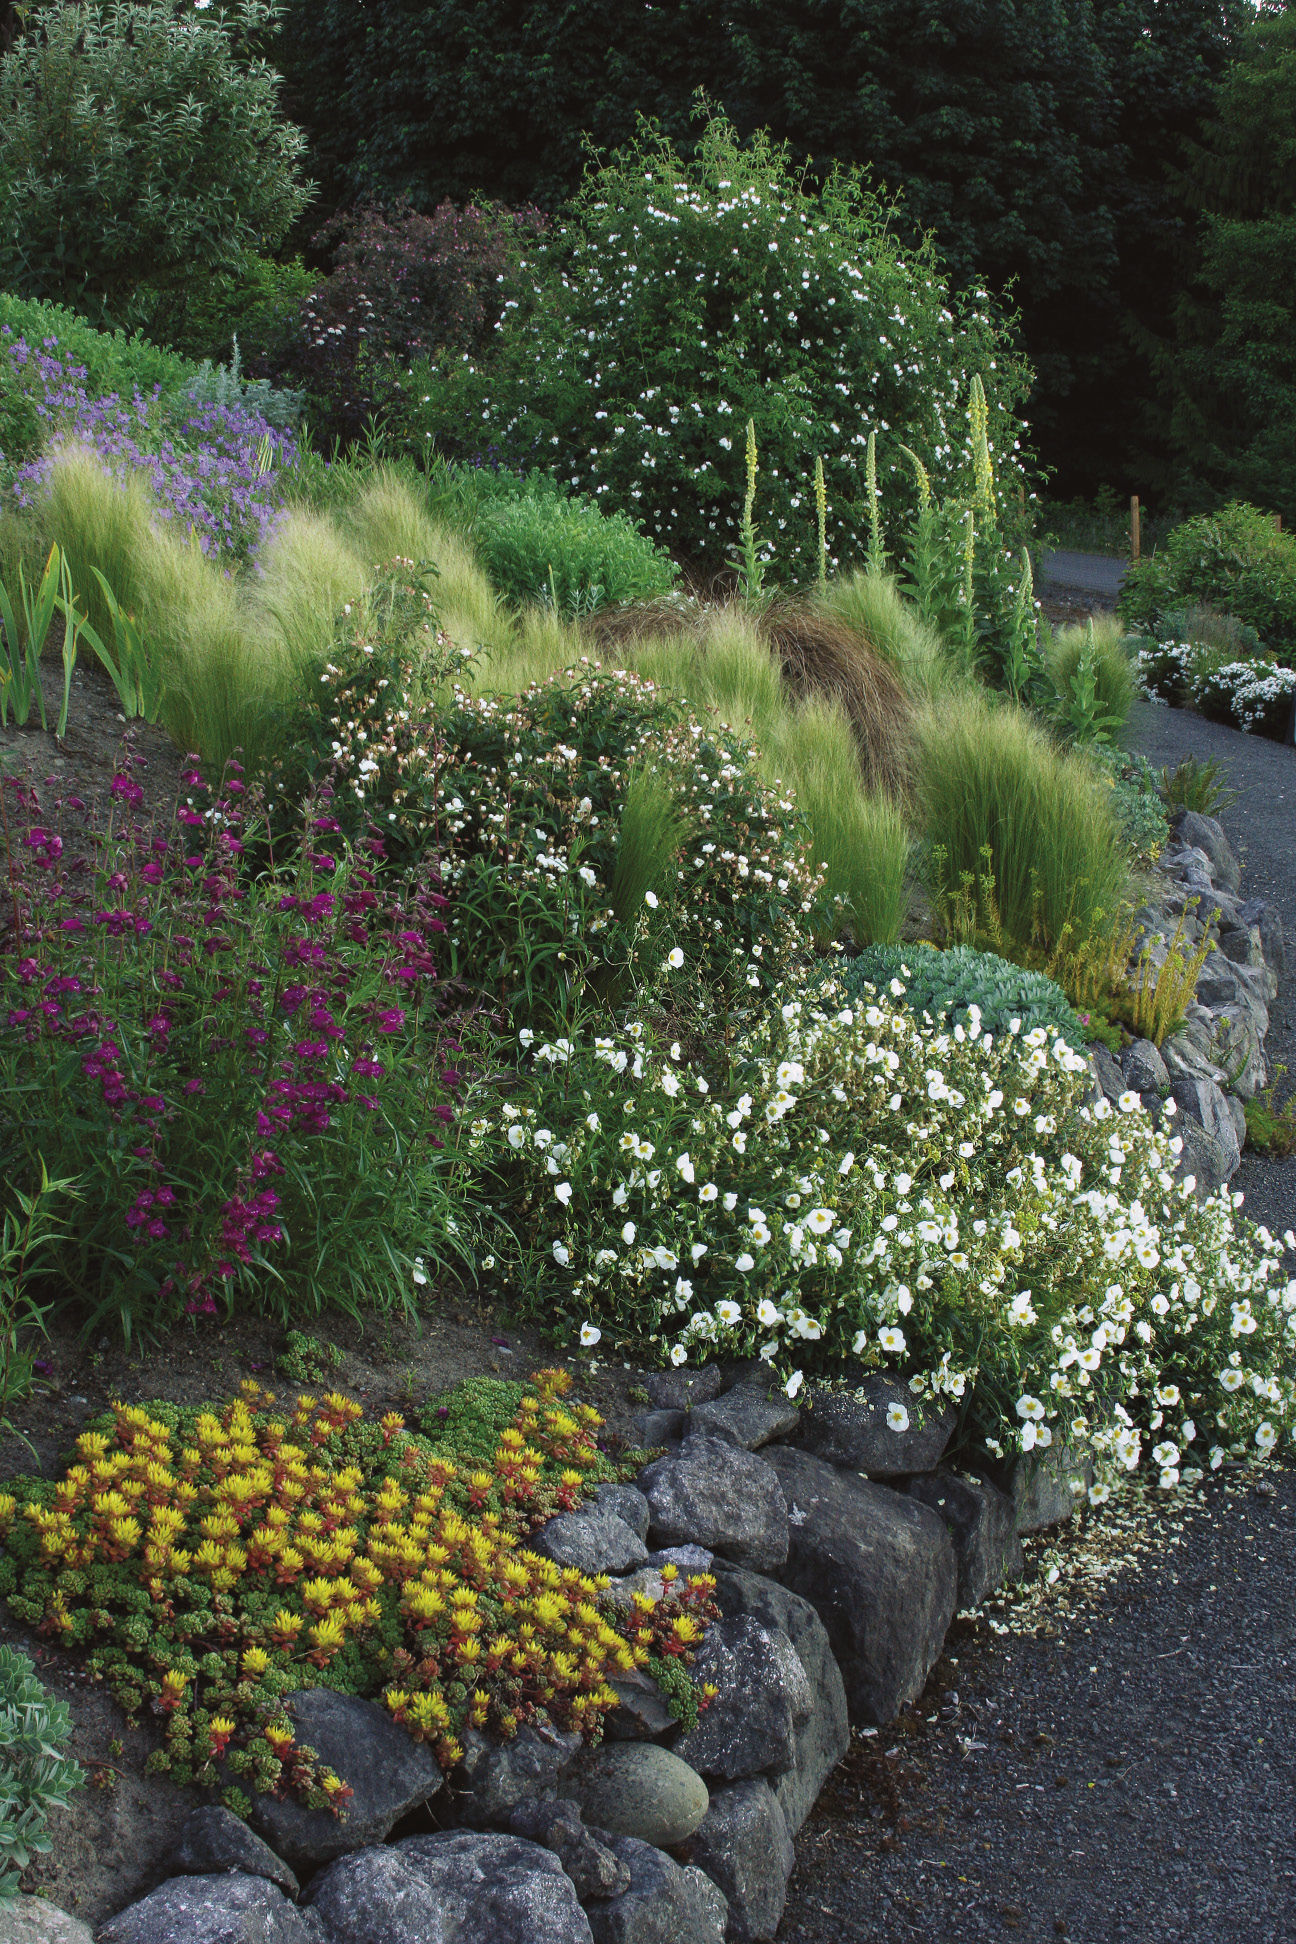
When shaping a single drift, place your plants close enough together so that they will almost touch when mature. Stagger plants within the drift, instead of planting them in a line, and make sure your drifts are wide enough and long enough to balance the slope as a whole. If a drift is too small, it will lack impact, and if it’s too big, it will dominate the landscape. In my garden, drifts run 10 to 15 feet across, starting from behind or in front of taller plants. Each of the three sections contain four to six drifts, and any one drift might hold up to nine individual plants. Making parts of the drift narrower or wider helps create a natural look. I also like to scatter a few of the same plants just outside of its drift to imitate the way nature self-sows.
Similar principles apply when viewing your composition as a whole. Don’t plant your drifts in straight lines. Start drifts, instead, at different points along your hillside, staggering them just as you would stagger the individual plants within the drifts. To avoid huge seasonal bare spots, keep in mind how each mass of plants will look throughout the seasons and disperse the plants accordingly. Whenever possible, opt for those that boast lengthy bloom seasons, evergreen foliage, or colorful leaves that will pull their weight from spring through fall. I scattered drifts of ‘Autumn Joy’ sedum (Sedum ‘Autumn Joy’, Zones 3–11) across my slope to guarantee pops of color and texture during fall and winter, and I planted several drifts of spring-flowering bulbs to ensure blooms before the rest of the garden wakes up.
Planting drifts in this way is more subtle than planting en masse, but the pools of color and texture still pop from a distance. Better yet, drifts don’t come with as many plant restrictions as formal mass plantings do—a perk any plant collector can appreciate.
Piecing it all together
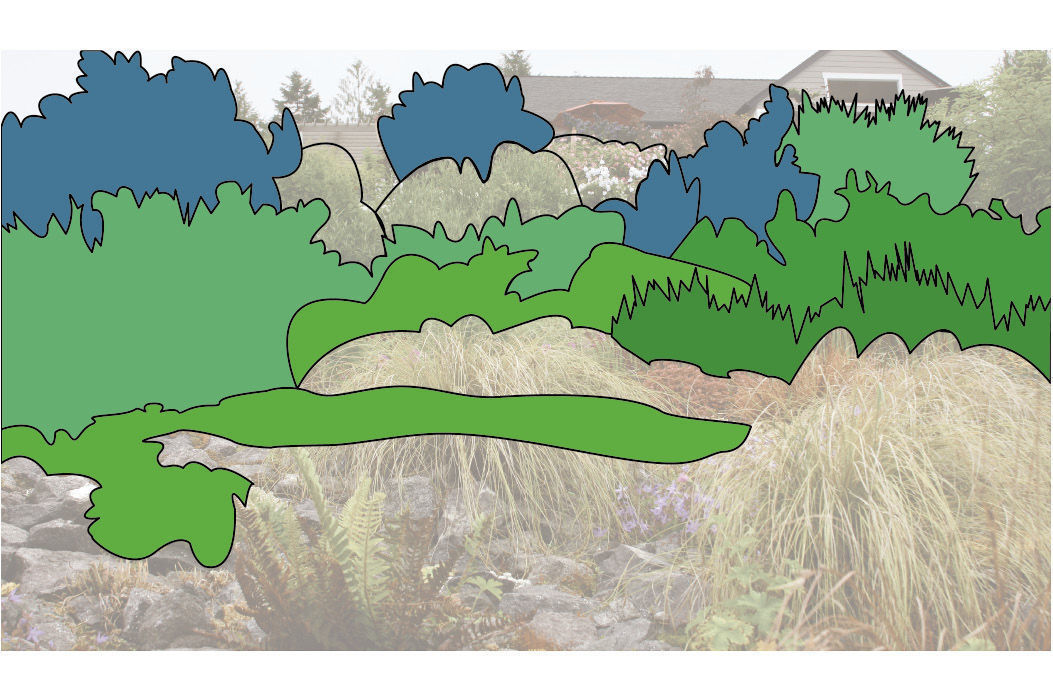
Hefty anchor plants and ribbon like plantings work hand in hand. The shrubs and trees create the garden’s framework, while the drifts offer streaks of color and texture across the slope.
key
■ = Anchor plants
■ ■ ■ = Drifts
Tackling the challenges of a tough site
From the start, I had four primary goals: to minimize weeds, prevent erosion and slippage, design for easy access (for walking, mulching, watering, and weeding), and create a landscape with year-round beauty. All of these goals required some creative problem-solving along the way.
Challenge no. 1
Taming stubborn weeds
• It is much easier to remove weeds prior to planting than to remove weeds that are growing up through new, unestablished plants. Instead of planting the first year, I focused on ridding the hillside of all weeds, brush, rocks, and unwanted critters.
Challenge no. 2
Preventing erosion, and managing runoff
• I improved the moisture retention of the site by adding lots of compost (more than you could imagine) to the slope. The first year, I spread two-thirds of it over the slope’s upper half and, the second year, one-third over the lower half.
• Installing catch basins and drainpipes let me channel rainwater from the top of my property. This water flows into a county-required catch basin.
Challenge no. 3
Maintaining a steep slope
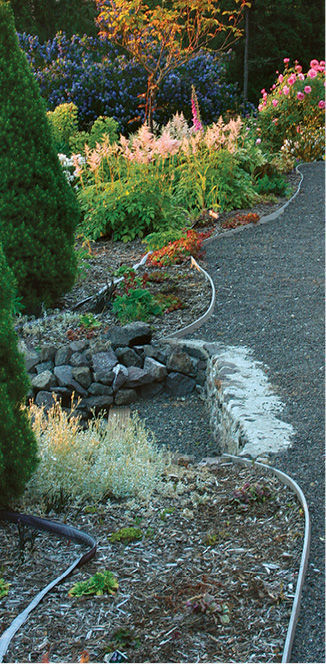
• A level, 8-foot-wide path runs horizontally through the middle of the slope (photo, right) and ends at a compost pile. The path’s generous width allows a riding mower to travel through with ease.
• Three walkways/stairways run from the top of the slope to the bottom. The central stairway meanders up to the house.
Challenge no. 4
Covering almost 2 acres with plants
• A large temporary holding bed for newly divided and recently bought plants gives me time to select a permanent home for each.
• To save money, I swap divisions with friends and buy mostly young plants in containers that are 1 gallon or less. I only splurge on 3- to 15-gallon containers when plants are especially slow growing.
Donna “Teva” Tetiva is a consulting rosarian, a master gardener, and the owner of Topiaries by Teva in Sequim, Washington.
Photos: Ann E. Stratton
Fine Gardening Recommended Products

Lee Valley Large Gardener's Wash Basket
Fine Gardening receives a commission for items purchased through links on this site, including Amazon Associates and other affiliate advertising programs.
Berry & Bird Rabbiting Spade, Trenching Shovel
Fine Gardening receives a commission for items purchased through links on this site, including Amazon Associates and other affiliate advertising programs.

Gilmore Rubber Hose Washer 10pk
Fine Gardening receives a commission for items purchased through links on this site, including Amazon Associates and other affiliate advertising programs.
- Clip of 10




Comments
Log in or create an account to post a comment.
Sign up Log in