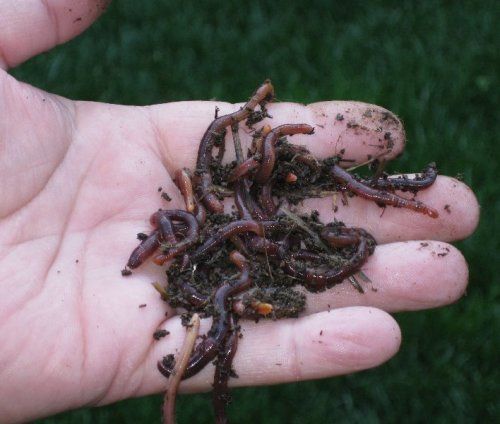
Worm composting (vermicomposting) has to be one of my favorite gardening topics in the world. There are so many good reasons to keep red wigglers in the kitchen or by the back door, munching and crunching on your kitchen scraps that it’s hard to know where to begin.
I affectionately think of this practice as “worm farming” mostly because I like my personal title of “worm wrangler”. It conjures up a truly gritty image of me in half-chaps and carrying a whip. Not that you need a whip for these hard-working little characters.
Worm composting or vemicomposting is another way of collecting the stuff you typically throw away and letting the worms create a soil nutrient so rich that gardeners call it “garden gold”. We’re talking about worm castings. Castings are one of those words that were created so that vermicomposting could be discussed in polite society. Worm castings are just worm poop.
Here’s the big deal about castings. They are much higher in available nitrogen, phosphates and potash than your average topsoil. “Available” means that the nutrients in castings can get to the plants for easy absorption because it’s water soluble. Worm castings will also greatly improve your soil’s texture.
Create a Worm Composting Bin
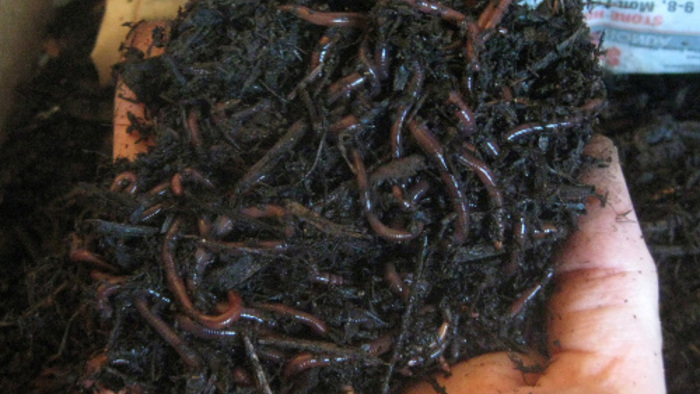
The first thing you’ll need is some redworms called red wigglers (Eisenia fetida), tiger worms (Eisenia andrei), or the “true” redworm called Lumbricus rubellus. Like everybody, it’s a fact that not all worms can do every job. We all have our strengths and making compost is not the night crawler’s area of expertise.
While night crawlers aren’t without the skill, they are quite slow at decomposing materials and live much deeper into the ground – about 6″ or so. The night crawler’s best work is soil aeration and earth work – oh and as fishing bait.
The Red Wiggler, Tiger Worm and True Redworm are surface dwellers; they are the decomposers. If you use the true redworm they’ll pull double-duty for you as a decomposer for your bin and as an earth-worker.
Do the little wiggly guys make you nervous? Try naming them – it changes the relationship entirely. We have ours named Freds 1-10,000. Our herd of Freds isn’t much for conversation but they do have a spokes-worm, Fred# 422, which has asked us to knock it off with the onions. So, I’ll pass that little pearl on to you; they’re not that into onions.
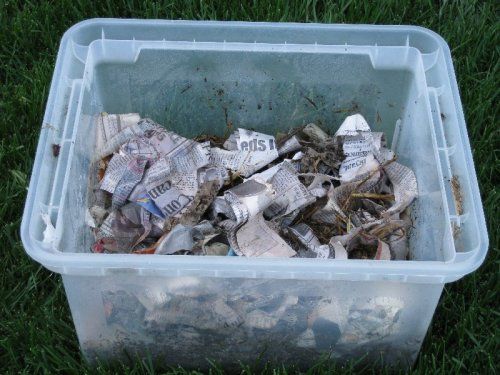
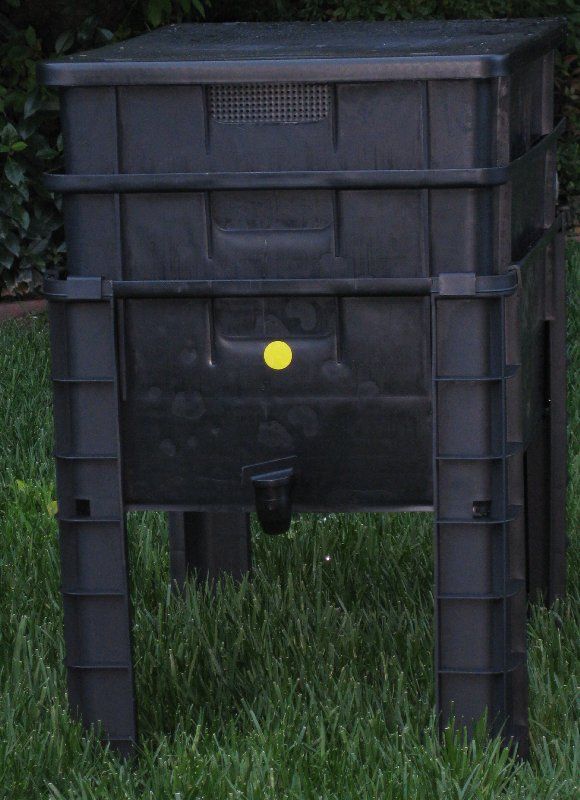
So, you have your worm-workers and now you need a home for them. For years we have used a Rubbermaid type bin for our worm farms, but recently, we purchased a fabulous worm condo. You have never seen a more excited person (I was literally clapping my hands). These condos make it easy to harvest the castings as the worms work their magic. There’s also a tap where you can drain off some worm castings tea to pour over plants like a mid day power drink.
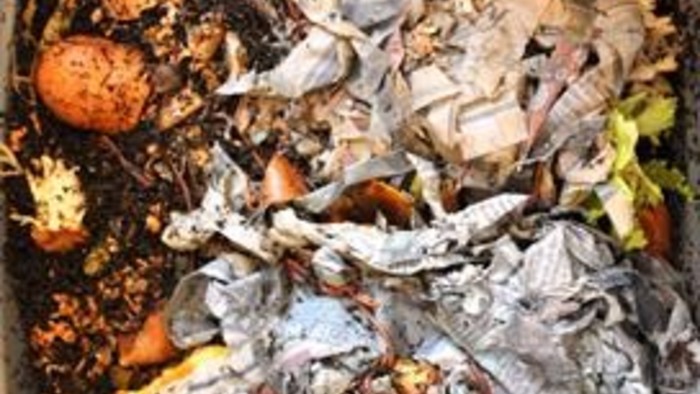
When you have your container, drill some holes in the sides and the lid. Don’t worry, they don’t see the holes and make a run for it; worms do not bite the hand that feeds them. They are perfectly happy to stay where the food is. For bedding you can use newspaper strips – just rip them into long shreds. You can also use coconut shell fiber ( coir), peat moss, leaves, or even wood chips.
If you use wood chips, those can be screened out when you harvest the castings and then reused, as the worms won’t eat them. The worms will eventually eat the other products I mentioned. As far as the leaves, they work but tend to stick together when you moisten the bin, so it’s harder to bury the scraps. Personally, I like the newspaper, but I’m experimenting with coir for the new luxury townhouse.
The worm bedding should be kept moist at all times like a wrung-out sponge. Worms like cool and dark places and need the moisture to survive. Be sure to keep the worm bin out of any direct sun; they prefer a cool porch, basement or kitchen.
Worm Bin Care
Take about a pound of red wigglers and place them into the wet bedding in the bin. Now you can toss a little soil in there, because I know that’ll make you feel better. Feel free to sprinkle corn meal in there and some coffee grounds, as well. Starbucks usually has a special basket with bags of coffee grounds free for the taking.
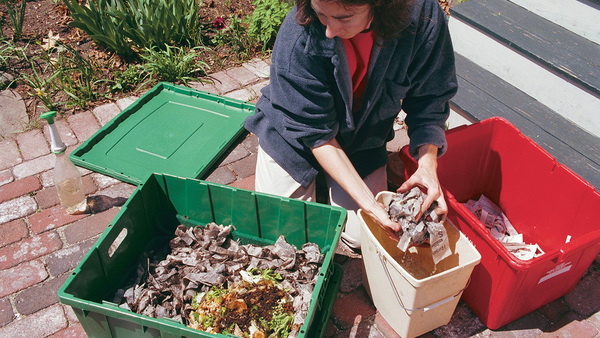
There’s no turning the bedding with worm composting. The worms know their job, so just let them keep on keepin’ on. You’ll want to feed them kitchen scraps about 2 -3 times a week by burying the food stuffs under the bedding. The smaller the pieces of food, the faster castings will be produced.
Worm cuisine incudes; banana peel, potatoes, tea bags (filter and all), apple peelings, grains, pizza crust, cucumber, cake, cereal, fruit, and almost anything that comes from the kitchen. I usually go pretty easy on the citrus as they seem to always leave these for last. What you don’t want to feed them is dairy products or meat. Also, don’t give them dog or cat poop. Yuck.
What worms lack in vision (they don’t have eyes) and hearing (no ears either), they make up with some serious work ethics. Worms eat about their own body weight in a day. It’ll probably take about 2-3 months for you to be able to harvest some worm castings for your house plants or garden bed.
And lest you think worms make lousy pets, let me remind you that they can love you as much as any dog can – maybe more – with their 5 sets of double hearts.
Fine Gardening Recommended Products
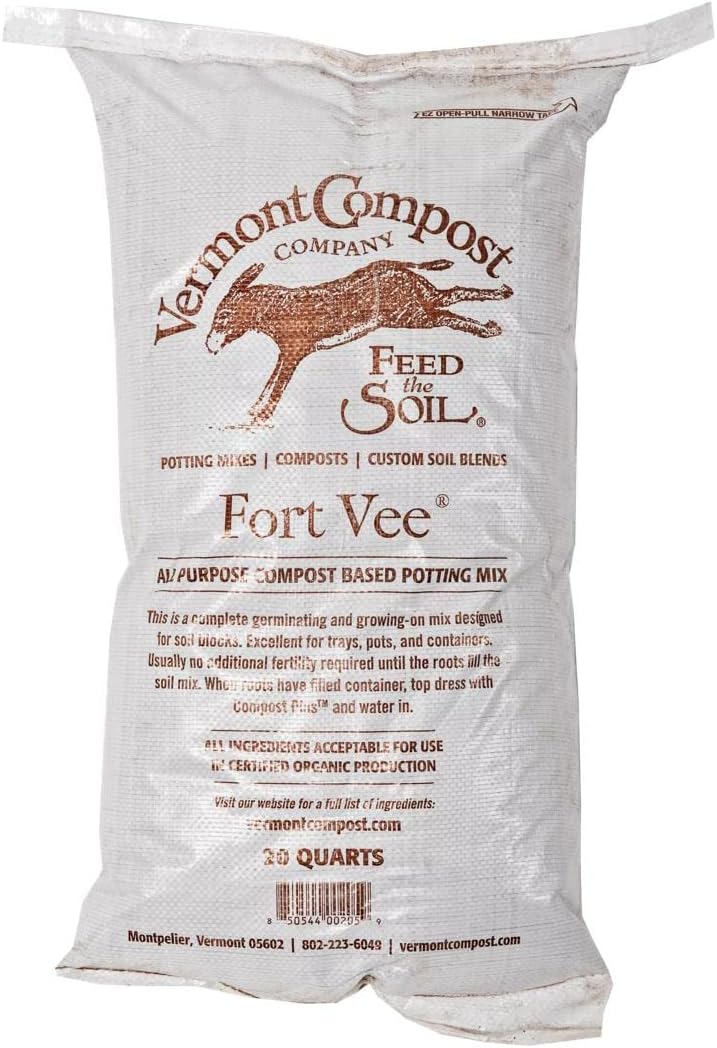
Fort Vee - Organic Potting Soil Mix
Fine Gardening receives a commission for items purchased through links on this site, including Amazon Associates and other affiliate advertising programs.
Razor-Back Potato/Refuse Hook
Fine Gardening receives a commission for items purchased through links on this site, including Amazon Associates and other affiliate advertising programs.
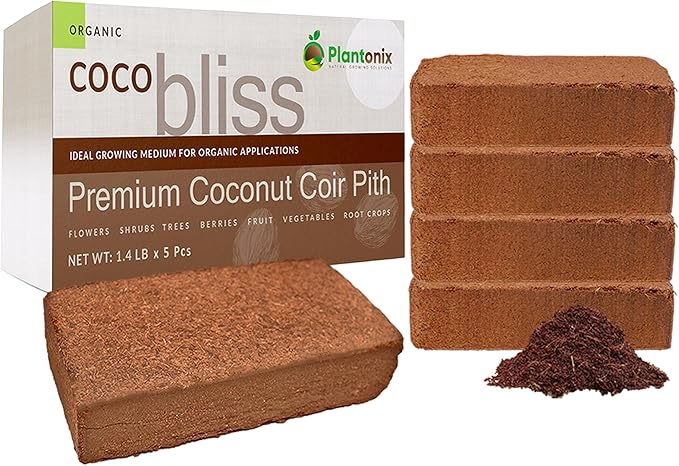
Coco Bliss 650gm Bricks (5-Pack) - Organic Coco Coir
Fine Gardening receives a commission for items purchased through links on this site, including Amazon Associates and other affiliate advertising programs.







Comments
Log in or create an account to post a comment.
Sign up Log in