


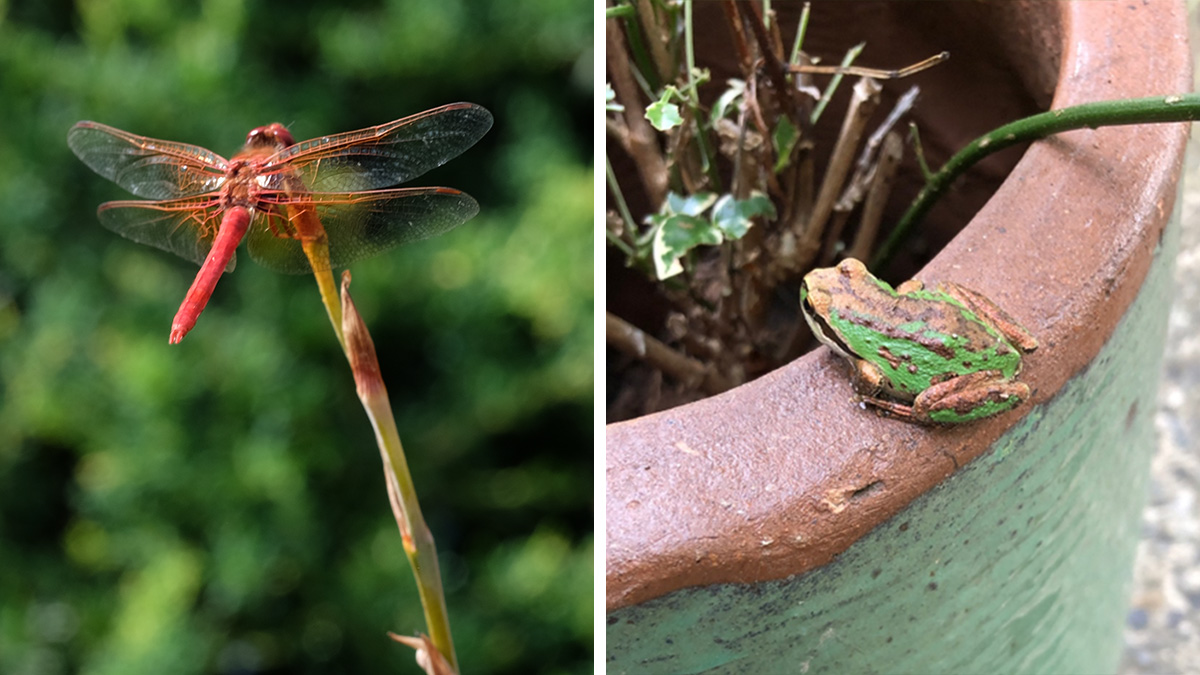
Spring is stirring here in the Pacific Northwest. After a stretch of sunny days and mild nights in the upper 40s, plants and insects are waking up. I can already hear the first frogs croaking outside my window—a sure sign that it’s time to start thinking about ways to support the many life forms that share our gardens.
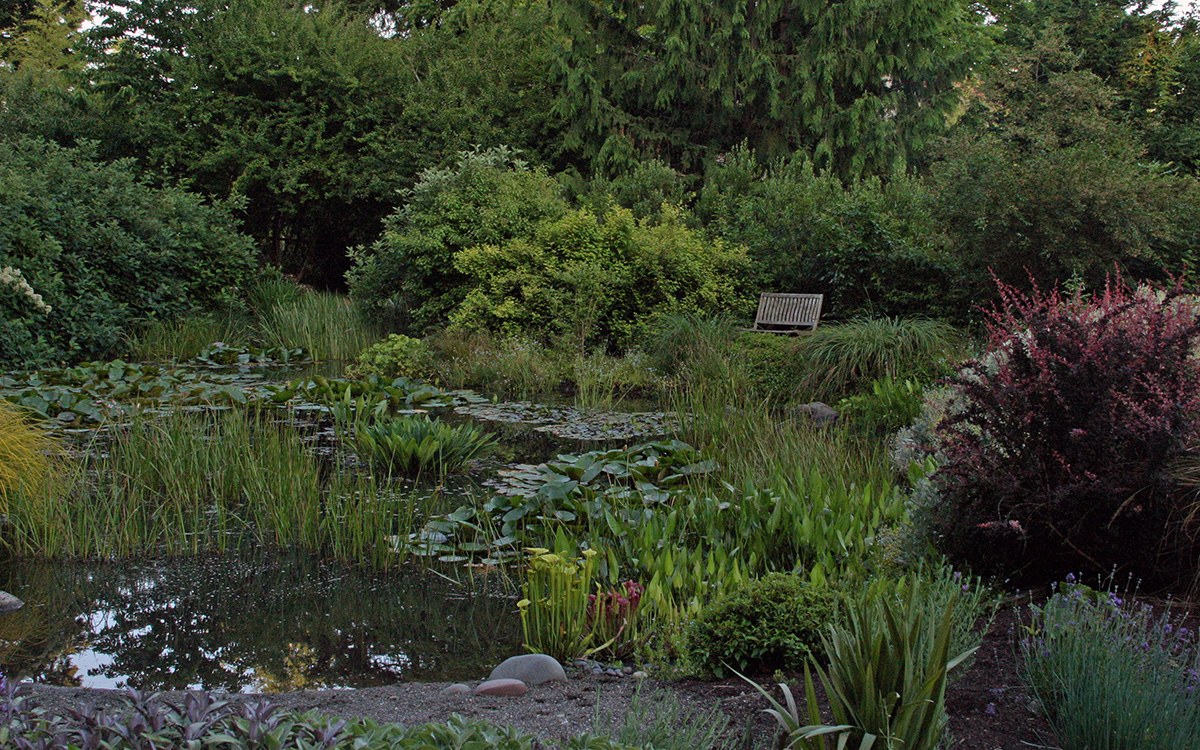
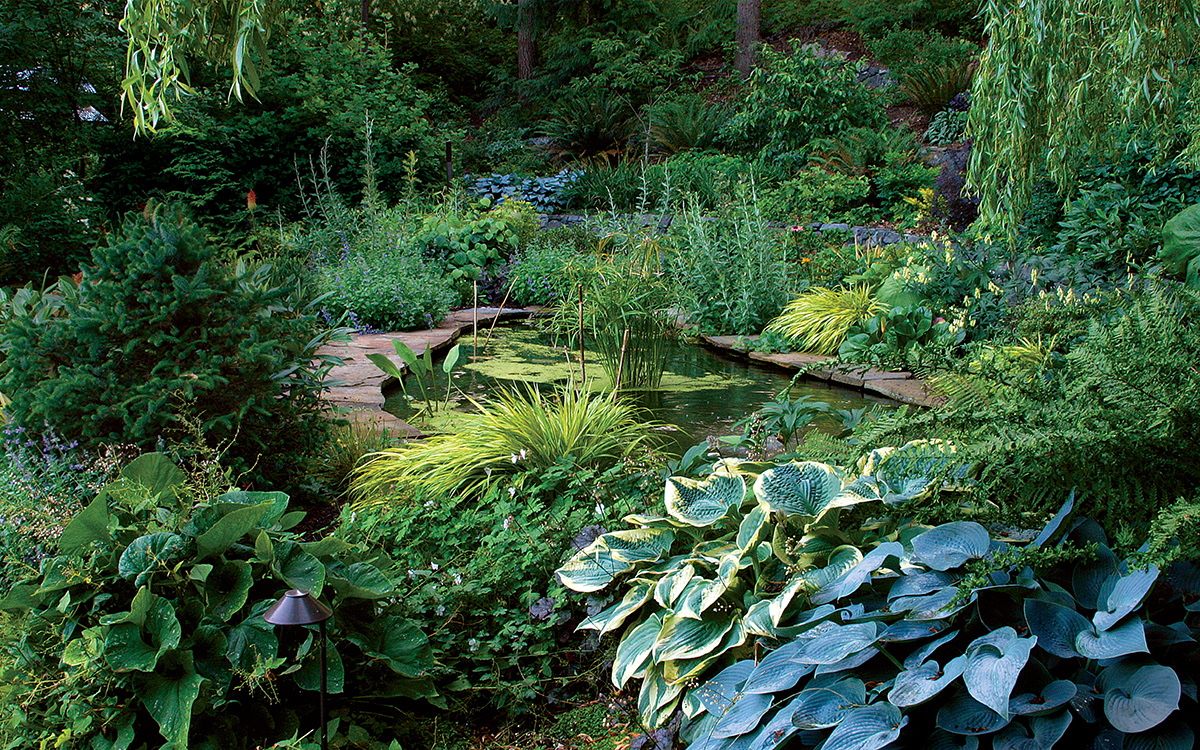
One of the easiest and most rewarding ways to do this is by creating a wildlife pond. Even a small, thoughtfully designed pond can become a haven for frogs, birds, dragonflies, and other creatures. The best part? It’s simple to build and requires only a little time and space.
Step 1: Choose the right location
Pick a spot with flat ground and partial shade. This will prevent excessive evaporation in summer and reduce algae growth. A 5-foot diameter is ideal, but even a smaller pond can do wonders for local wildlife.
Step 2: Gather your supplies
Here’s what you’ll need:
- Pond liner: A 10′ × 15′ EPDM liner, 45 mm thick, is perfect for this project. Available on Amazon or at local hardware stores for around $125.99.
- Underlayment: Two layers, the same size as your liner, to protect the liner from sharp objects
- Tools: Shovel, rake, level, box cutter or scissors
- Rocks: Small rocks (2–3 inches) and a few larger, flat rocks for edges and access points
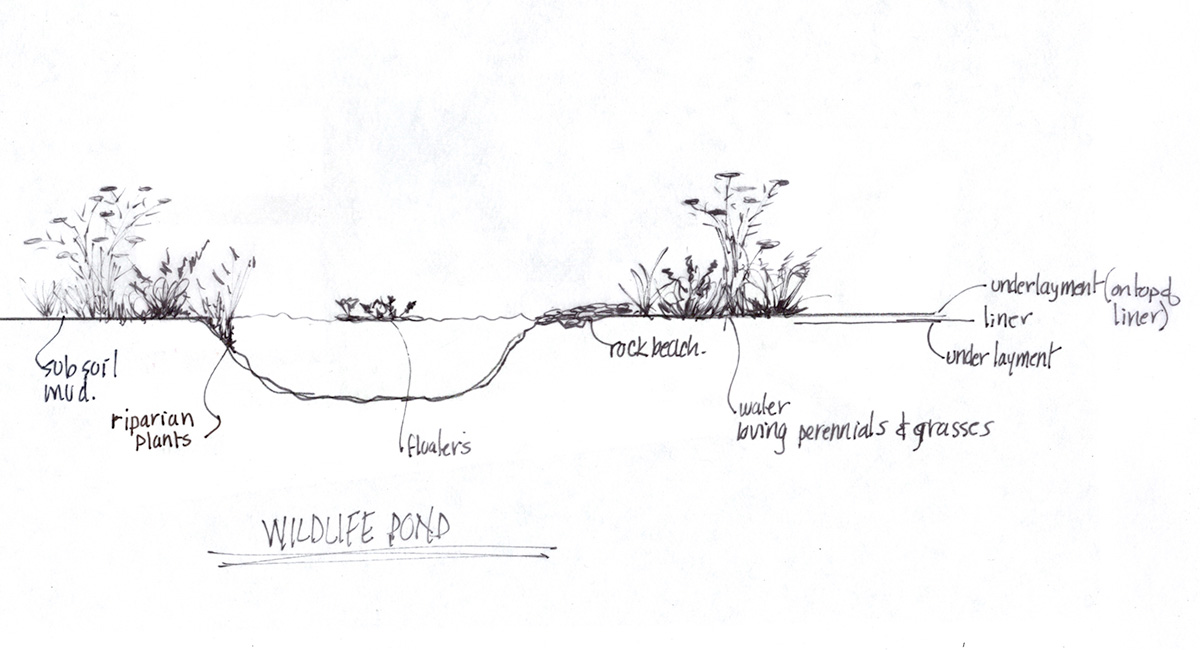
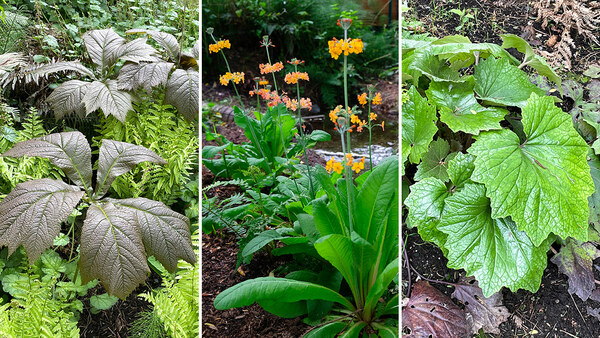
- Plants: A mix of riparian (water’s edge) plants, floating plants, and moisture-loving perennials and grasses
Step 3: Dig and prep the pond
- Dig a shallow depression about 2 feet deep with gently sloping sides, reserving the excavated soil for later.
- Remove any sharp rocks from the bottom to prevent punctures.
- Lay the underlayment into the hole, smoothing it out as much as possible. Trim any excess material, leaving about 4 feet of extra liner around the perimeter.
- Place the liner loosely over the underlayment, smoothing it out with your hands or bare feet. Don’t worry about small wrinkles—nature will take care of those!
- Add a second layer of underlayment on top of the liner. This layer protects the liner and provides a stable surface for soil and plantings.
Step 4: Add soil and create edges
- Use the reserved subsoil (avoid rich organic soil, which can cause algae growth) to cover the underlayment around the edges. A muddy clay-based soil works best for holding moisture and preventing erosion.
- Mound the soil slightly around the perimeter, and cover all exposed underlayment to keep the liner hidden.
- Create a beach area with small rocks and add a few larger, flat rocks around the edges. These provide safe spots for birds to bathe, frogs to sun themselves, and bees to escape if they fall into the water.
Step 5: Fill and let it settle
Gently add water with a hose, being careful not to disturb the soil along the edges. The water may look muddy for the first week or so, but it will gradually clear up.
Step 6: Plant for beauty and biodiversity
Now comes the fun part—planting! Add:
- One floating plant to cover part of the surface and provide shade
- Small riparian plants along the edges; avoid aggressive species like full-sized cattails or large irises
- Moisture-loving perennials and grasses about 3 feet from the pond’s edge to create a natural transition
Enjoy your new wildlife haven
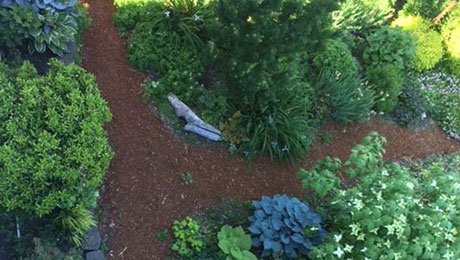
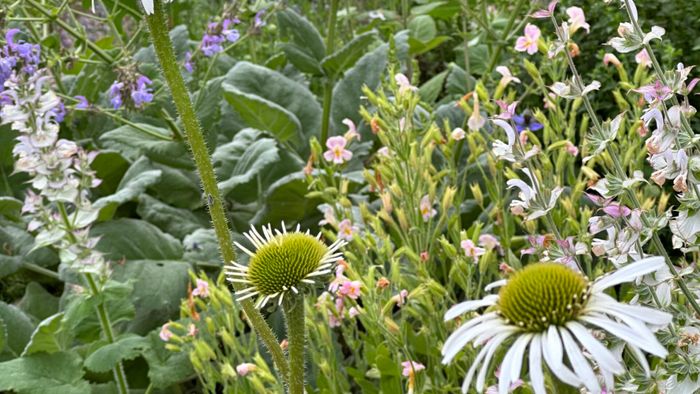
With just a little effort, you’ll soon have a thriving ecosystem buzzing with life. Birds will come to drink and bathe, dragonflies will hover over the water, and frogs will make themselves at home. Plus, you’ll have a front-row seat to one of nature’s best shows—all from the comfort of your garden.
Ready to get started? Grab your shovel, and let nature do the rest!
To discuss these ideas or ask other gardening questions, chat with the author on the Gardening Answers forum.
To read more on Pacific Northwest gardening, go here.
Susan Calhoun is the owner of Plantswoman Design in Bainbridge Island, Washington.
Fine Gardening Recommended Products
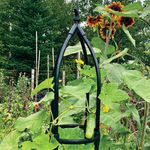
Lee Valley Garden Obelisks
Fine Gardening receives a commission for items purchased through links on this site, including Amazon Associates and other affiliate advertising programs.
Attracting Beneficial Bugs to Your Garden, Revised and Updated Second Edition: A Natural Approach to Pest Control
Fine Gardening receives a commission for items purchased through links on this site, including Amazon Associates and other affiliate advertising programs.


Comments
Log in or create an account to post a comment.
Sign up Log in