Make Your Own Hypertufa Container
Hypertufa looks like stone but weighs less and takes whatever shape you want
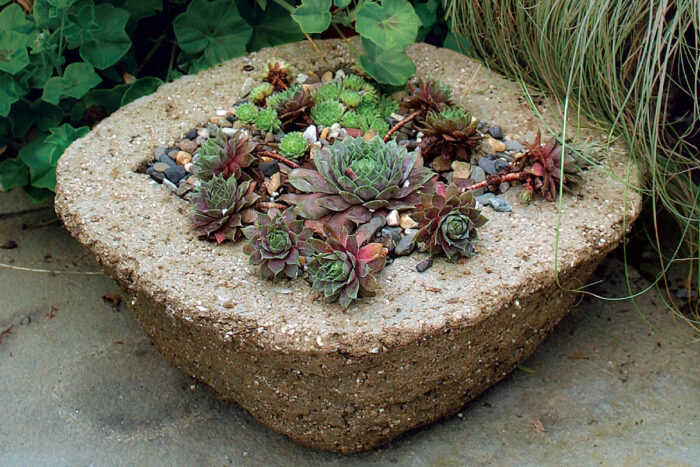
Containers made from hypertufa are wonderful for displaying rock-garden plants or succulents. Over time, the hypertufa ages gracefully, collecting a patina of mosses and lichens. In this article you will find the recipe and instructions for making hypertufa.
The process I use to mold containers is much simpler that the usual box-in-box method that sandwiches hypertufa and some metal mesh in a frame. Instead, I simply pack hypertufa around an overturned plastic pot or planter. And because it’s so easy to work with, hypertufa can be molded into many sizes and shapes.
Wondering what to plant in your new container? Browse our plant guide or check out more articles on container gardening.
Supplies
- mixing tub
- container for measuring
- peat moss
- perlite
- portland cement
- concrete reinforcing fibers
- dust mask
- rubber gloves
- trowel
- plastic drop cloth
- plastic container for a mold
- wire brush
The recipe
- 1 part portland cement
- 1½ parts sphagnum peat moss
- 1½ parts perlite
To add strength, I add a small handful of fibermesh, a synthetic concrete reinforcing fiber, to each batch, which is easier to work with than sheets of wire mesh embedded in the hypertufa. You can find fibermesh at masonry-supply stores or online.
Step 1
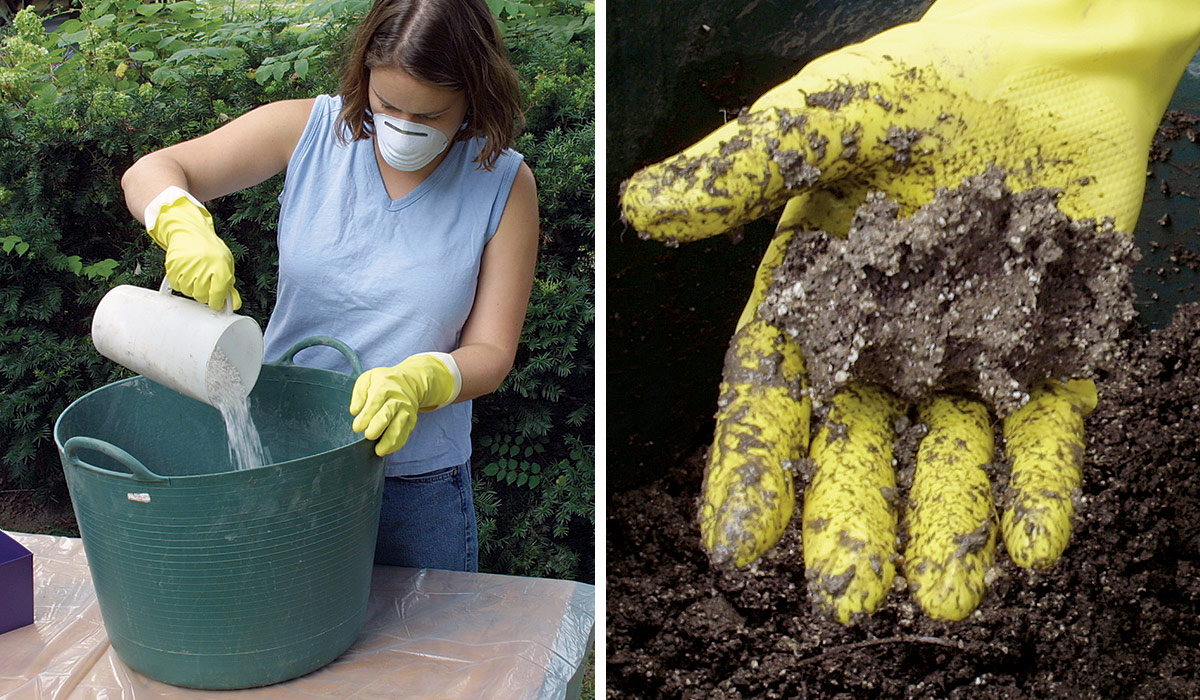
Measure and mix the peat moss, perlite, cement, and a small handful of reinforcing fibers in your tub. You’ll kick up plenty of dust at this stage, so be sure to wear your dust mask.
- Add the water while stirring with your trowel. Test the consistency frequently, as it’s much easier to add water than it is to readjust the dry ingredients. When a squeezed handful retains its shape and doesn’t release more than a few drops of water, the mix is ready.
Step 2
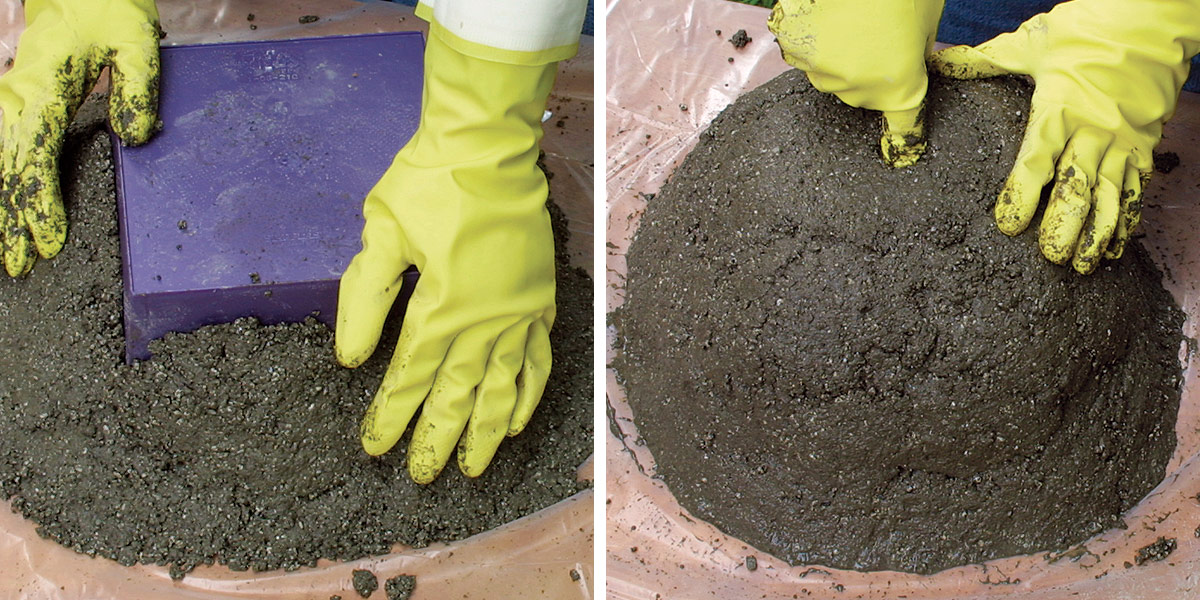
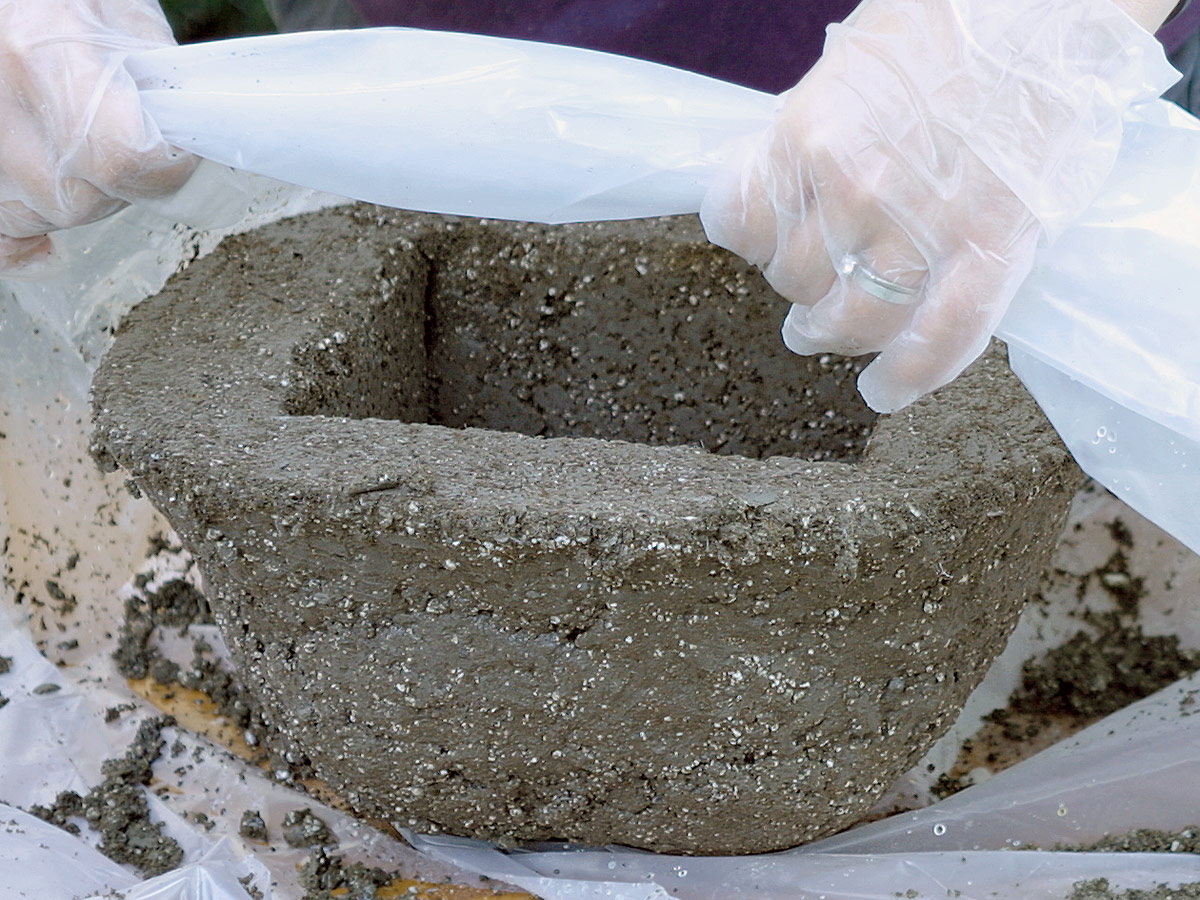
Mold the mixture around the chosen object, which has been placed upside down on the plastic drop cloth. Avoid objects with a pronounced lip, since it would make the object difficult to remove from the finished container.
- Pack the mixture up around the sides of the object, tamping it down firmly to bond the hypertufa to itself and to avoid a crumbly texture. A 1- to 2-inch layer on all sides will create strong walls.
- Flatten the intended bottom of the completely covered object for stability, and shape the sides to a desired form. Then poke your finger through the bottom to create a drainage hole.
Step 3
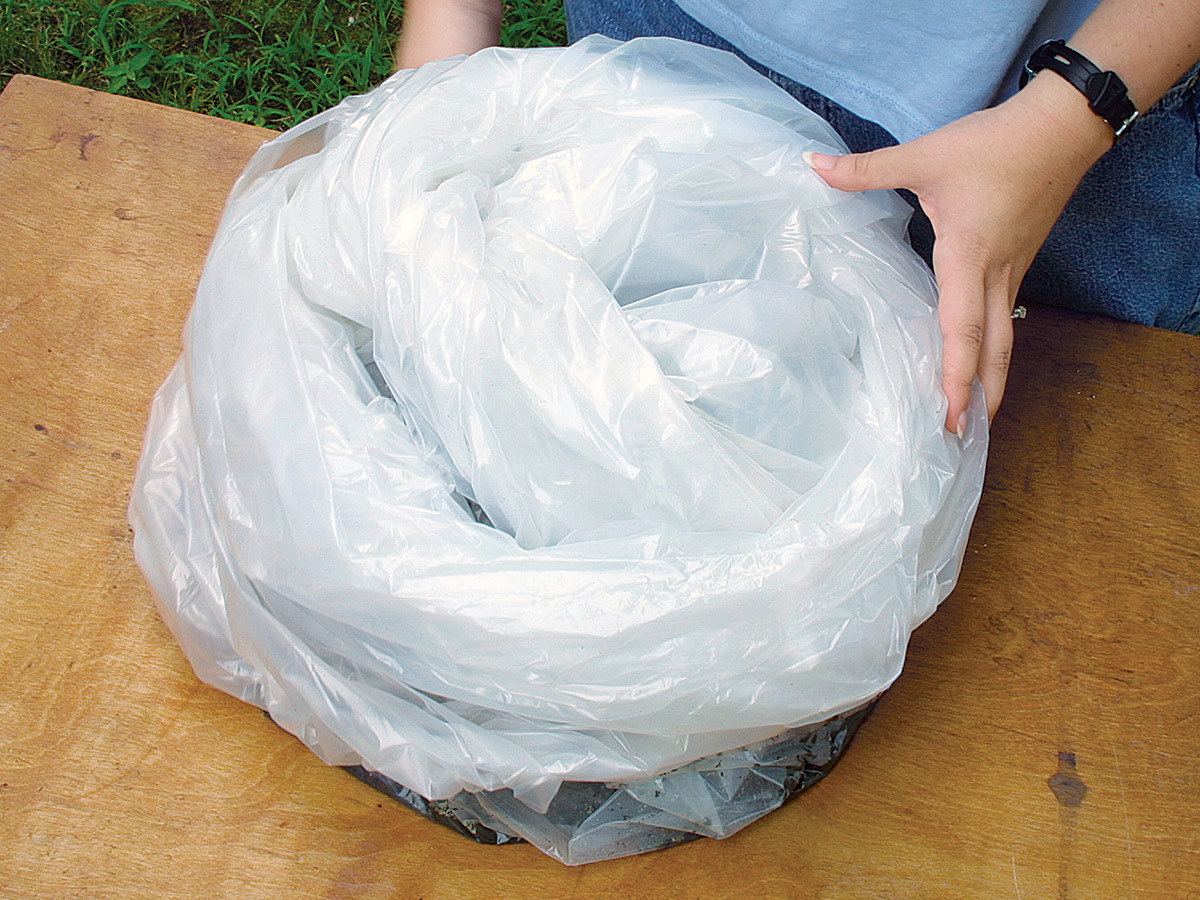
Wrap the container in the plastic sheeting, and place it in a shady spot for about a day to let it harden.
Step 4
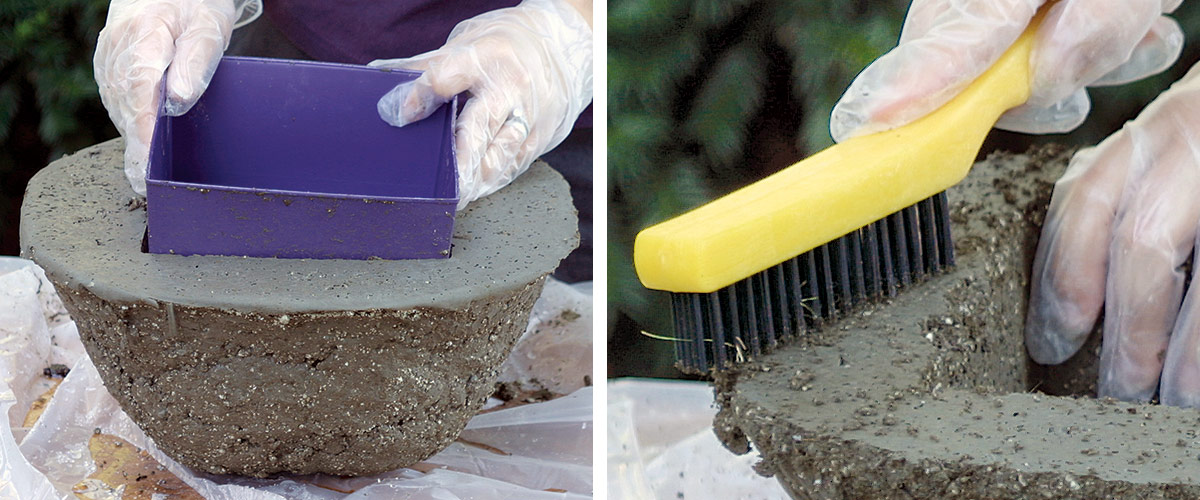
Remove the wrapping after the hypertufa has had a day to harden. The mixture will be firm but still soft enough to work with. Turn the container over, and remove the mold.
- Brush the sharp edges and the smooth top, if desired, to give a rougher, more natural look to the container.
Step 5
Rewrap your container, and place it in a shady place for another two days. Then unwrap it, and soak it with a hose periodically over the period of a few weeks to leach out the residual lime from the cement, which would harm plants.
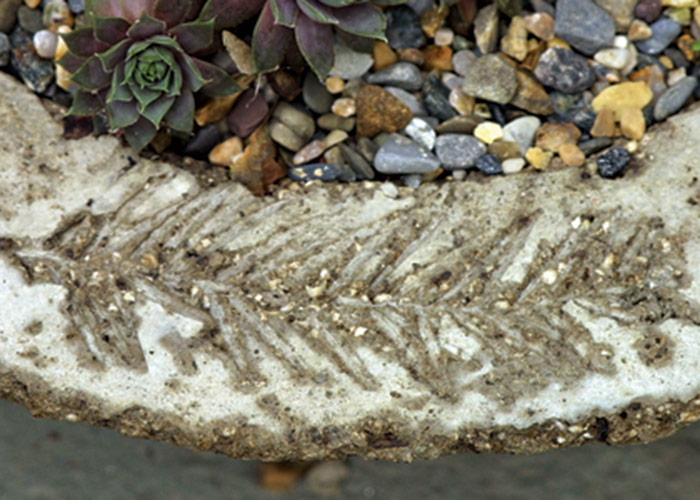
Design tip
To dress up your container, place evergreen sprigs or thick leaves around the rim of the mold before you start building the sides of your container. Lift them gently from the rim when you remove the mold.
Michelle Gervais is an assistant editor.
All photos, except where noted: Steve Aitken
Fine Gardening Recommended Products

Gardena 3103 Combisystem 12-Inch To 20-Inch Adjustable Metal Fan Rake Head
Fine Gardening receives a commission for items purchased through links on this site, including Amazon Associates and other affiliate advertising programs.
Berry & Bird Rabbiting Spade, Trenching Shovel
Fine Gardening receives a commission for items purchased through links on this site, including Amazon Associates and other affiliate advertising programs.

Bee Watering Station with Vivid Flower Design
Fine Gardening receives a commission for items purchased through links on this site, including Amazon Associates and other affiliate advertising programs.




Comments
Thank you for the tutorial ! I will try to do it the way you show , it seems much simpler indeed !!
I have a question. Have you ever added any pigment to the mixture ? Did it work? Were you pleased?
Log in or create an account to post a comment.
Sign up Log in