Grow Your Own Salad Mix
For fresher, longer-lasting greens, follow these simple steps

Growing salad greens is a satisfying short-term project that nearly any gardener can fit into their space and schedule. Most greens mature quickly and can be eaten at any stage, from microgreens to full-grown leaves. Buying plastic clamshells of prepared greens is expensive, especially given the environmental cost of shipping, storing, and packaging them. Growing fresh greens at home is a great way to make your garden space pay for itself.
When you grow your own salad, you can harvest what you need and eat it fresh. A patch of greens fits any garden space, from container plantings to an open spot in an ornamental bed. I’ve been growing my own salads for years. Here are some tips I’ve learned.
Choose your perfect mix
Turn to the “greens” section of any seed catalog, and you will find a wealth of options. A ready-made mix like the Salanova® lettuce collection (above)—designed to provide an appealing combination of colors, textures, and flavors—is an easy place to start. However, it’s not hard to put together your own delicious assortment. Experiment with the salad ingredients that sound good to you, and adjust the mix each year until you achieve your own perfect balance of flavors. When placing a seed order, get enough to keep you going all season; by planting something new every two to three weeks, you can keep the salad coming for many months.
Pick a growing method
Commercial growers produce “spring mix” by thickly sowing greens and then cutting them when they are a few weeks old. This seed-intensive process is a bit wasteful, but home gardeners have more flexibility in how we plant and harvest. If you plant small blocks of several different kinds of greens, either by direct sowing or by transplanting starts, you can create a custom mix each time you harvest.
Starting in trays gives you some control
In the unsettled weather of early spring or the intense heat of summer, starting seeds indoors under lights may be the easiest way to give your greens a good start. When the weather is milder, you can also start seedlings outdoors in a sheltered location. Planting in cells helps to conserve seed—if you only get 25 or 50 seeds in a packet, you can give every one of them a chance to grow.
After germination, most greens only need two to four weeks in a starter tray before being moved to the garden. If you must keep your seedlings in the tray a while longer to avoid a heat wave or cold snap, go ahead. But your goal should be to get them into the garden as soon as possible.
I generally start my greens in either 72- or 128-cell plug trays. I like to plant several varieties of compatible greens per tray, then set them out in evenly spaced blocks in the garden. When spaced 6 to 8 inches apart, 72 seedlings will fill a 12-foot row that is about 2 feet wide.
Once you set the greens out, mulching with high-quality compost or seed-free straw will help to conserve moisture and give them a little protection. As with direct-sown crops, you will need to keep the water coming, either with drip irrigation or by watering deeply and frequently.
Direct sowing is straightforward
 |
 |
Any open garden bed can become a salad factory with a little simple prep. Level the soil surface, add a sprinkle of organic fertilizer, and you are most of the way there. For a densely planted bed, broadcast seed onto prepared soil. Or for easy weeding and harvesting, sow in rows or narrow bands, mulching in between.
Your main challenge for direct-sown crops is to provide enough water for the seeds to germinate and grow freely. My soil drains quickly, so I water salad beds almost daily unless it rains. Your garden’s water needs may be different, but remember that well-watered greens grow faster and taste better.
Harvest as needed
No matter the planting method you use, once your greens reach a usable size, be sure to harvest them! Taking a few leaves from each plant gives you a great mix of fresh greens, and you will be amazed how quickly the plants regenerate fresh, tender new leaves. To prepare them for eating, float freshly harvested greens in a bowl of water, then lift them out, leaving the gritty soil behind. Spin them dry or spread them on a clean tea towel. If they are particularly dirty, you may need to rinse them twice. I have learned to harvest and clean two days’ worth of salad at a time; it’s nice to have a salad ready to go on the second day.
Looks great, tastes great
The variety of greens you can grow makes one thing certain: You can always do better than iceberg lettuce.
Left to right:
- Salanova® lettuce home-garden mix
- ‘Flashy Troutback’ romaine lettuce
- ‘Tennis Ball’ butterhead lettuce
- ‘Truchas’ romaine lettuce
- ‘Lacinato’ kale
Left to right:
- ‘Petite Snap-Greens’ pea shoots
- ‘Dwarf Grey Sugar’ pea shoots
- ‘Red Russian’ kale
- Arugula
Left to right:
- ‘Scarlet Frills’ mustard
- ‘Golden Frills’ mustard
- ‘Wasabina’ mustard
- Mizuna
- ‘Miz America’ mizuna
Clockwise from top left:
- Cutting celery
- Dill
- ‘Red Freddy’ basil
- ‘Genova’ basil
- ‘Win-Win’ choi
- ‘Li Ren’ choi
- ‘Tokyo Bekana’ Chinese cabbage
- Red shiso
- ‘Britton’ shiso
Left to right:
- ‘Yukina Savoy’ Chinese cabbage
- ‘Shiro’ choi
- ‘Carlton’ komatsuna (mustard spinach)
- ‘Red Pac’ choi
- Tatsoi
Watch: How to Grow Your Own Salad Mix
Carol Collins is assistant editor.
Photos: Carol Collins
Fine Gardening Recommended Products

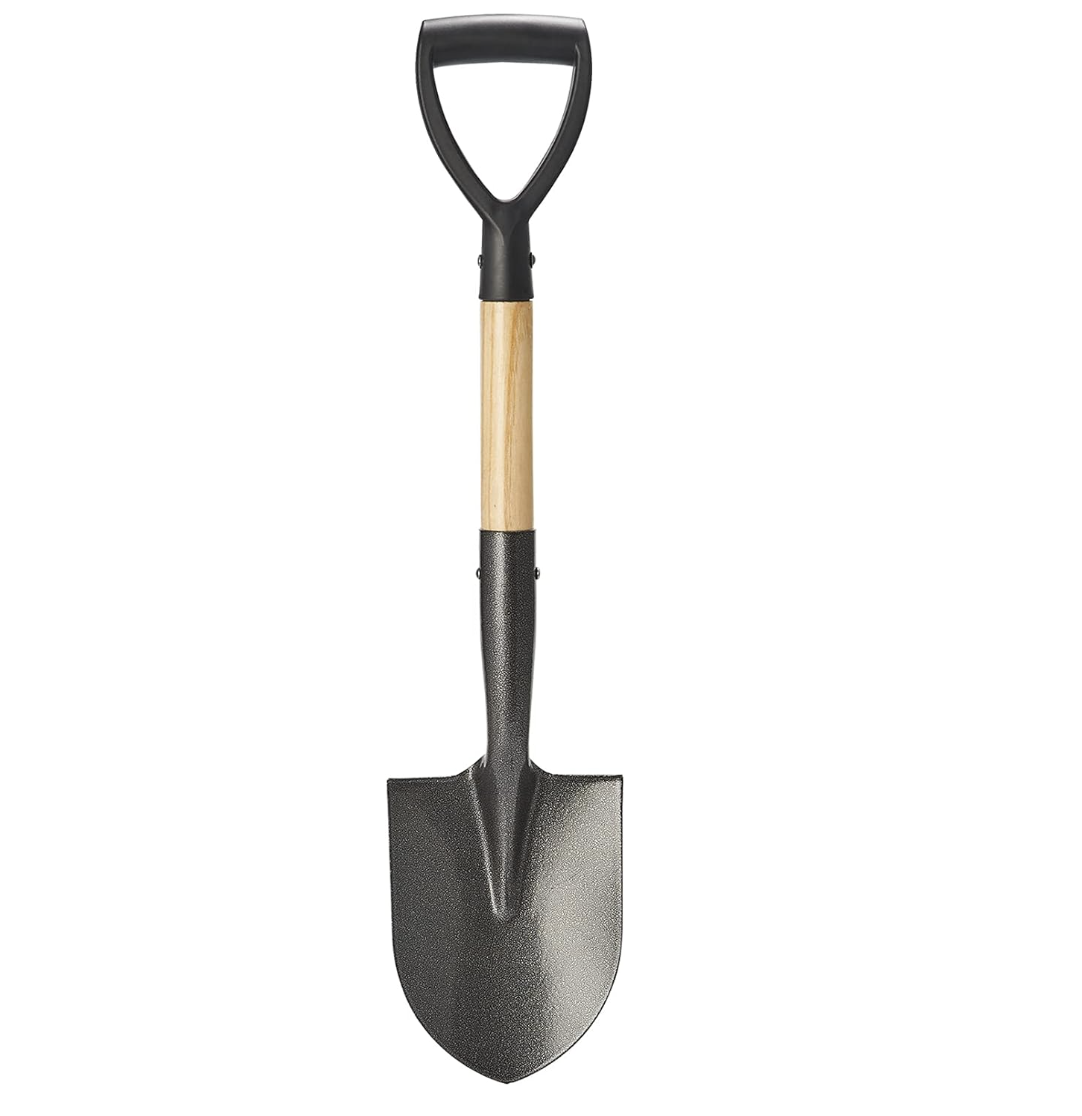
Corona® Multi-Purpose Metal Mini Garden Shovel
Fine Gardening receives a commission for items purchased through links on this site, including Amazon Associates and other affiliate advertising programs.

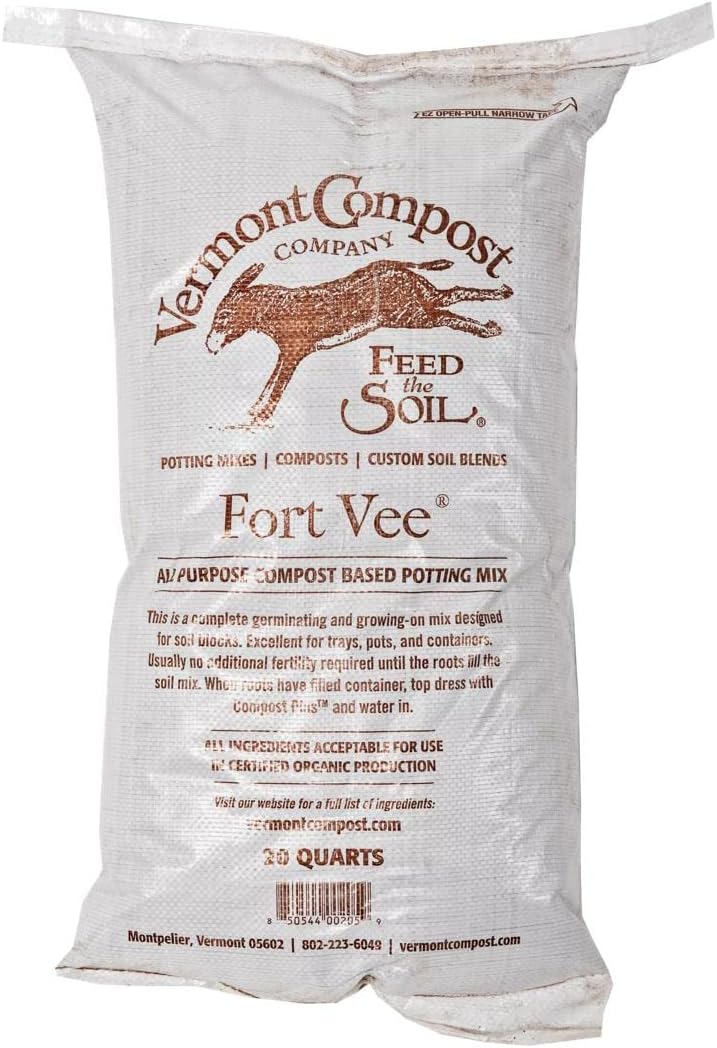
Fort Vee - Organic Potting Soil Mix
Fine Gardening receives a commission for items purchased through links on this site, including Amazon Associates and other affiliate advertising programs.

Dramm Revolution Adjustable 9-Pattern Metal Hose Nozzle
Fine Gardening receives a commission for items purchased through links on this site, including Amazon Associates and other affiliate advertising programs.


Comments
Excellent!
Log in or create an account to post a comment.
Sign up Log in