Landscape renovation can be a daunting task. You’ve inherited someone else’s 30-year-old yard, and you don’t know where to begin. The walkway to the front door is barely visible as the plants and lawn vie for the same space. Or maybe you did the landscaping 30 years ago and the house has slowly disappeared behind a jungle of plants.
Whatever your scenario, professional landscape designer Sara Jane von Trapp gives you the tools to tackle renovation in The Landscape Makeover Book: How to Bring New Life to An Old Yard. In this excerpt, you’ll find information on renovating the lawn, whether seeding or laying sod.
Whether you’ve made major grade adjustments or are just filling in minor depressions, chances are you’ll have lawn areas that need to be fixed. This is a good time to take a look around your yard to see if there are other bare spots or sparse areas that need attention. Renovating the lawn can be done by either seeding or laying sod.
Seeding
Photo/Illustration: Boyd Hagen
Photo/Illustration: Boyd Hagen
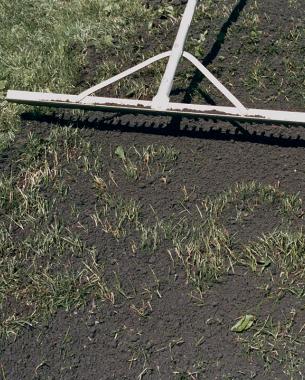
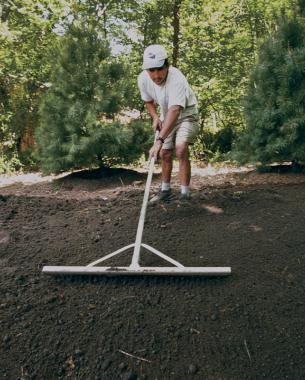
Adding soil to an already established lawn is called topdressing, and it is a common practice. Topsoil is added to the depressions no matter how large, right on top of the existing lawn, and it is raked smooth to blend with the main level of the lawn. Soil amendments are then raked in with new grass seed. Here’s how.
Step 1: For a large damaged area, place 3 in. to 4 in. of topsoil over a well-graded base of soil. Rake out the topsoil to remove all rocks and roots. For grassy areas that need repairs, start by mowing the existing lawn to a height of about 2 in. Then spread about 2 in. of topsoil right over the lawn and rake it to lawn level.
Step 2: Distribute fertilizer and lime with a cyclone spreader. This provides the best coverage and avoids the striped look a drop spreader creates. Fertilize and lime in two directions to make sure you have good coverage.
Step 3: Seed the lawn with the cyclone spreader. Use a grass seed mixture with 10 percent to 15 percent annual rye for quick germination, with the rest a mixture of perennial rye and fescues, both creeping and tall. So-called “quick cover” grass is all annual rye and will die with the first frost, but a small amount of annual rye in the mix controls erosion and shades the ground while the other grasses germinate.
Step 4: Spread sterile straw or salt marsh hay over your newly seeded lawn. Just a light coating is all that’s needed to conserve moisture. If it’s too thick, the grass will struggle to get through and will not receive enough sunlight.
Step 5: Water, water, water. In order for germination to take place, the top 2 in. of soil must be kept moist.
Step 6: Mow as soon as the grass needs it. Mowing encourages side branching and root growth, which are needed for a successful lawn.
Sodding
For instant gratification, sodding a lawn is the way to go, especially if you have small areas to repair (it’s expensive to do large areas). The base preparation is the same as for seeding. Sod must be handled carefully. It should be delivered on the day you intend to lay it, and you shouldn’t order more than you can lay on that day. Sod is harvested on the day you lay it because it doesn’t have a shelf life. Here are the basic steps.
Photo/Illustration: Sloan Howard
Step 1: When the pallet of rolled-up sod arrives, place it in the shade and get started. Do not water it–it will be difficult to work with.
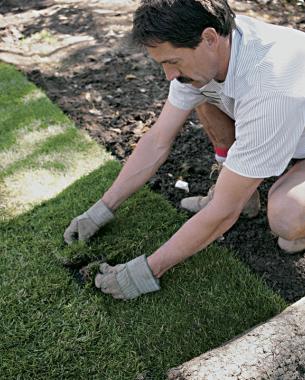
Step 2: Move a few rolls to the area you are working in. Unroll the first piece in place, starting at one of the top corners, where you will not be leaning on it as you add pieces. Get down on your hands and knees. Rubber knee pads are helpful.
Step 3: Butt the new piece of sod up against the existing lawn, which should have been cut to a straight edge to make a smooth seam. Leave no space between. If you leave slack in the piece of sod, it is easier to make sure both pieces have complete contact, but do not overlap the piece. Continue to knit pieces together, staggering the joints.
Photo/Illustration: Sloan Howard
Step 4: When you meet the edge of a planting bed, leave extra sod overlapping the edge of the bed and use a sod knife or spade to cut the sod to follow the edge of the bed. A garden hose can be used as a prop to shape the bed if the edges of the bed have not been cut yet.
Step 5: At the edge of walkways, driveway, and beds, push soil up over the edges of the sod to keep roots from drying out.
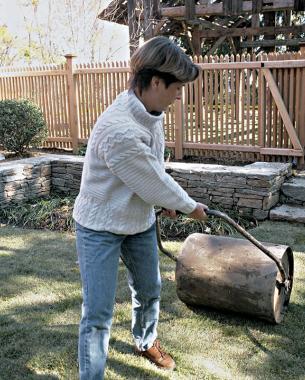
Step 6: When the laying job is finished, roll the sod with a water-filled drum roller so the sod makes complete contact with the soil beneath.
Step 7: Water the sod generously every day to generate root growth. Keep people and pets off the sod until you see top growth. As soon as it needs mowing, do so. At that point, it is ready to walk on.
Fine Gardening Recommended Products
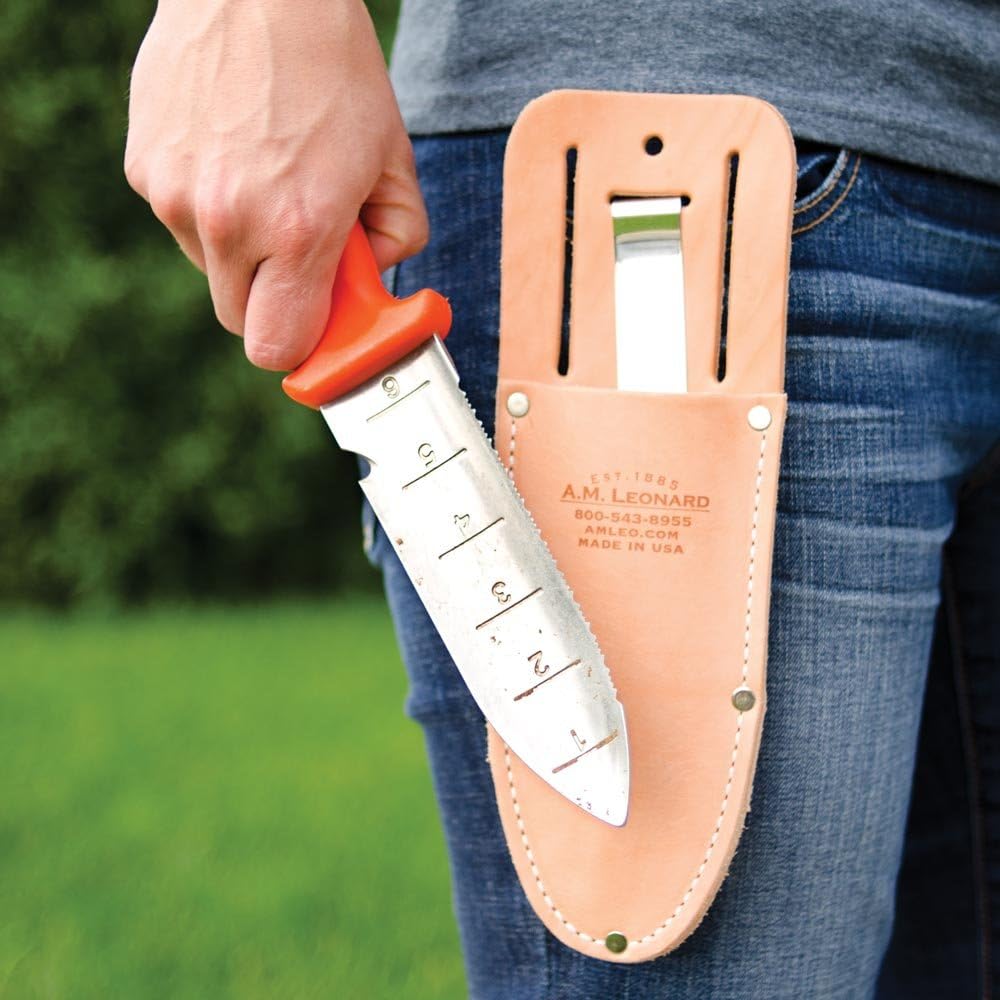
A.M. Leonard Deluxe Soil Knife & Leather Sheath Combo
Fine Gardening receives a commission for items purchased through links on this site, including Amazon Associates and other affiliate advertising programs.




Comments
Must be thanks for the very nice post here this is the amazing way to get control panel in windows 10 in system here and save to all setting.
Log in or create an account to post a comment.
Sign up Log in