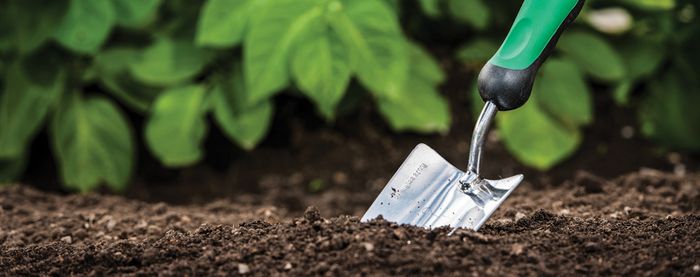
Basics of Soil Testing
Catching nutrient deficiencies helps you avoid stunted growth and off-color leaves
Depending on your soil’s native fertility, your plants may perform for years without needing additional fertilizer. But sooner or later, they’ll show their unhappiness by displaying stunted growth and/or off-color leaves.
In this video, soil scientist Lee Reich covers the basics of soil testing and demonstrates how to take an accurate sample from your garden.
Learn more: See what to do after the soil test
Questions and answers about soil testing
- Why test? To ensure that plants are getting well nourished.
- What is tested? Nutrients and acidity in the soil.
Tips for Sampling Soil
• Make sure the area you sample soil from is a good representation of the general area of interest.
• For soil testing a lawn, take a sample from the top 2-3 inches of soil.
• For soil testing a lawn a vegetable or ornamental garden, sample from the top 6 inches of soil.
• You can use a trowel or a soil sampling probe to retrieve soil.
• Take soil samples from several areas in the area of interest, and aggregate them. Let them dry before bagging.
• Label bags from different areas so as not to get them confused.
• You can use a home test kit or go to your local gardening extension office for a test.
• You cannot test for nitrogen, an important nutrient in the soil. Growing nitrogen-fixing plants can ensure that there is enough available nitrogen in the soil.
• Depending on your soil test results, you may need to amend the soil. Learn how to amend soil with appropriate substrates.


Comments
Log in or create an account to post a comment.
Sign up Log in