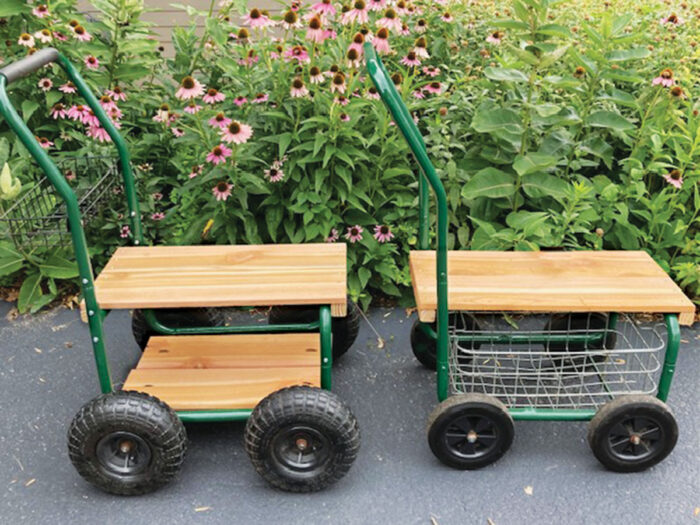
Winning tip: Another life for old hose carts
I had two rusted-out hose carts. I disassembled them and realized they could be repurposed. After I painted them with Rustoleum, I zip-tied a metal basket to the base of one and cedar fence panels to the base of the other. Both have removable cedar fence–panel top platforms that double as seats. The basket on the smaller cart allows dirt to fall through, and the top platform on the larger cart can handle a stack of bags of mulch or compost. The larger cart also has a metal basket on the handle originally for hose attachments, which is perfect for gardening tools.
—Ginger Luoma Anderson, Maple Grove, Minnesota
A new twist on a deer fence
The deer in my area have become a scourge. While I have tried a variety of traditional deer-fencing options, they have all failed spectacularly. And for a relatively small yard, I found the fences obtrusive and ugly. This spring I installed a rebar alternative. Starting with 10-foot lengths of ½-inch rebar, I cut off 1- and 2-foot pieces, leaving 8- and 9-foot lengths remaining. I then marked 1 foot off the bottom of each of the long pieces. A friend and I installed each long piece of rebar vertically against an existing split rail fence, spacing them at 1-foot intervals and pushing each into the ground up to the 1-foot mark. They were attached to the split rail with construction staples. To provide additional stability, the small pieces of cut rebar were attached horizontally to the vertical pieces using clips that were recommended by Matt Mattus in our March/April 2024 issue. The vertical pieces were varied randomly (and sometimes strategically), as were the horizontal pieces, to keep the fence visually interesting. The result is a fence that is 7 to 8 feet tall, with enough mass to be visible to the deer. But it is also both architecturally interesting and surprisingly invisible from a distance. And it is, so far, effective.
—Vicki Demarest, Flourtown, Pennsylvania
Don’t remove your leaves—move them
The process of removing leaves from places where you don’t want them is easier if you have some areas in your garden where you do. Each fall I put a layer of dry leaves (mainly oak and maple) about a foot deep on a garden of hostas and daffodils and then toss a few twigs on top to keep them in place when the wind blows. The leaf layer reduces with time and precipitation, and in spring the new pointed leaves emerge without difficulty. I’ve similarly piled autumn leaves on daylilies and tulips, and under shrubs. There’s no need to chop the leaves first, so this process is about as easy as it gets, given that some other plants (notably evergreens and dryland plants) need to overwinter in the clear.
—Peg McCann, St. Joseph, Michigan
Composting with brown paper lunch bags
Instead of using a canister or bucket, we throw our kitchen scraps into a brown paper lunch sack and just toss it in the compost when we are done. The bags are inexpensive and compostable themselves. This saves us from having a smelly indoor compost-scrap holder that we have to keep clean all the time.
—Sondra Allison, West Point, Texas
New use for an old bag
Many of us collect a variety of stakes and poles for various uses throughout our gardens. The next time you are ready to throw away a damaged canvas folding chair, keep the canvas bag. It makes a great holder for stakes and poles, and it can be hung up to boot.
—Jane School, DeKalb, Illinois
Composting in plastic bags
I am fortunate to live in a community with weekly “green bin” service for garden debris and all kitchen scraps (including meat and dairy). They also accept any number of additional paper garden-debris bags, at no extra charge. That’s a huge benefit for our annual pre–fire season cleanup, which can easily overwhelm even the largest 96-gallon green can.
I have given up on the traditional composting bins, mostly because of the work involved, plus the city service is so convenient. However, I still want my own compost sometimes. My solution is to dedicate an unseen part of my yard to completely passive composting. I stuff garden trimmings and the endless leaves dropping from my huge evergreen oak tree into the empty bags from potting soil, manure, and so on. I soak the contents with a hose, close the bags up tight for a year or two, and then return to beautiful compost. No fussing about green/brown ratios, no turning, no concerns about critters making nests. (And no, I’m not concerned about the ink in the bags. First, the ink is on the outside, and second, the bags came with dirt in them originally, with no apparent ill effects.) Eventually the bags wear out, so I double bag and then finally have to reluctantly commit them to the landfill several years after my original purchase.
—Carol Copperud, Oakland, California
Photos: courtesy of the contributors
We need your gardening tips!
Send your tips to [email protected] and please include high-resolution photos if possible. The prize for the winning tip is a one-year subscription to Fine Gardening with an All Access membership.
Fine Gardening Recommended Products
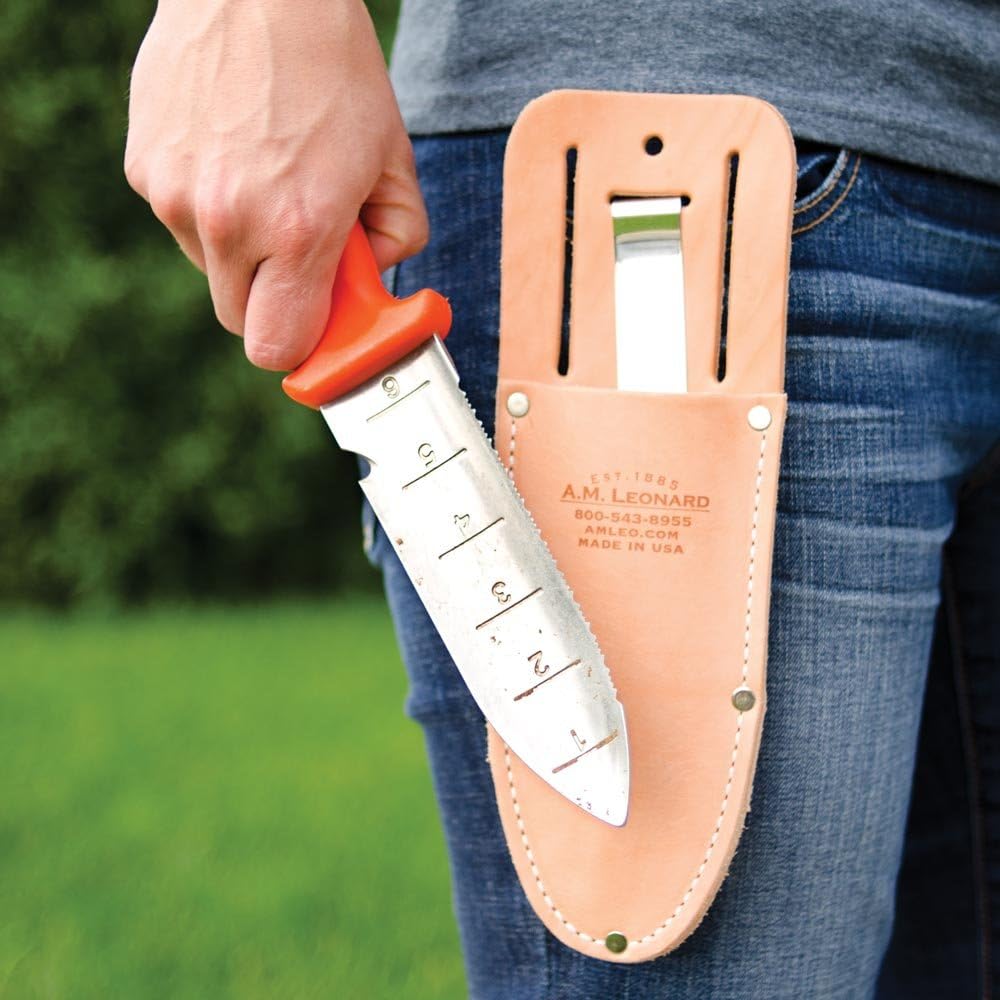
A.M. Leonard Deluxe Soil Knife & Leather Sheath Combo
Fine Gardening receives a commission for items purchased through links on this site, including Amazon Associates and other affiliate advertising programs.
Black & Decker 40-Volt Cordless Hedge Trimmer
Fine Gardening receives a commission for items purchased through links on this site, including Amazon Associates and other affiliate advertising programs.
Razor-Back Potato/Refuse Hook
Fine Gardening receives a commission for items purchased through links on this site, including Amazon Associates and other affiliate advertising programs.





Comments
Log in or create an account to post a comment.
Sign up Log in