Photo/Illustration: Lee Anne White
Early on, when I began learning about gardening, I went to a garden club lecture given by local gardening legend Sydney Eddison. I sat at a table surrounded by matronly club members who asked me what I specialized in. I told them quite naively that I loved all flowers, that I hadn’t yet found one I didn’t like. With eyebrows raised and coy smiles covered politely by their napkins, the ladies said, “That’s nice, dear.” But it was true, and as the years went by my garden grew with one of this and one of that, or with impetuous desires to have certain plants completely unsuited to our land (like heavenly scented roses, for example). In the end, my whimsical approach became my garden’s undoing. Every year by mid-summer, it was a floppy mess, a hodgepodge that was neither pleasing nor promising of better things to come. I wish the garden club ladies had clued me in way back when, but then I probably wouldn’t have listened.
Right about this same time, I fell under the influence of a new gardening aesthetic, that of a more naturalistic approach to design. Thanks to the words and work of a number of insightful individuals like Rick Darke, Piet Oudolf, and James van Sweden and Wolfgang Oehme, I became more interested in plants like grasses that glimmer in the late-day light and native perennials that are as tough as nails. And I found myself leaning toward a design sense that relied on bold groupings of plants and on foliage and texture as much as flowers. So, early in spring, I decided to take on a major overhaul of two large garden beds. I resolved to remove the plants that were floundering (the roses that didn’t get enough sun and the daylilies the deer love), divide and rejuvenate the ones that were thriving, like catmints (Nepeta spp.), bee balms (Monarda cvs.), and irises (Iris siberica and I. virginica), and get out my check book for a big plant order.
I planned to start with a clean slate, by first digging up and temporarily holding most of the plants that were in the beds, then replanting with a new design that incorporated the old with the new. I purchased some of the new plants through a landscaper friend who got me a good price on potted plants in quantity, some came as gifts from gardening friends, and others were ordered from Ambergate Gardens, a bare-root perennial nursery in Minnesota with a wide selection of grasses and natives—just the plants I was looking for.
Try to do the overhaul just before it rains

Photo/Illustration: Amy Rapaport

Photo/Illustration: James Wesley
Early spring is the best time to dig up and temporarily hold plants because they don’t have a lot of foliage, and the cool temperatures and steady rains of spring help to sustain them. By early April, I had sent in my mail order, and I began acquiring potted plants from my landscaping connection.
Toward the end of the month, the nursery sent me a card saying my order would arrive in a few days, and at that point I started to empty out the beds. I transplanted some plants to different parts of the garden and set up a holding area for the rest. I spread out a large tarp in the shade and began lifting the remaining perennials. I set them all on the tarp and gave their roots a gentle soaking. Most perennials can tolerate being out of the ground for a few days, as long as you keep their roots moist and set them out of harsh sunlight.
Once the beds were empty, I amended the soil with cow manure and peat moss, which I worked in with a metal garden rake. The weather forecast was calling for an extended period of light rain—perfect for planting. With the groundwork done, my stage was set, and it seemed that even Mother Nature would cooperate. I waited for the plants to arrive.
Planting know-how

Prepare bare root plants for planting by soaking the roots in water for several hours to remoisten them after their long journey. Trim away any damaged roots or leaves.
Get plants in the ground promptly
The UPS man left two good-size boxes on my doorstep that Friday. I unpacked them and inspected the shipment. Just prior to planting the following day, I soaked the roots for several hours. If you can’t plant them right away, it’s OK to store the plants in a cool, dry spot for a few days, but no more.
I’d worked out a rough design based on all the plants assembled so I could keep track of what I wanted to go where. So, as it started to drizzle on Saturday morning, I began to plant, starting at the back of the beds and working my way forward. I’d planned for large clumps of individual species, grouping three or five or more together. No more one of this and one of that, except for a few large perennials like Ligularia species that could hold their own alone.


As I finished an area, I watered the plants thoroughly. I modified the design somewhat as I planted. A drawing on paper can’t portray the real, three-dimensional conditions of a garden, so in any planting scheme, be prepared to be flexible and make changes as you go. At the end of two days, both large beds were planted.
The following weekend, I mulched the beds with some cedar bark mulch. And as the season progressed, I made sure the plantings were well watered during dry spells. It’s vital to provide extra water if needed for new plants their first season in the ground, while they’re putting down roots and becoming established. And it’s also wise not to expect too much too soon, as plants need time to mature. I knew it would be a couple of years before these beds would look their best.
It has been three years now since the overhaul, and I’m pleased with the results. I hate to admit how many failures occurred, but hey, that gave me an opportunity to try more new plants. I’ve added more native perennials, and I fill in gaps each spring with annuals. The grasses have grown big and tall and lovely, and now the garden looks good from early spring to autumn, and even into winter. Some plants don’t seem completely happy, though, so they may come out this year. A garden is always evolving—that’s the fun of it for me.
Fine Gardening Recommended Products

Coco Bliss 650gm Bricks (5-Pack) - Organic Coco Coir
Fine Gardening receives a commission for items purchased through links on this site, including Amazon Associates and other affiliate advertising programs.

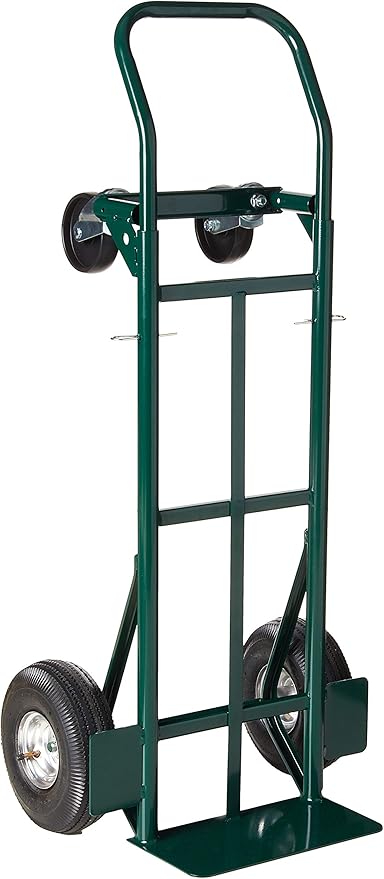
Harper Super Steel 700-lb. Platform Hand Truck
Fine Gardening receives a commission for items purchased through links on this site, including Amazon Associates and other affiliate advertising programs.

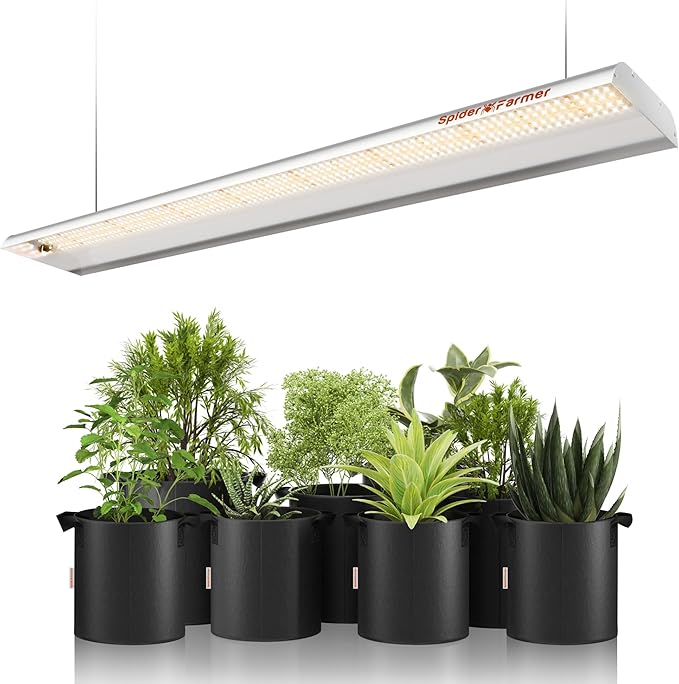
SF600 LED Grow Lights 2x4 ft
Fine Gardening receives a commission for items purchased through links on this site, including Amazon Associates and other affiliate advertising programs.


Comments
Log in or create an account to post a comment.
Sign up Log in