Some of the most enjoyable times I have in my garden are when I can just sit or stand in the middle of it, and just look at everything. It is truly therapeutic after a long day at the office. Other than that, I’m either running circles around all of my raised beds to get things done, or stationary at a certain spot for what seems to be hours. I finally came to realize that, for these stationary occasions, being able to sit closer to the planting area would certainly help. Not only would it give my legs and lower back a break, but it would allow me to do more critical tasks (thinning, seeding, removing pests, etc.) with less fatigue. The solution was to build a movable “seat” that could easily attach to the side of the raised bed. It had to be strong enough to support my weight, but not put unnecessary stress on the bed’s frame. This design improves upon one I’ve seen in a book; where I’ve made it longer and added a second “fin” for more strength. You can make this tool out of the same wood you’ve used for your raised beds, or you can go for a different look. Paint it, stain it, or simply leave it bare…your call. Putting a varnish or other wood protectant on it will obviously help it withstand abuse and the elements. 1. Length/plank of wood (I used about 3-4 feet of 2″ x 12″ untreated lumber) 2. Two feet of 2″ x 2″ furring strip wood 3. Electric drill & drill bits (various sizes) 4. Saw (electric circular saw recommended) 5. Tape measure or square 6. Pencil or permanent marker 7. Wood glue 8. Wood screws (I used #8 2 – 2 1/2″ long. Buying them by the box is cheaper) 9. Sandpaper Skill Level: Easy to intermediate, depending on your wood-working/cutting skills. Construction: 1. For purposes of this project, we’ll use the 2″ x 12″ x X’ plywood. Determine how wide/long you wish to make the seat. Cut the 2″ x 12″ plywood to that length. 2. Cut the 2″ x 2″ furring strip to the same length as you did the 2″ x 12″ seat piece (Photo A). 3. Glue the furring strip to the seat piece (Photo B). Let it dry to the glue’s recommendations. Now we’re getting into the critical steps. You’ll need to find out how wide the triangular pieces, or “fins” need to be on the seat piece, as well as where to position it. 4. Measure the thickness of your raised bed’s frame. Then add between a 1/4″ to 1/2″ extra to allow for differences in frame thickness, warping, etc. Better yet, if you have some leftover scraps from your existing beds’ construction, use that as a placeholder (Photo C). [BTW, the fin piece in the photo is one I cut previously…it’s for reference]. Therefore, the length of the fin piece (A) is: Width of the 2″ furring strip (B), plus the thickness of your bed’s frame (C), plus 1/4″-1/2″ extra, minus the width of your seat piece (D) (Photo D). On to cutting the fins. You’ll be taking the remaining 2″ x 12″ x X’ plywood and measuring out your two triangular fin pieces. First a tip (that I learned the hard way): Draw out your triangle pieces with the longest side parallel to the wood’s grain. If you don’t, the edges may not come out sharp when you cut the wood (Photo E). 5. Take the measurement from Step 4 (the width of one side), and use the same measurement for the opposite side. In other words, we’re creating a right angle triangle with two equal sides (Photo F). For you math buffs, yep, it’s an isosceles triangle. And who said we’ll never use geometry in the real world?! 6. After cutting out the two fins, glue them to the seat piece (Photo G). 7. For added strength, I put three wood screws into the furring strip (Photo H), and two each into the fins (from the top side (Photo I). Remember to drill pilot holes first. 8. Other than doing any touchup sanding, you’re basically done. At this point, you can apply the finish of your choice—stain, varnish, wood sealer, paint—or simply leave it as is (Photo J). So now you can go out and “sit by the bed”. |
Fine Gardening Recommended Products

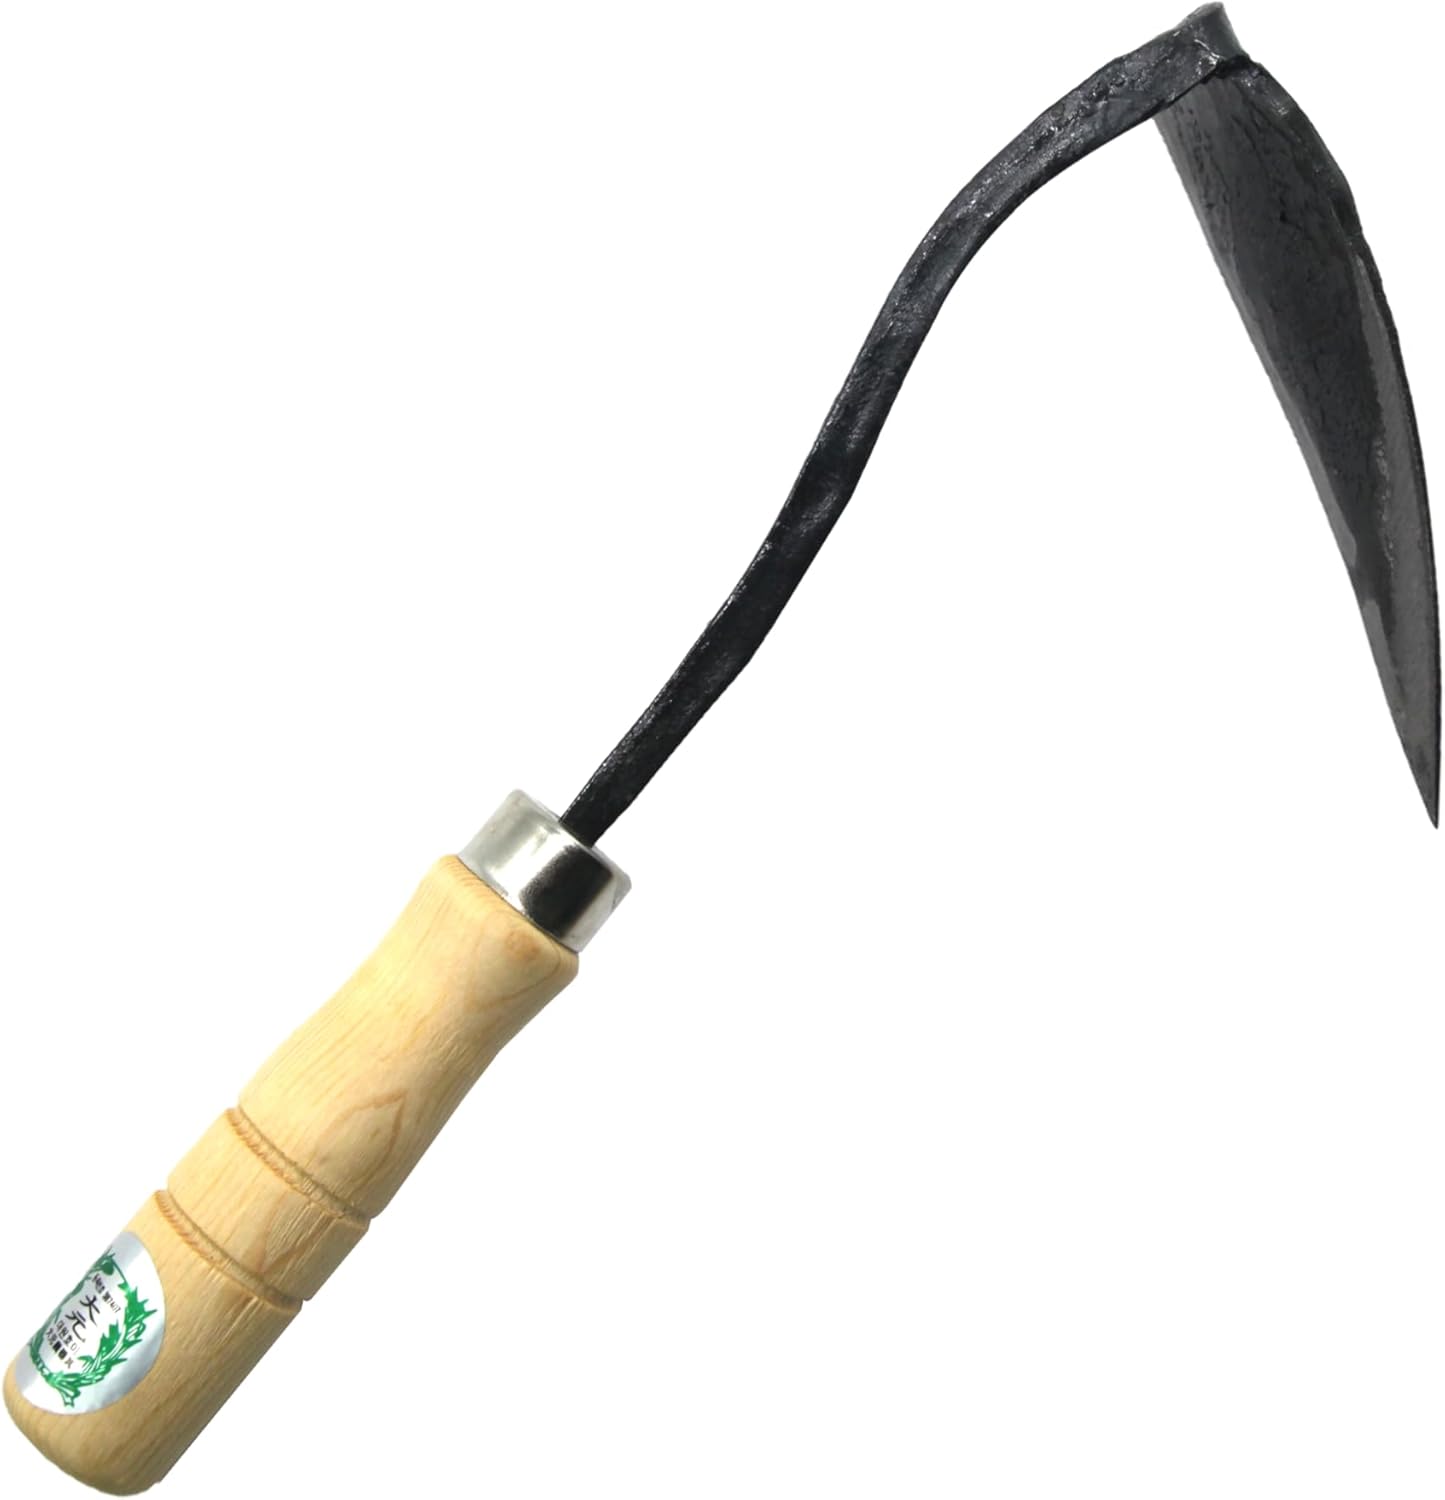
Ho-Mi Digger - Korean Triangle Blade
Fine Gardening receives a commission for items purchased through links on this site, including Amazon Associates and other affiliate advertising programs.

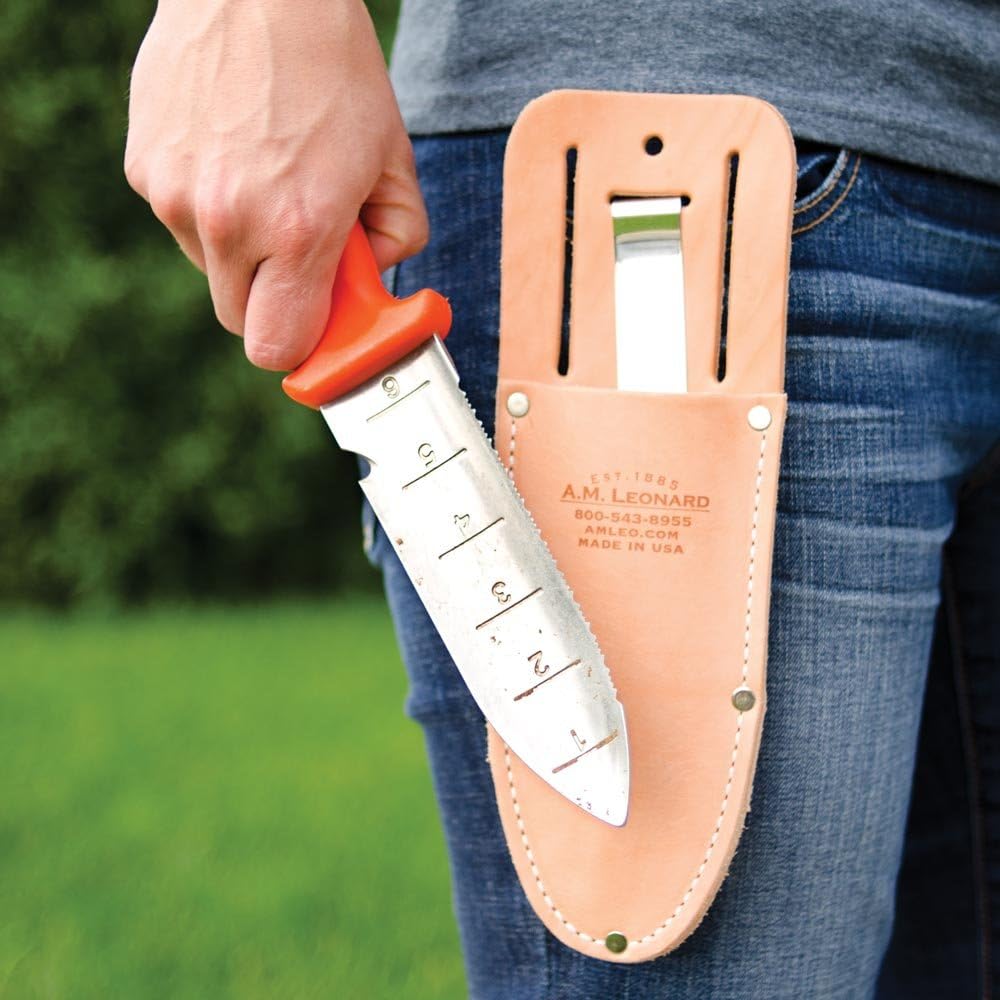
A.M. Leonard Deluxe Soil Knife & Leather Sheath Combo
Fine Gardening receives a commission for items purchased through links on this site, including Amazon Associates and other affiliate advertising programs.

Gardener's Log Book from NYBG
Fine Gardening receives a commission for items purchased through links on this site, including Amazon Associates and other affiliate advertising programs.


Comments
Log in or create an account to post a comment.
Sign up Log in