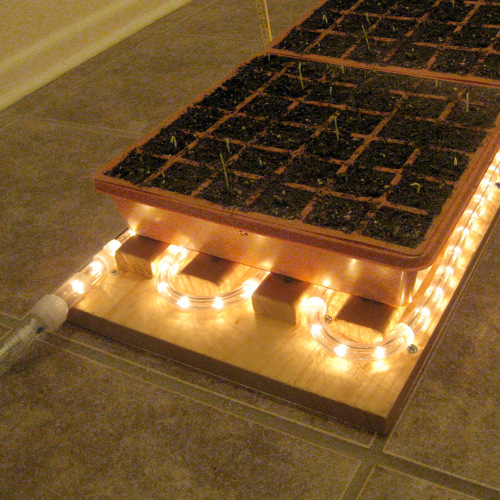
Starting and growing your own transplants from seed is one of the most challenging yet rewarding parts of this gardening passion we all share.
While most veggies will germinate in ‘room temperature’ without issue, there are cases where some added warmth could benefit the process. First, plants such as peppers, eggplant and tomatoes germinate better in warmer soil (about 70 degrees F is ideal). Second, you may have a situation where the only location you can do your seed starting gets cold in the winter, i.e. a garage or basement. In that case, it’s more sensible to only heat the trays rather than the whole room.
The solution? A heat mat. While grow lights placed above the seedlings provide some heat, a heat mat fits the job of warming the soil quite nicely. The problem? Heat mats can be pricey.
While I already own two mats myself, I started to see the need for a third one this winter. Some research online led me to cases where folks had strung holiday lights around young trees or perennials to help protect them from frost damage.
Recycle your rope lighting into an inexpensive heat mat
Since the holidays are upon us, lights of all sizes, colors and shapes stock the shelves of the seasonal departments of most stores. What a bright idea (pun intended) it would be to construct a DIY heat mat using lights?
The heat ‘mat’ I’ve built here easily accommodates two of the 1020-standard 11″ x 21″ seed trays or flats. Rope lights come in a variety of lengths and colors, so you can customize them to fit your specific needs. You’ll need the incandescent type of lights, not LEDs. The really cool part? I managed to built this one for about $16. In fact, you may already have the needed materials on hand.
In building the mat, the rope light weaves around long thin strips of wood, and both are attached to a ‘plank’ of plywood. The gaps between the wood strips serve to help with airflow. The rope light will only emit a certain amount of heat – not enough to burn the wood. Since it’s thinner than the wood strips, the rope light doesn’t come in contact with the seed trays. Since the rope light is insulated for outdoor use, it’s protected from water.
What you’ll need:
1. Plywood ‘plank’ (I used a 1-inch thick x 12-inch wide x 4-foot long piece)
2. Two 1″ x 2″ x 8-foot wood furring strips
3. Wood screws – two packs each of #6 x 1-1/2″ and #8 x 3/4″ sizes
4. Plastic cable clamps – two packs of 1/2″ size
5. Hand saw or jigsaw
6. Tape measure and/or square
7. Pencil
8. Sandpaper
9. Rope light – incandescent type (not LED). I used an 18-foot length.
Skill Level:
Easy to intermediate, depending on your wood-working/cutting skills.
Construction:
1. To correctly wrap the 18-foot rope light as I wanted, I ended up having to cut the 4-foot plank of plywood to approximately 44 -1/2″ long, but you can certainly leave the excess on if you don’t want to cut it.
2. Cut the two 1″ x 2″ x 8′ furring strips to get four 40″ long pieces. Sand any rough edges or surfaces.
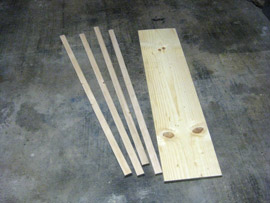
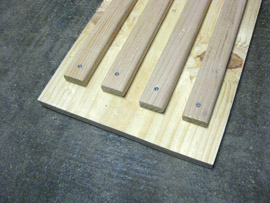
3. Using the 1-1/2″ wood screws, attach the 4 furring strips to the plywood plank.
4. Unwind and straighten the rope light.
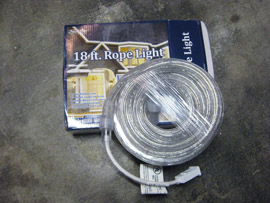
5. Place the closed end of the rope light at the bottom right corner of the plywood plank (if you have the long side facing you). Wrap the rope light around the 5 spaces between the furring strips (the two outside edges are two of them). This is only for rough placement – we’ll tighten it down in the next step.
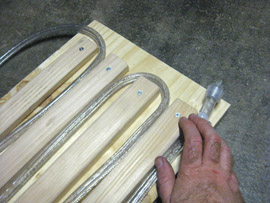
6. Using the plastic cable clamps and the 3/4″ wood screws, attach the rope light to the plywood plank. I ended up using five clamps along each run of the board, and put an extra one at the ends of the cable to secure it better.
 |
 |
7. Light ’em up baby! I mean,… um… plug it in.
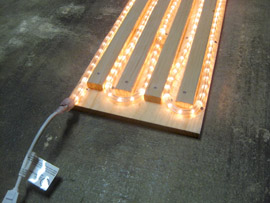
Your lighted heater is ready for seed-starting duty.
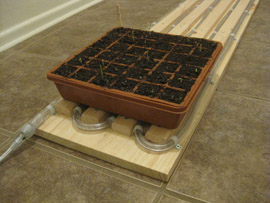
So, if you’re crafty and are out shopping, why not grab some lights to warm your seeds?
How well does a DIY heatmat work?
The heat mat takes approximately 30-45 minutes to fully heat up, and using my hand, felt as warm as the commercial heat mat. Upon taking measurements with both regular and soil thermometers, the numbers were impressive.
Commercial heat mat
Surface temperature
(thermometer placed on top of soil): 73-75 degrees F
Soil temperature: 80-82
Bottom temperature (gap between heat mat and seed trays): 100-102
DIY light heat mat
Surface temperature: 72-74
Soil temperature: 78-80
Bottom temperature: 105-110
Note: To control heating times, use a thermostat or timer.
Fine Gardening Recommended Products
SF600 LED Grow Lights 2x4 ft
Fine Gardening receives a commission for items purchased through links on this site, including Amazon Associates and other affiliate advertising programs.
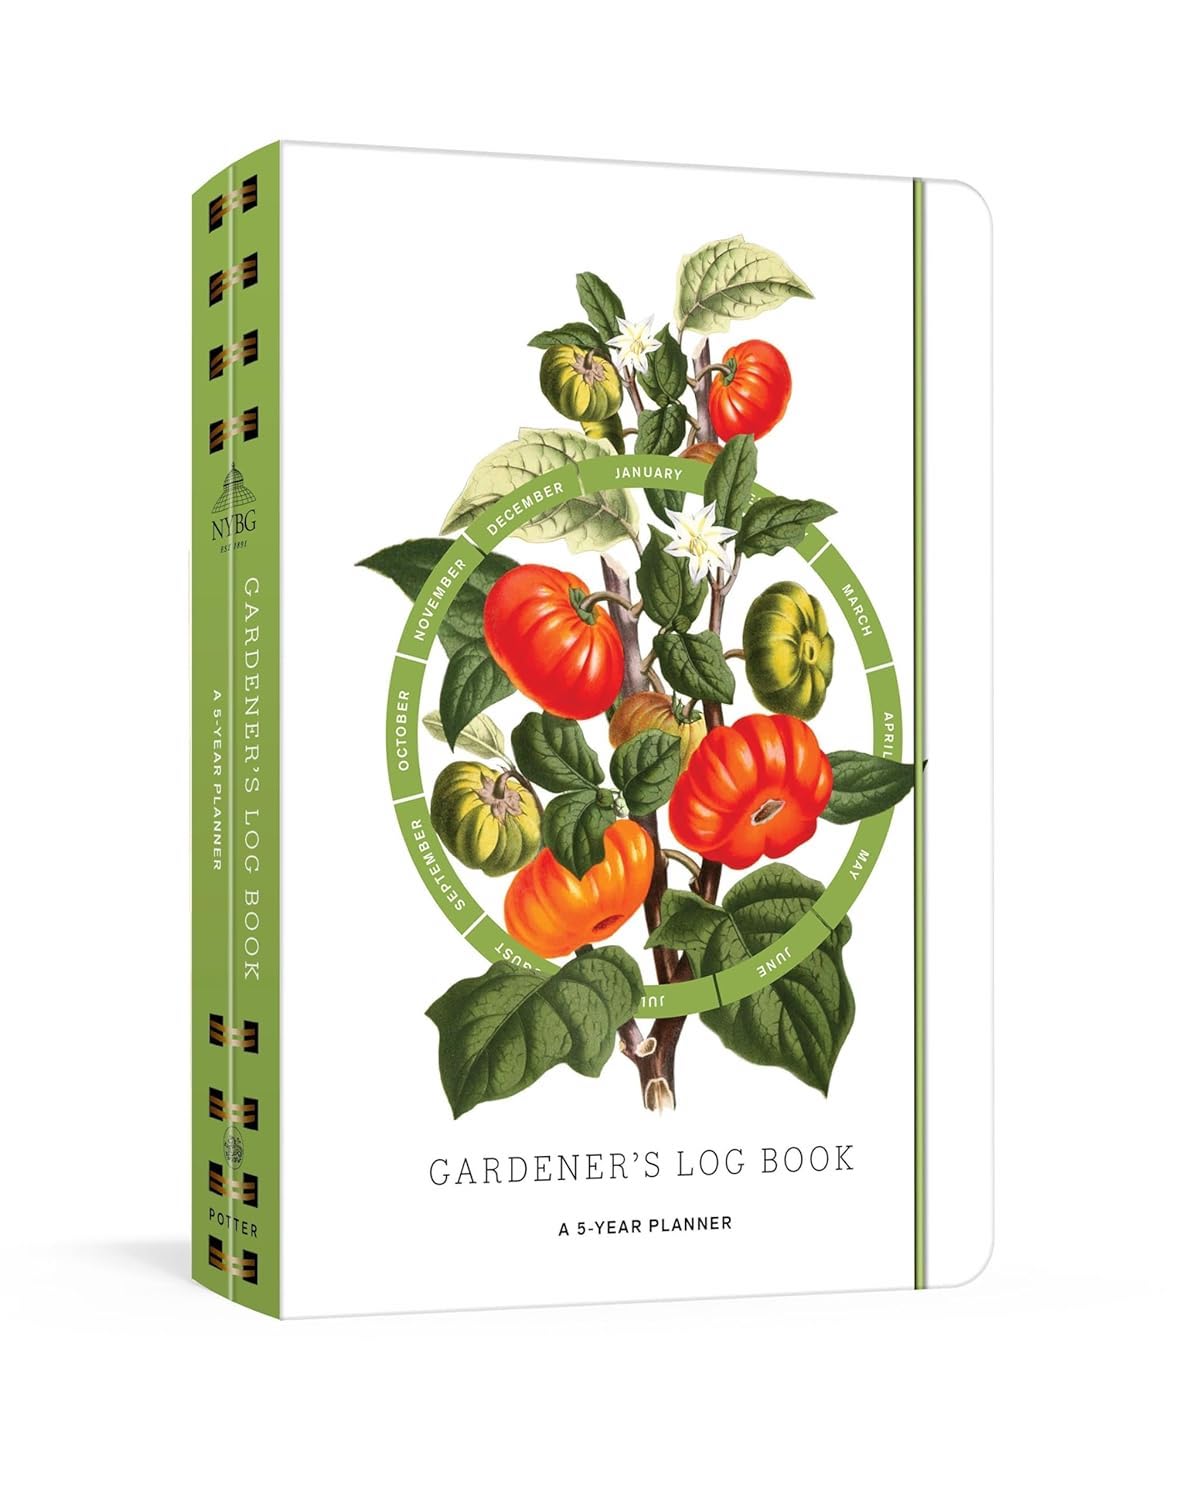
Gardener's Log Book from NYBG
Fine Gardening receives a commission for items purchased through links on this site, including Amazon Associates and other affiliate advertising programs.
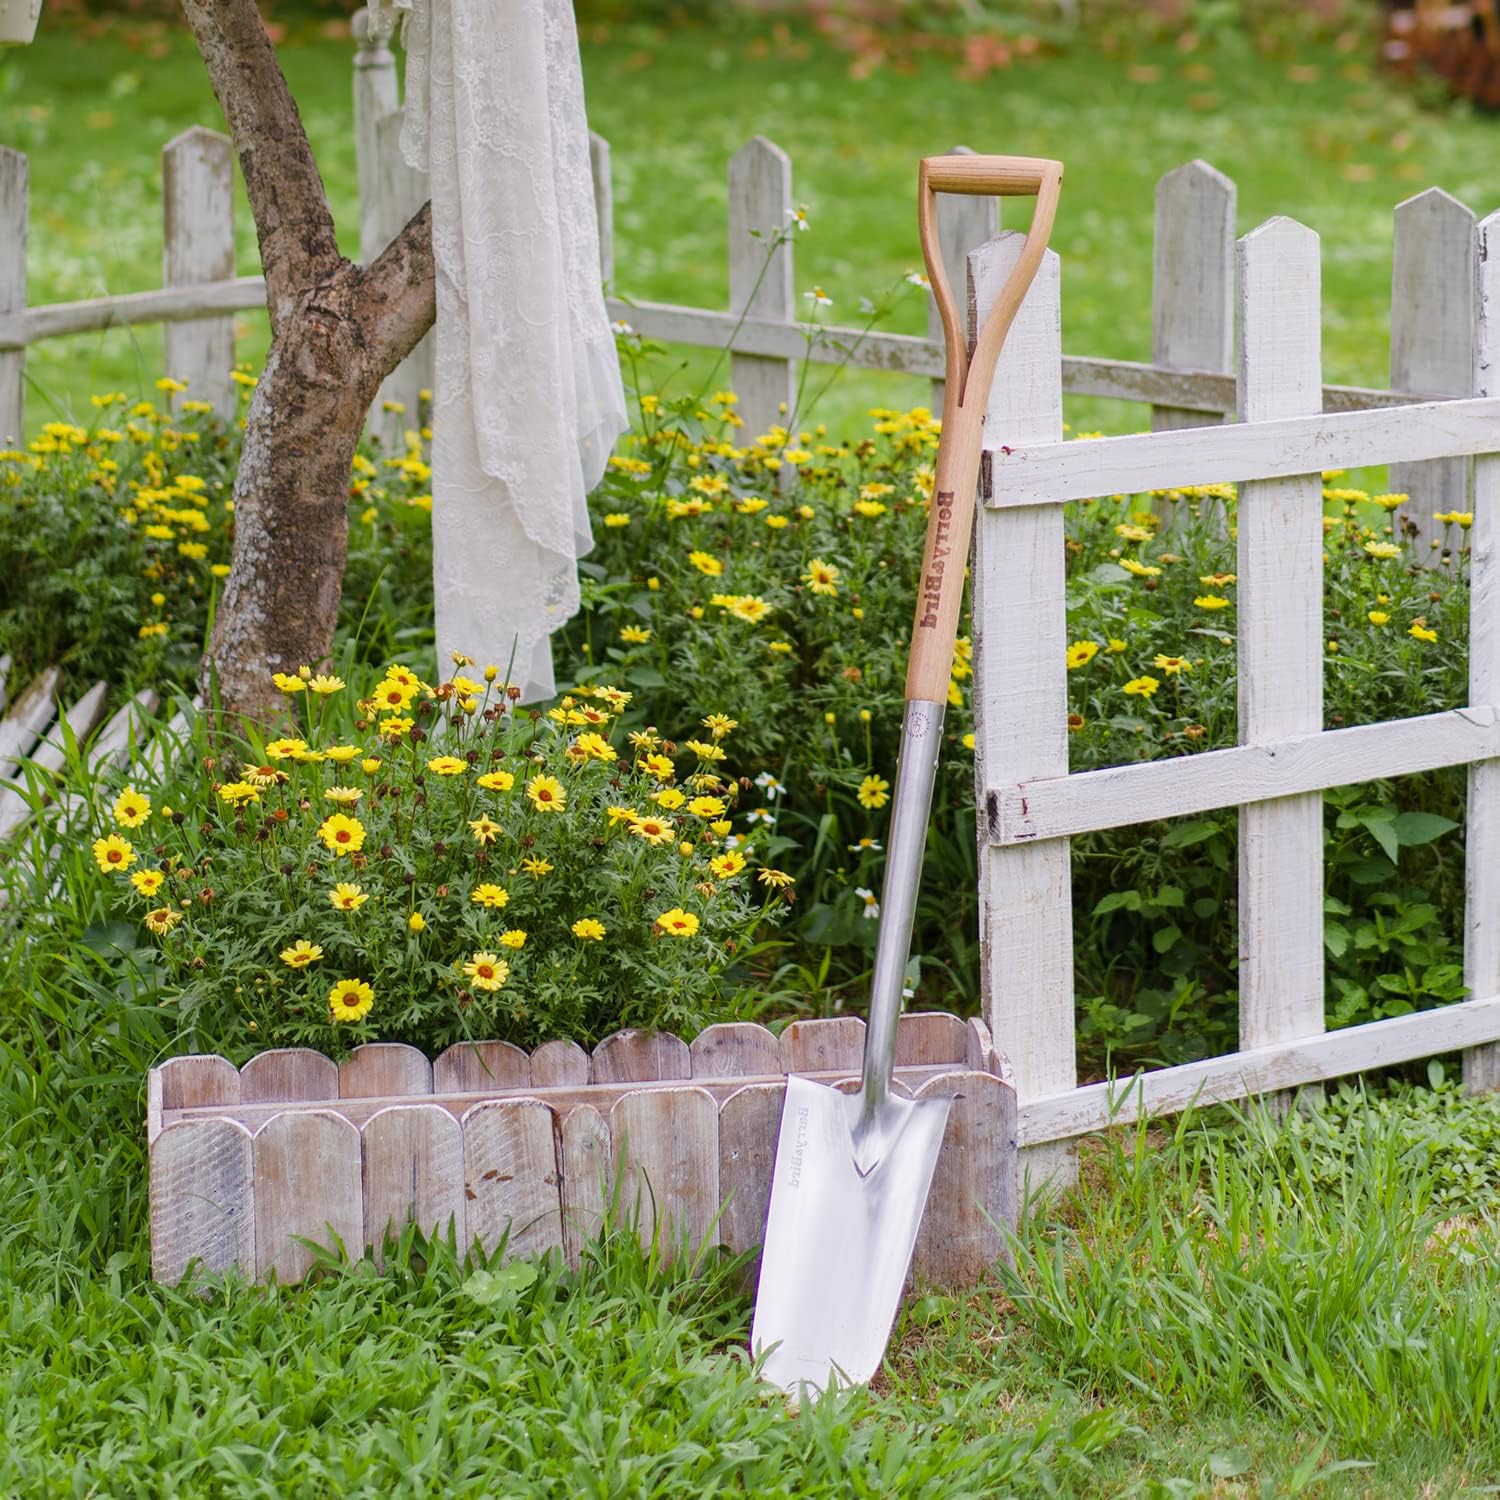
Berry & Bird Rabbiting Spade, Trenching Shovel
Fine Gardening receives a commission for items purchased through links on this site, including Amazon Associates and other affiliate advertising programs.






Comments
Excellent information!
Can you please share your method of taking soil temps?
Log in or create an account to post a comment.
Sign up Log in