by Lucy Apthorp Leske
February 1997
from issue #7
Vegetables can’t grow on best intentions alone. A friend reminded me once that in the garden, there is simply no substitute for empirical knowledge. Mistakes made are lessons learned. Believe me, I’ve learned a lot of lessons over the years. So when my sister, Jenny, approached me to help plan her first kitchen garden, I knew if I shared what I’d learned, I’d be able to help her avoid some of my mistakes and get her off to a happy start. Early success would build her confidence and make gardening a lot more fun.
My husband and I have moved a lot, so in the past 15 years, I’ve planned and installed four new gardens. Each site provided its own obstacles, including mud, compacted soil, invasive tree roots, infertile sand, voracious rabbits, and brutal winds. Each time, though, I managed to get vegetables to grow.
All the while, Jenny watched my struggles and ate my harvests. Then, last year, she, her husband Steve, and their two little girls moved to a brand new house. They wanted to design a landscape that included a play yard for the kids, flower beds, shrub borders, and a dedicated but good-looking and functional space to grow vegetables.
Successful gardens start with planning
 |
|
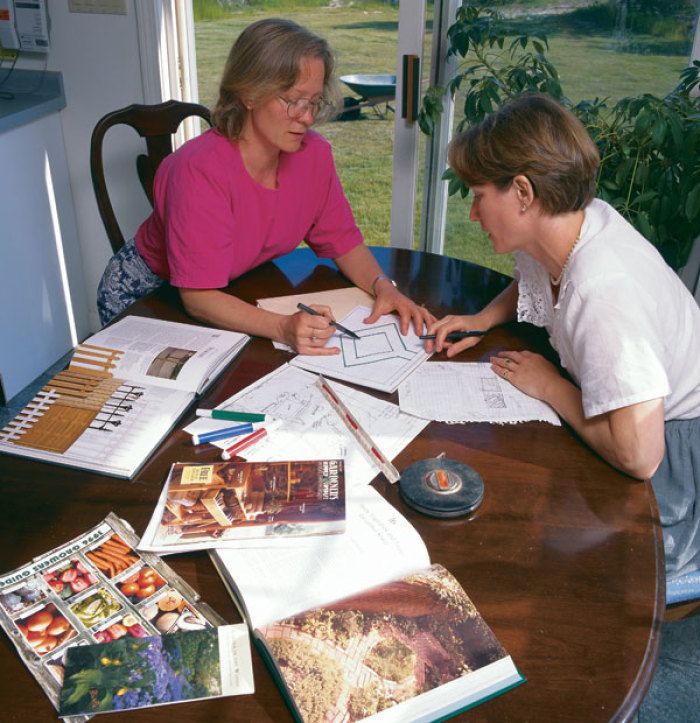
| The author and her sister planned a kitchen garden on the kitchen table, and you can, too. |
The first thing I told my sister is that the most successful gardens start with planning. They needn’t be large or spectacular; they just have to grow vegetables that are worth the time and effort spent on them.
So, we walked around their property, and I listened: The play area goes here, a future addition to the house might go there, these trees shade this part of the yard until noon. And then we spent time at their kitchen table, armed with a plot plan, graph paper, books, and garden supply catalogs. We hashed over a lot of ideas and came up with some good ones that fit their lot, their lifestyle, and their budget.
Time and money for the garden
Jenny and Steve had visions of what they wanted their kitchen garden to produce, but they didn’t have realistic expectations of the work and money involved. They are a working couple with small children, and they figured they would have, at most, one to two hours a week to spend in their garden. Nor do they have a lot of extra cash. Their kitchen garden, therefore, had to be defined largely by budget and time. It would not be elaborate. The garden needed to stay small and simple, with as many low-maintenance and low-tech, meaning inexpensive, features as possible.
 |
|
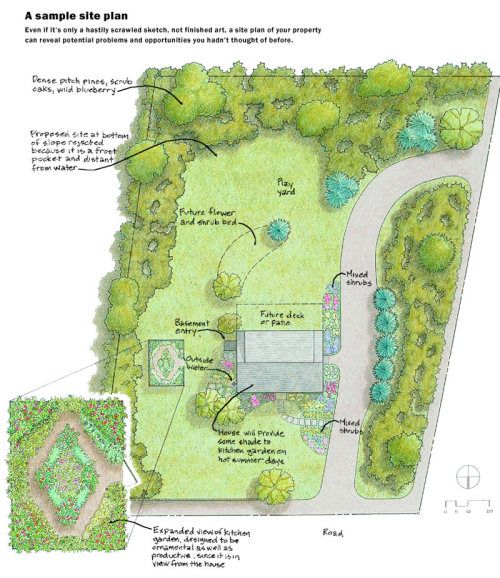
| A sample site plan. Click here or on the image to enlarge it. |
For example, I knew long before they did that Jenny and Steve would need mulch, and lots of it. The soils in our area are notoriously sandy and dry, and the summers are hot. It took me several years to learn the benefits of mulch, and, before my enlightenment, I became pretty discouraged by weeds that seemed to sprout overnight. Environmental concerns aside, if you don’t have to weed and water as much, you’ll have more time for other activities, a real consideration for a busy family like Jenny and Steve’s.
However, store-bought mulch is expensive, running $8 to $10 for a 3-cu.-ft. bag, way beyond Jenny and Steve’s budget, considering the number of bags they’d have to buy. Fortunately, on Nantucket Island, where we live, an excellent kitchen garden mulch—eelgrass and salt marsh hay—is free and easily collected from nearby beaches. The only special handling it requires is a thorough rinsing to get rid of the salt before applying the mulch to the garden. Pine needles, sawdust, and straw are other possibilities for free mulch.
| More on mulch:
• Organic and Inorganic Mulches in the Garden |
Jenny and Steve’s lot lies right across a prime deer trail and in a neighborhood of breeding rabbits and loose dogs. Fencing was mandatory if they were going to harvest anything at all, but their budget limited their choices. What they needed was a mesh no larger than 1 in. square to deter rabbits, a height of 7 ft. to deter deer, and the strength to resist barreling Labrador retrievers.
We discussed the options and chose a combination of 3-ft.-high galvanized rabbit fence and black deer netting that could be draped around and over the tops of the stakes and individual plants. As their landscape evolves and money becomes available, Steve may be able to replace the ad hoc fence with a more permanent and better-looking structure.
Location, location, location
A third factor that would contribute to the garden’s success was location. Jenny and Steve’s big lot might have let them put the garden wherever they wanted, but I knew that wasn’t realistic. The wrong location would not only ruin future landscaping plans, it would also affect the plants’ vitality.
 |
|
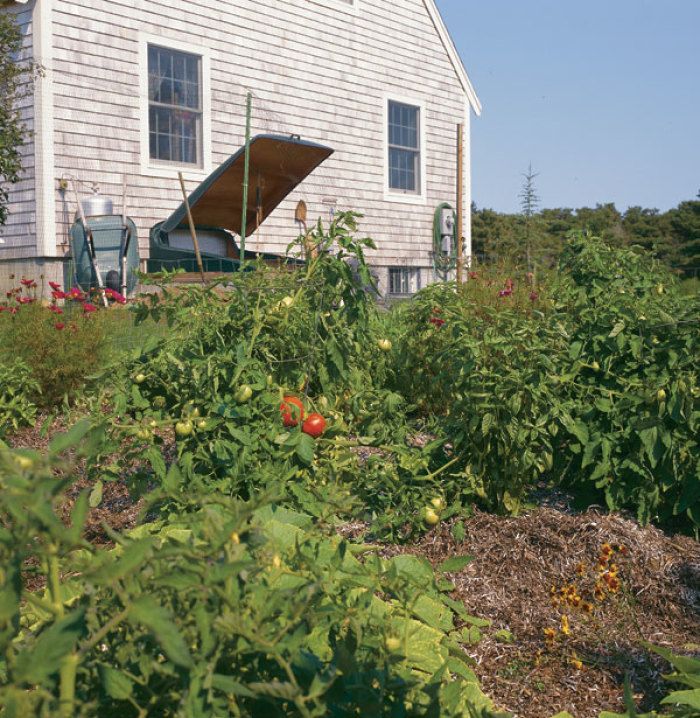
| Put your garden near tool storage and a water source |
Their home sits in the center of a 3⁄4-acre lot that enjoys full sun for most of the day and is covered in large part by a new lawn. The lawn slopes to the south and is bordered by thick stands of wild shrubs and pine trees. Future landscaping plans include a patio, shrub borders, and play yard near the house. To Jenny and Steve, it seemed obvious to locate the garden at the bottom of the slope, hard against the scrub at the far end, away from and behind the proposed shrub borders. I knew that wouldn’t be a good site.
One of my former gardens also lay at the bottom of a slope against some wild shrubs which, every year in spring and fall, trapped the cold, frosty air that slipped down the slope at night and caused frost damage to my crops. So, I persuaded Jenny and Steve to look to the east, and we opted to put the garden between the house and some pines and brush in plain view of the master bedroom. Despite shade in early morning and late afternoon, the garden would receive direct sunlight for eight to ten hours each day.
The site was also close to the only outdoor faucet and the bulkhead doors to the basement. I’ve lugged many a watering can and hose out to my former gardens, and I know that proximity to a faucet both eases watering chores and ensures that plants will get water a bit more often. Having the garden near the bulkhead provides a handy place to keep rakes, shovels, and hoes.
Jenny asked me if they needed to create raised beds. I have learned that with our dry summers and sandy soil, raised beds are neither necessary nor beneficial. In the spring, the soil in raised beds heats up early and helps crops along, but come summer, the beds drain quickly and overheat. I recommended a level garden with shallowly dug paths. And since the garden would live right outside their bedroom window, we decided to make it less utilitarian looking and more ornamental by designing beds in a simple diamond pattern.
You are what you eat
The next question was how big to make the garden. But before we could talk size, we needed to figure out what Jenny and Steve wanted to grow. A crop of corn takes a lot more space than a salad garden.
| Vegetables that kids might like:
• How to Grow Beefsteak Tomatoes |
Jenny’s family eats lots of vegetables and prefers to go vegetarian several times a week. The girls, however, are finicky eaters and like only certain vegetables. I have found that, although experimenting with vegetables can be fun, if no one is going to eat them, it’s a waste of time and space. What’s the point of growing turnips if they rot in the ground or end up in the compost?
Jenny and Steve decided they would most likely eat tomatoes, lettuce, beans, carrots, and herbs. For the first year of their first garden, this seemed like enough. Based on the size of their family, their time and budget, and what they wanted to grow, we agreed a garden about 15 ft. by 20 ft. would be just about right. That would allow them to plant approximately eight tomato plants; two beds of lettuce, greens, and herbs; one bed each of successive plantings of green beans and carrots; and some flowers.
Don’t guess, soil test
After we had figured out the location, the size, and the design of the garden, it was time to look underground and assess the fertility of the soil. We needed to know what amendments and nutrients the soil would need to grow vegetables. Planting a garden in unknown soil is like letting a waiter choose your food at a restaurant: You can’t be sure what you’re getting.
Prior to the new house and lawn, the land had supported a stand of pitch pine, wild blueberry, native grasses, and scrub oak. I knew from experience that the soil would be typical of a pine barren woodland: acidic, sandy, and barely fertile.
In March, we dug up a sample of soil and mailed it off to the cooperative extension service soil testing lab. A few weeks later, we received the results, which revealed a soil with low to medium concentrations of nitrogen, phosphorous, potassium, calcium, and magnesium, the five essential nutrients vegetables need. The pH was 5.2, about ten times too acidic for most vegetables. What’s more, theamount of organic matter in the soil—the primary indicator of soil biological activity and fertility—was 3.4%, below the desirable range for vegetables of 4% to 10%. The soil test report also included recommendations for raising nutrient and pH levels to a desirable range for growing vegetables.
| More on soil testing:
• Soil Testing Savvy |
For first-time vegetable growers like Jenny and Steve, this information was invaluable. Combining the soil test results with information from reference books, we calculated the amounts of amendments we would need for their 300-sq.-ft. garden, and added up the cost of buying all the materials. Five hundred pounds of bagged manure, 15 lb. green sand, 30 lb. rock phosphate, 10 lb. dried blood, and one bag of lime ran about $80. The soil test itself costs about $12.
To till or not to till?
The next choices we made concerned the installation process. We had sod, and we needed to create a thick, fertile, crumbly layer of soil in which the vegetables could grow. We had two options: to till or not to till. Tilling, by machine or by hand, would turn over, loosen, and mix the soil with the amendments. On the other hand, some gardeners maintain that over time tilling ruins the soil. They advocate hand-turning the soil, and only when necessary.
If we were to choose not to till, we could cover the intended garden space with thick layers of newspapers, soil, mulch, and soil amendments several months in advance. This, in essence, kills the sod underneath and creates a rich but shallow garden bed. On the other hand, it does nothing to alleviate serious soil compaction and underground root tangles, both of which are impediments to deep root growth and vigorous plants.
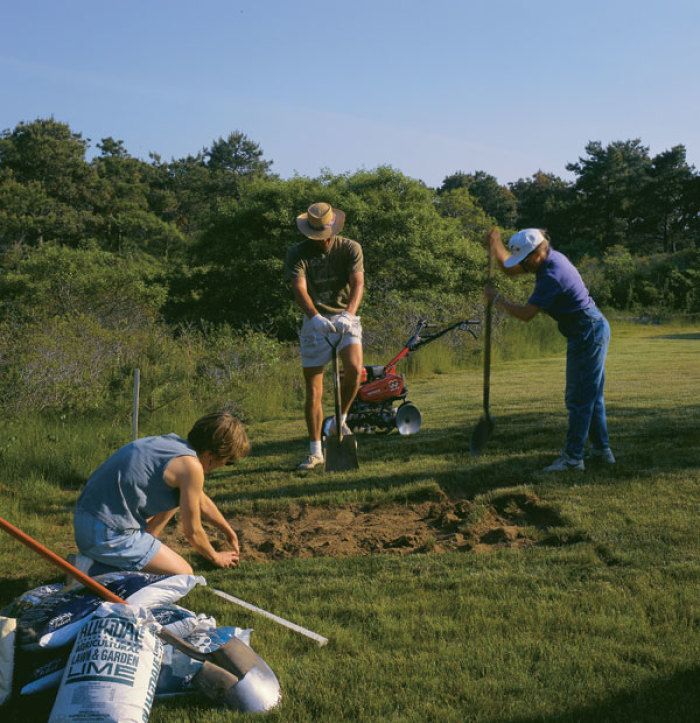
Jenny and Steve weren’t far enough along in their gardening education to weigh the benefits of tilling versus not tilling, nor did we have the luxury of time to wait for the sod to decompose. The truth is, we all appreciated how much back strain a rotary tiller can prevent, so we opted for the machine route.
In the end, it was just as well. One fine day in early spring, the time came to dig. The ground had thawed, and the last frost date had passed. After staking out the garden corners, we chopped out the sod and used it to repair some other lawn areas. The sod was new and the soil had been tilled only six months earlier, but we still found it rough going because of dry, compacted soil and crossing roots from nearby trees. The rotary tiller was a godsend.
Buy transplants the first year
 |
|
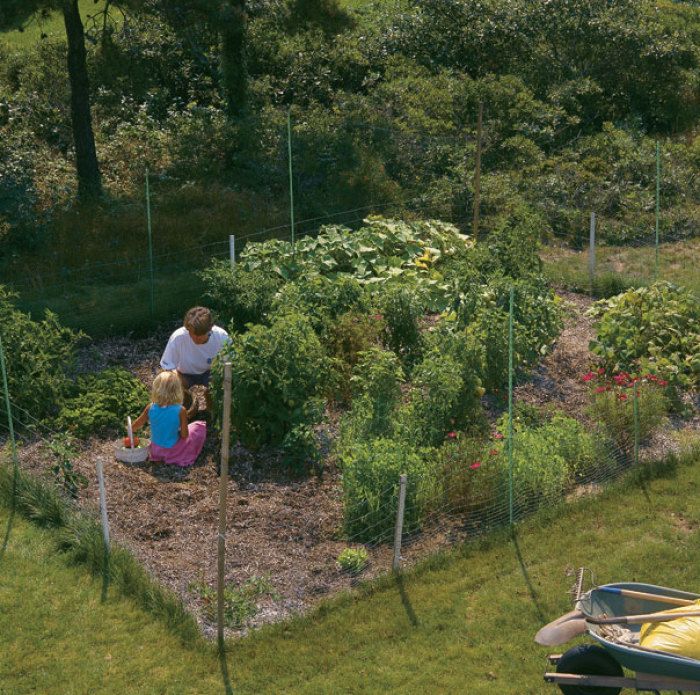
| With careful planning and some hard work, you can have a bountiful garden the first year. |
Once the sod was gone, we spread the materials and turned them under. Then, we laid out the rows and paths, erected the fence and started planting. Because this was a first-year garden and Jenny and Steve had a lot on their plate, if they were ever going to get anything on their table, we couldn’t take the time to start tomatoes, lettuce, and herbs from seed indoors. We bought transplants instead and direct-seeded the carrots, beans, and more lettuce.
Knowing that shopping seed catalogs is like going to the grocery store when you’re hungry, I helped them avoid a final mistake of buying too much seed. I figured they would need two packets of bush beans, two packets of lettuce, and two packets of carrots, as well as eight tomato plants, six parsley plants, and eight to ten basil plants, a total investment of about $20.
Despite the rough tilling, Jenny, Steve, and I installed the entire garden in about three hours. It reminded us of an old-fashioned barn-raising where many hands make light work. Now it’s up to Jenny, Steve, and the girls to see that the garden grows. They’ll have the fun of experimenting with crops, modifying the garden, and harvesting their own vegetables.
| Think before you dig • How many hours and dollars do I want to spend gardening? • What do I really want to grow? • Do I want enough produce to freeze, can, and preserve? • How will I integrate my kitchen garden into the overall landscaping? • What site makes the most sense in terms of appearance, sunshine, competing plantings, microclimates, and access to water and equipment? • What additives does my soil need? • What will I do about mulching? • Do I need to fence the garden? • Do I want raised beds or a garden at ground level? |
Fine Gardening Recommended Products
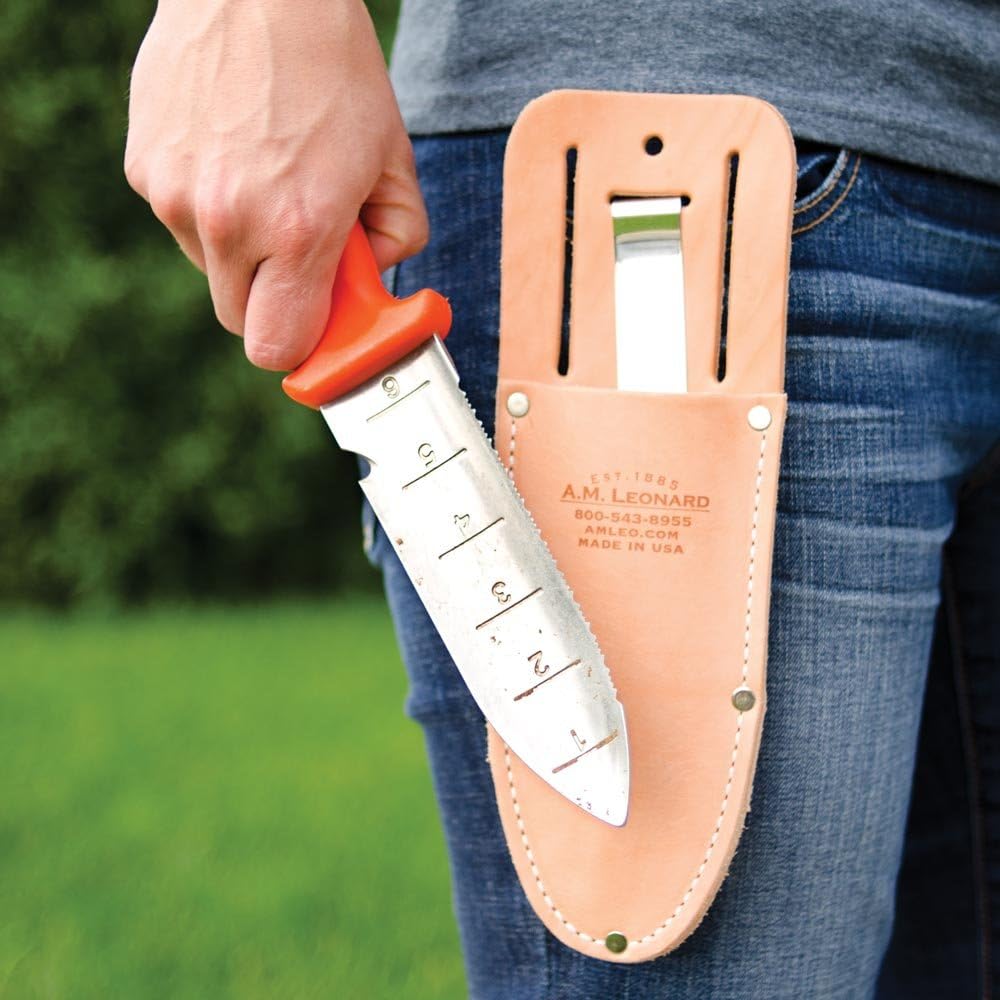
A.M. Leonard Deluxe Soil Knife & Leather Sheath Combo
Fine Gardening receives a commission for items purchased through links on this site, including Amazon Associates and other affiliate advertising programs.
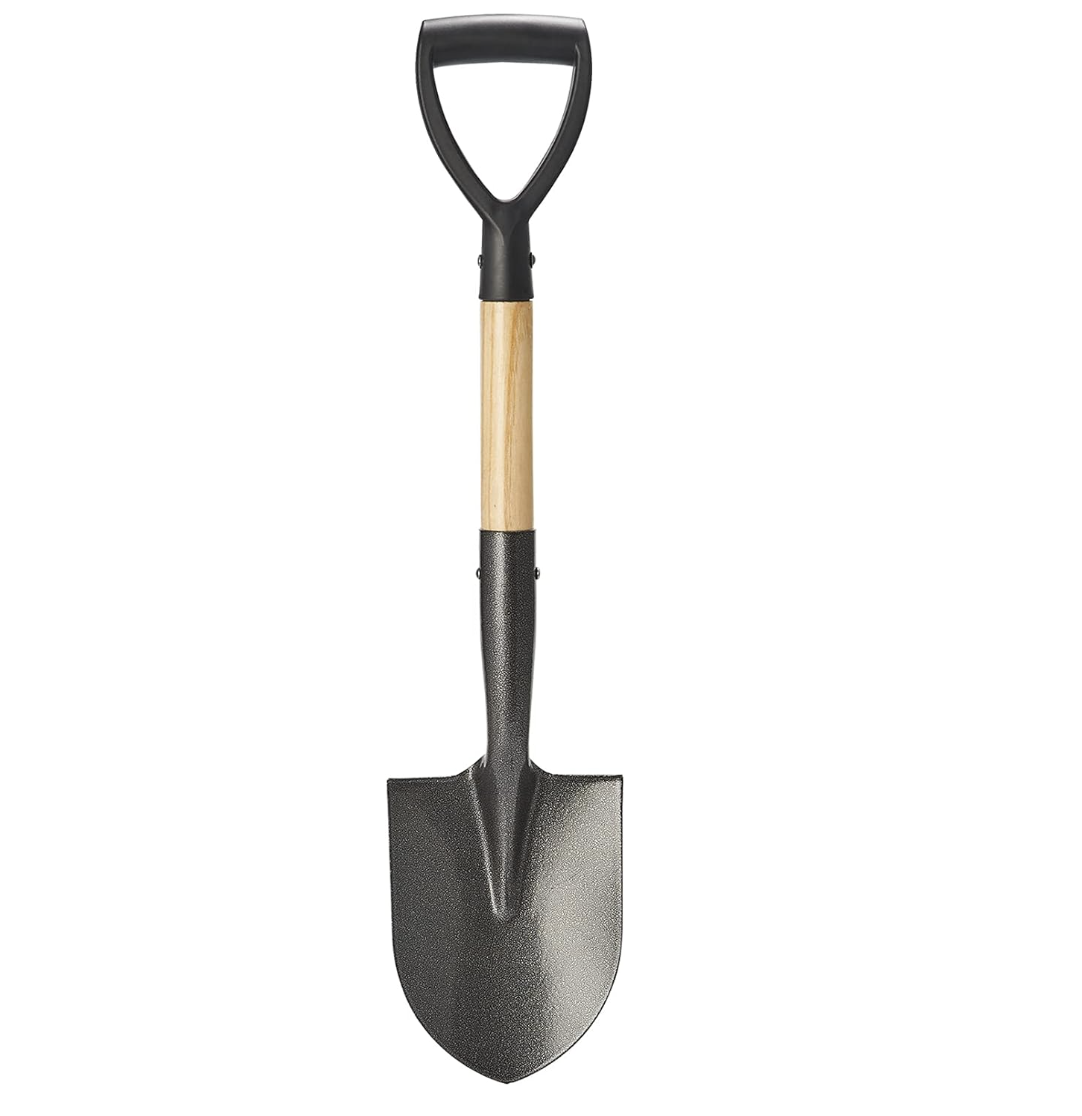
Corona® Multi-Purpose Metal Mini Garden Shovel
Fine Gardening receives a commission for items purchased through links on this site, including Amazon Associates and other affiliate advertising programs.
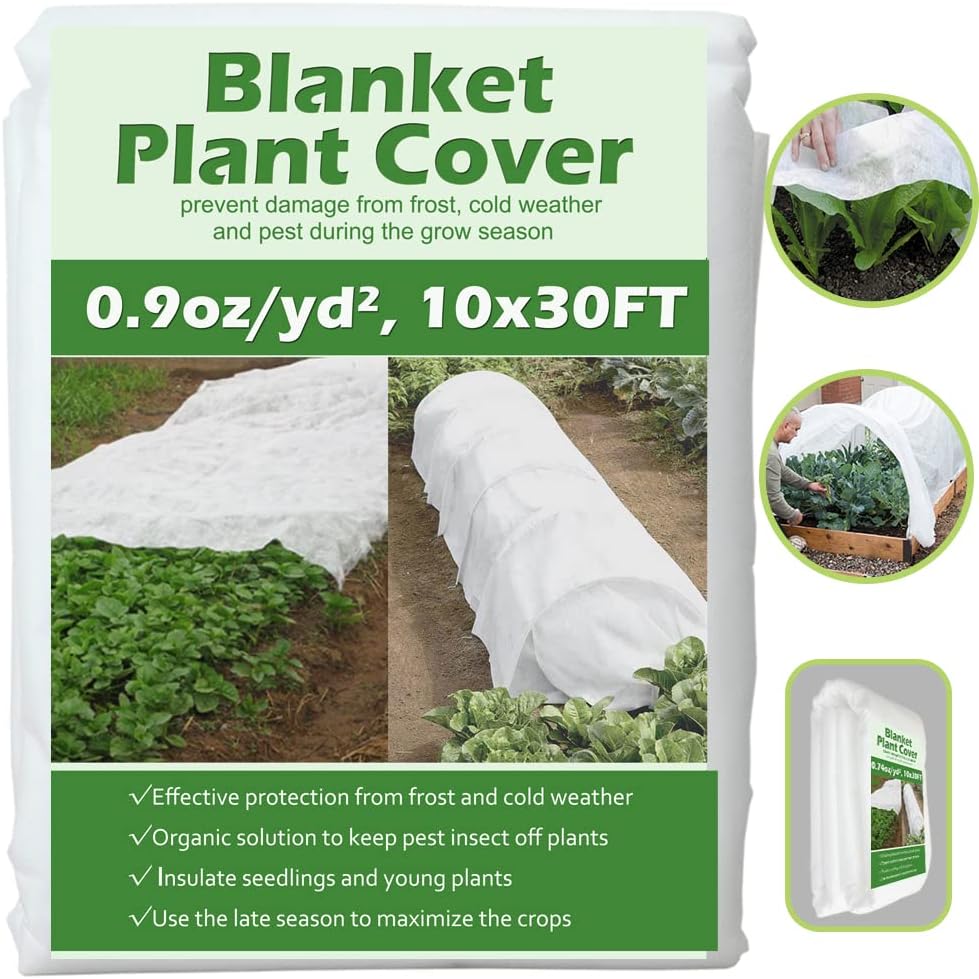
Plant Covers Freeze Protection 10 ft x 30 ft Floating Row Cover 0.9oz/yd²
Fine Gardening receives a commission for items purchased through links on this site, including Amazon Associates and other affiliate advertising programs.





Comments
Log in or create an account to post a comment.
Sign up Log in