by Janet Jemmott
April 1998
from issue #14
I know I goofed. I should have cleaned up the garden in the fall. But this was the year of The House—the big renovation. Between scheduling subcontractors, juggling family matters, and scooting off on business trips, I didn’t get to my garden until the sun was again warm and the soil soft and ready to be worked.
Now I’m hoping I haven’t inadvertently overwintered some bad critters in my garden’s beds. Didn’t someone say, “An ounce of prevention is worth a pound of cure”? Or should it be, “An ounce of procrastination is worth a pound of trouble”? The lengthening days remind me I’d better get to work. Besides, there’s planting to do.
Preventing problems. One of the primary reasons to do garden clean-up in the fall is that a lot of things overwinter in garden debris: weed seeds, insects, viruses, and diseases. Some gardeners espouse the theory that you should let vegetable plants lie, and mulch or turn them into the soil right on the spot. But there’s a lot to be said for tidiness. Cleaning up in the fall minimizes potential problems.
Even though the calendar informs me it’s already March and that I’m late, getting rid of old plant matter is still important. I remove decaying debris, along with weeds and their seeds. This prevents the development of a jungle habitat for fungi and disease. Plus, a clean slate lets me visualize the garden’s layout for the coming growing season.
A note about digging last year’s plants out of the soil: Make sure the soil is dry enough to be worked before you go to it. Grab a handful and squeeze it. If it compacts and stays that way it’s not ready and you run the risk of messing up the soil structure by working it too soon. By all means squelch gardener’s spring fever and give the soil more time to dry. It helps (once again) to get your soil ready in the fall so you can plant early crops in the spring without turning the soil.
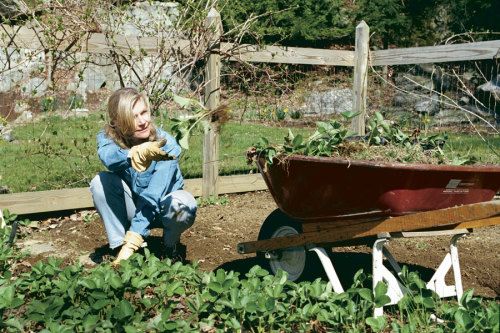
If you planted cover crops the previous year, you should still wait until the soil’s ready to be worked before turning the crops in. This is also a good time to transplant crowded perennials such as strawberries and rhubarb and give established plants a boost with slow-release fertilizer.
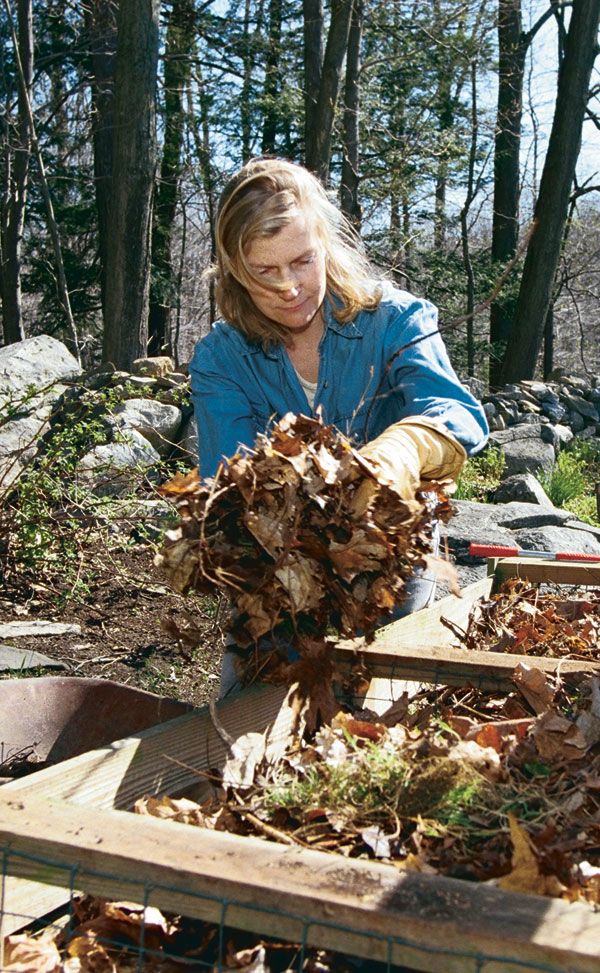
Transforming brown leaves to black gold. Removing debris from your garden is only the first step; the next is deciding what to do with it. What can you compost? What should you toss out with the garbage? Here are some simple strategies: If there are any signs of disease in plants removed at cleanup, I either toss them into a pile in our woodland area, or, if they’re really awful, they go into the trash. The balance goes into the compost.
Weeds also go into my compost bins unless they’re so loaded with seeds I know they’ll wind up back in the garden. If you want just a simple compost pile, and don’t want to worry about weeds, don’t put any in. If you practice hot composting, you don’t have to worry about seeds germinating. Hot composting means the interior of the pile has to reach at least 140°F to ensure you’ve destroyed weed seeds and pathogens. You’ll need to mix your entire pile to be sure all of it has reached 140°F. Keep the compost moist but not soggy. If it rustles when poked, it’s too dry.
Another way to heat up a pile is by alternating brown, or slowly decomposing, material with green, quick-to-break-down plants and leaves. Start a pile with brown material such as thick stalks or other coarse materials at the bottom. On top of that, layer green, “hot” material. Lawn clippings are another example. They are moist and dense, and micro- and macrofauna gorge themselves on the clippings, releasing hot gases all the while. Substitute layering for the traditional sore-muscle method of turning the pile.
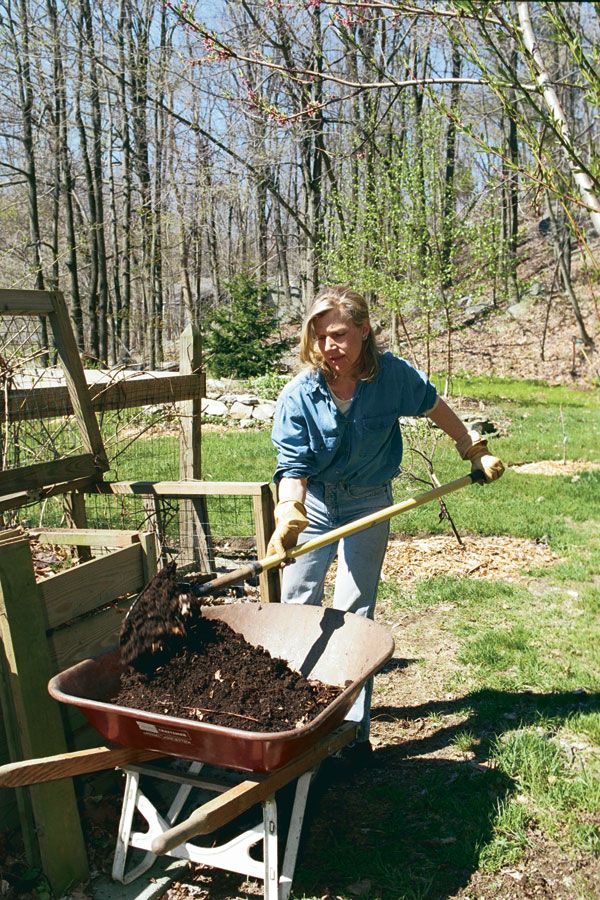
If you’re worried about diseases surviving the compost process, get a thermometer and monitor the heat. If the inside is too cool, add some hot, green, organic stuff or some moisture. Top it with brown compostibles. And when it’s turned to black gold, spread it throughout your garden.
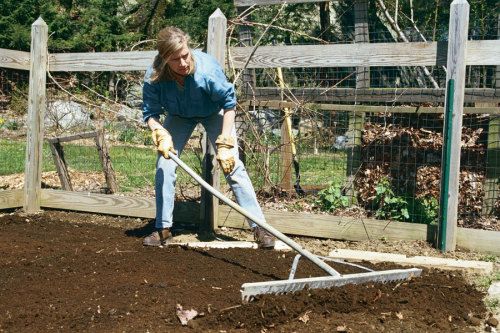
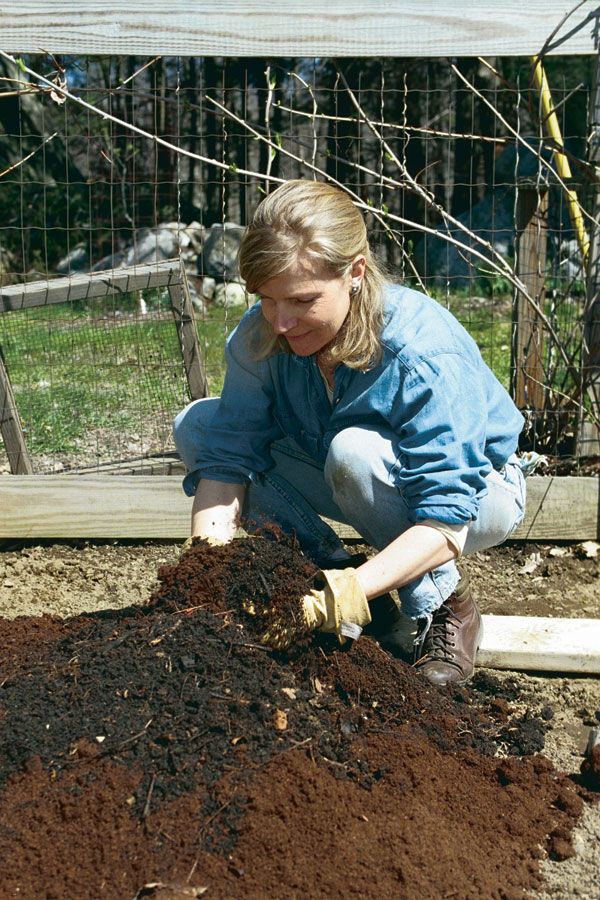
Dressing your garden. One growing season can diminish organic richness. You’re shortchanging yourself and your vegetables-to-be if you don’t provide them with the nutrients they need. There’s always a lot of talk about NPK ratios—nitrogen, phosphorus, and potassium. All three are important for plant growth, and while inorganic fertilizer can give you the NPK plants need to grow, it won’t do anything for the soil texture. For that you need compost, manure, or peat moss.
Manure contains large amounts of humus—that great fibrous material that gives tilth to soil, supplies food for soil flora and fauna, preserves moisture, improves drainage, and stores nitrogen. Both horse and cow manure should be well composted or cured before use on a garden during the growing season. You’ll know manure is ready when it loses most of its objectionable odor.
Your garden should now be in good shape for another growing season. And next fall, don’t neglect to do it all again so you can plant early in the spring, when gardener’s itch is strongest and the warming sun tells you it’s time.
Tool tune-up
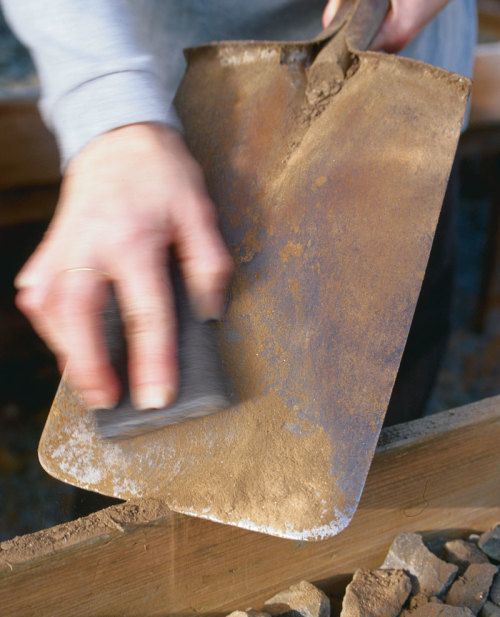
The last task at the end of the gardening season, or the first beginning a new season, is to clean and sharpen your tools. Sanitized tools minimize the possibility of passing on harmful bacteria, fungi, or disease. Use a wooden wedge called a woodman to scrape off blades. Or brush dirt off with a stiff-bristle brush or an abrasive sponge block. If rust is present, use some steel wool and elbow grease, then rub down carbon-steel implements with a rag and mineral oil. Another easy way to clean tools is to thrust them into a 5-gallon bucket filled with coarse builder’s sand that’s been lightly imbued with vegetable oil.
To care for wooden handles, sand away original varnish and rub with boiled linseed oil. Smooth the surface with steel wool.
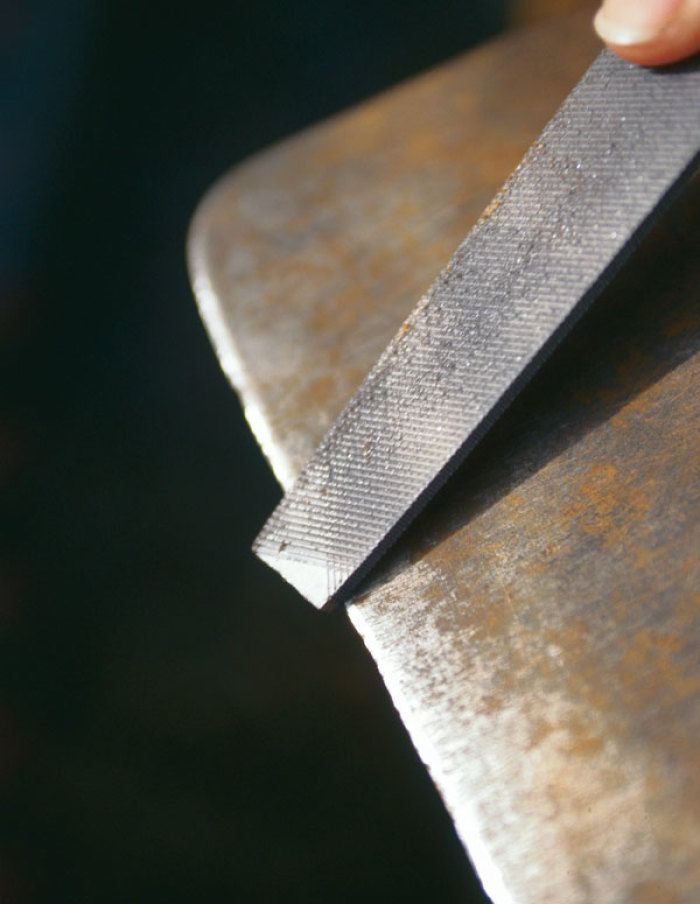
Sharp tools are a blessing. They cut clean and strong, making healing easier for plants and weeding easier for gardeners. Spades, shovels, and hoes benefit from regular attention. Clamp the tool in a vise, and using an 8-in. to 10-in. bastard mill file, sharpen the blade by pushing the file in the direction of the blade’s beveled edge. Sharpen in strokes away from your body. Follow the original bevel and use short, quick strokes.
Clean the blades of your pruners and sterilize them as well, using a solution of 10% bleach to 90% water. Lubricate the fulcrum with oil. Unless you’ve got the skill to sharpen pruners, take them to an expert and watch while the sharpening is done. Once you know how, you can duplicate this.
Hang large tools and stow small ones. Remember to clean and store stakes, cages, and supports. Scrub clay pots and sterilize with a 10% bleach solution.
Fine Gardening Recommended Products
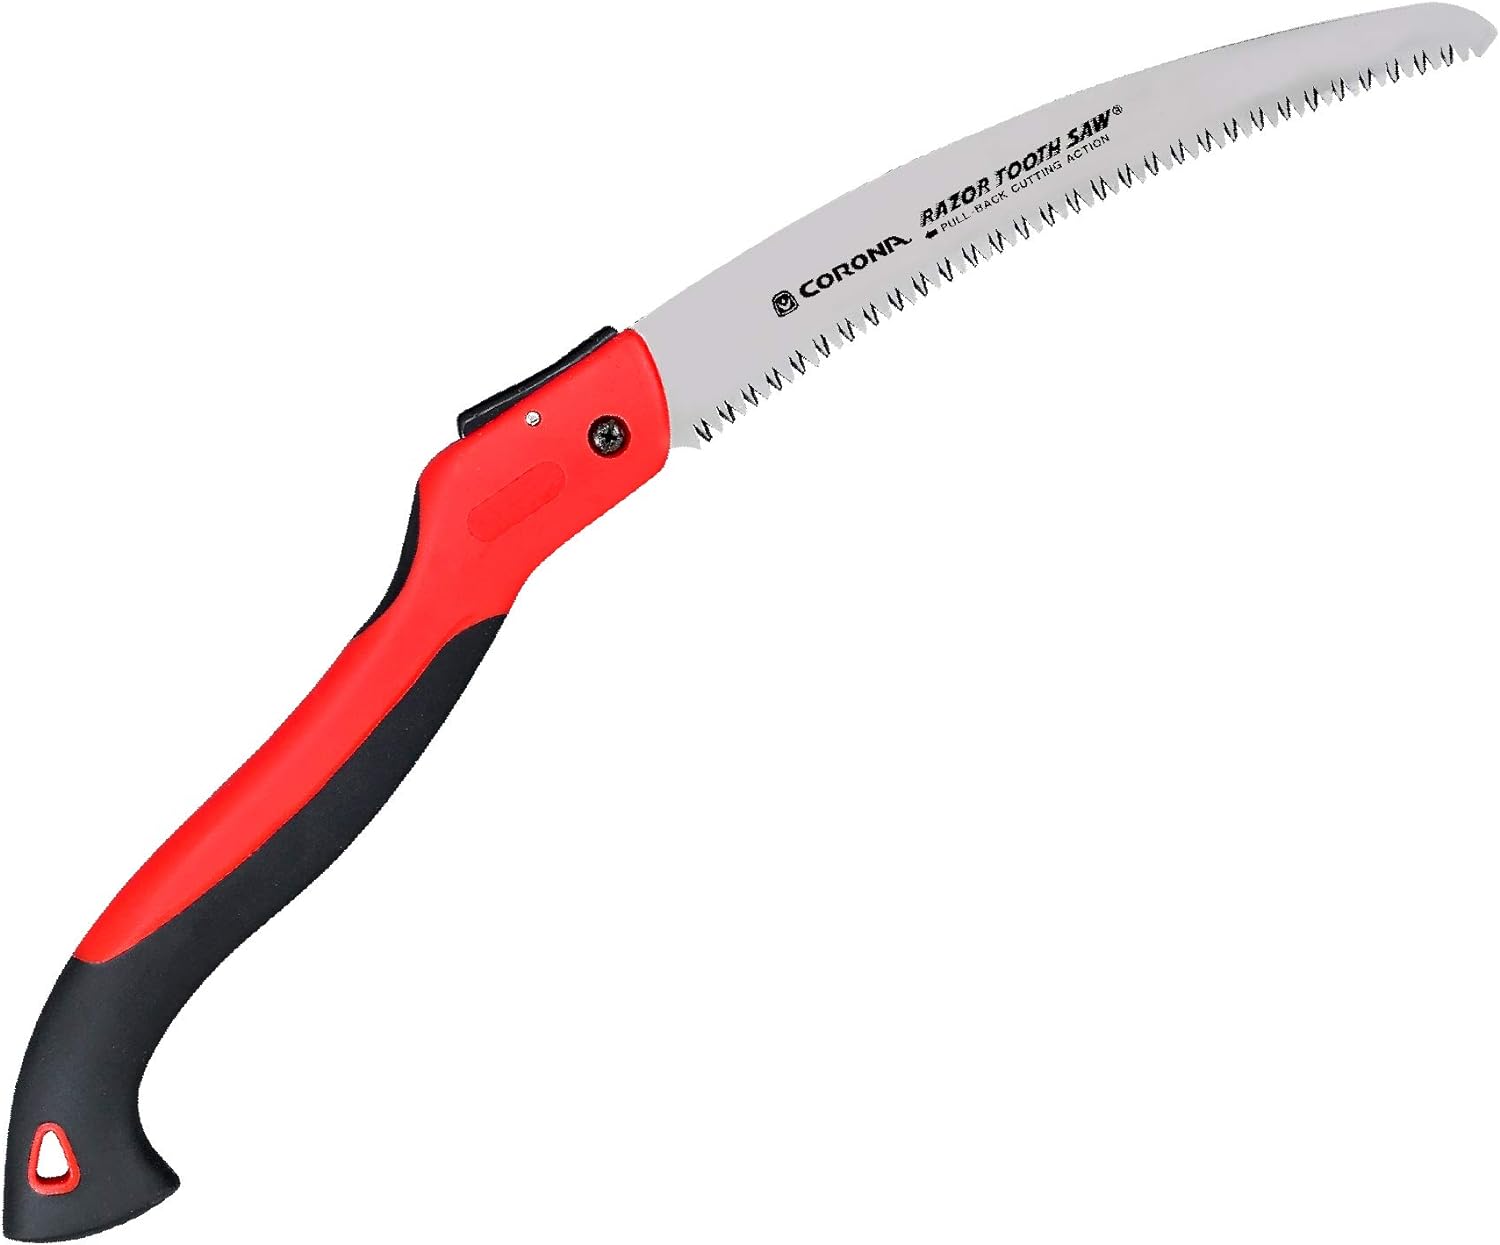
Corona Tools 10-Inch RazorTOOTH Folding Saw
Fine Gardening receives a commission for items purchased through links on this site, including Amazon Associates and other affiliate advertising programs.
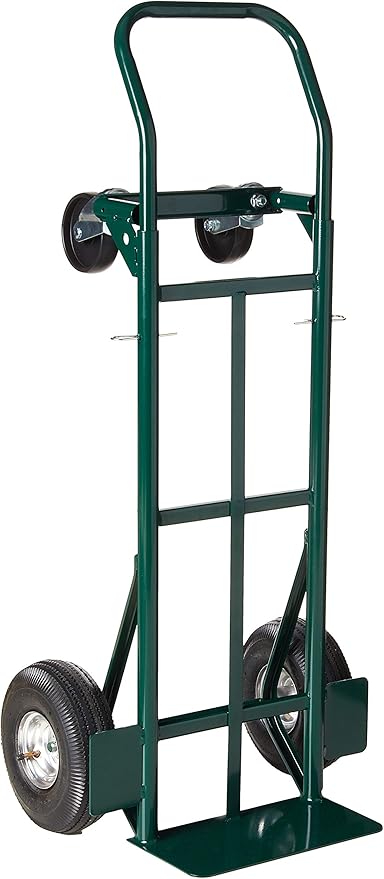
Harper Super Steel 700-lb. Platform Hand Truck
Fine Gardening receives a commission for items purchased through links on this site, including Amazon Associates and other affiliate advertising programs.
Fiskars 7.9-12ft Extendable 2-in-1 Pole Tree Trimmer & Pruner with Rotating Head and Precision-Ground Steel Saw Blade
Fine Gardening receives a commission for items purchased through links on this site, including Amazon Associates and other affiliate advertising programs.



Comments
Log in or create an account to post a comment.
Sign up Log in