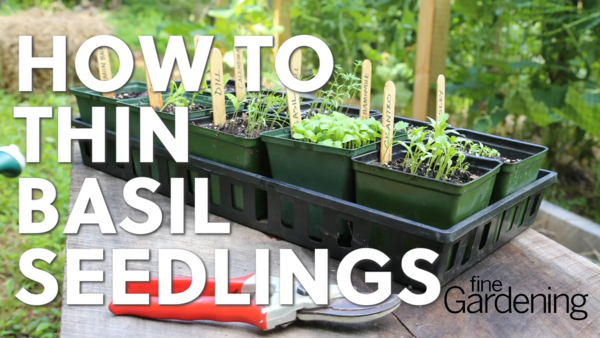
If you’re looking for a simple, inexpensive way to start seeds inside your home, look no further. In this video, gardener Ruth Dobsevage demonstrates her unassuming yet effective seed-starting technique.
Gather your materials
First, you need to assemble your materials. This includes the seeds you want to grow, potting soil, and any small, shallow containers (such has containers that formerly housed grocery-store produce) that are within arm’s reach. You may poke holes at the bottom if you choose.
Popsicle sticks are a great way to label your plants. Be sure to label them with the plant name and date of planting. Plastic bags come in handy as well, since they can turn your containers into mini-greenhouses.
Plant your seeds
Fill your containers with potting soil and water, and then lightly stir the contents together. The soil should be uniformly moist but not swampy.
Now it’s time to plant the seeds. Not all of them will germinate, so you should plant more than you need. You may trade seedlings with other gardeners or give them away if you have too many. Press the seeds into the soil, which ensures good contact with the soil. Cover them fully with more soil, then slightly water over them again.
The greenhouse effect is important
Use a plastic bag to cover the planted container. This turns it into a mini-greenhouse, keeping the soil warm and moist as the seeds germinate. Most seeds sprout fast in warm temperatures. If your house is too cool, your seeds may have trouble sprouting despite the plastic bag. You can place the containers on a heating vent to accelerate the process.
It’s normal to notice a little water beading on the inside of the bag. Once you see a couple seedlings emerging you can unwrap the container from the plastic and move it to a light stand or anything else that produces heat to speed their growth.




Comments
Log in or create an account to post a comment.
Sign up Log in