How to Grow Shallots
This delicacy makes an elegant addition to dressings, sauces, and sautés

Shallots have enjoyed a long and happy relationship with good cooks since biblical times, and the reason is quite simple: Shallots lend an intriguing depth of flavor to a dish without overpowering it. The 18th-century English called them scallions. The ancient Romans called them ascaloniae. Charlemagne ordered them planted in the imperial kitchen gardens during the 800s. Their name is derived from Ashkelon, a Phoenician city in what is now Israel, and the Phoenicians are thought to have spread shallots throughout the ancient world.
The French have taken shallot cookery to a high degree of refinement and have developed specialized recipes for the three shallot types, all categorized as Allium cepa aggregatum. Although many cookbook recipes call for shallots without specifying the type, connoisseurs of taste know that there are indeed many shades of flavor available on the shallot palette. Knowing which shallot to use is as much a matter of personal taste as is matching food and wine.
Happily, the home gardener can have a supply of shallots on hand all year round. Shallots are easy to grow; you need only find out which varieties are best suited to your local soil and climate.
Shallot varieties, from the familiar to the uncommon
The most common shallot is the one we know from our local market: clusters of small bulbs of various colors, shapes, and flavors, though typically these shallots have coppery brown skins and tear-shaped bulbs with rose-colored flesh.

The second type is the so-called potato onion or multiplier onion, which is a shallot that forms a bulb one year, then divides into a cluster of bulbs the next season. This type of shallot is ideal for hot climates and is still widely grown in the South. The most common potato onions are red or yellow.
The last group is the top-setting shallot, which sends up a pseudo-flower head that forms a small cluster of bulbs just like the so-called walking onions or tree onions.
The shallot is a true biennial. Its natural cycle, like that of most alliums, is to develop a bulb one year and then bloom the next. However, shallots, unlike onions, have been developed from clones for such a long time that they have lost the ability to produce flowers. Or, if they do blossom, the flowers are sterile. That’s why shallots must be reproduced by replanting bulbs harvested the previous season.
All shallots respond to day length, which means they adapt to the latitude where they are planted. They also adapt to other growing conditions, and over time, will evolve to resemble other alliums grown in that place. Consider what shallot variety will do well in your garden’s ecosystem, especially if you grow a particular variety for many years. For example, even if it adapts somewhat, a shallot variety from Israel is not likely to do well north of Pennsylvania; likewise, a shallot from northern France may wither in the scorching heat of Texas.
The French favor five varieties of shallot, which can sometimes be found in the United States. The ‘Gray’ shallot is the aristocrat of the shallot world. Its flavor has been likened to that of truffles or perfumed butternuts, depending on the soil and climate. Pair this shallot with a glass of great red wine. In France, gray shallots come to market in the fall and disappear quickly because French cooks hoard them, knowing that they are also one of the best storage varieties.
The French use ‘Echalote de Poulet’, an excellent storage variety, in poultry recipes. The ‘Jersey’ shallot, named for the island off the coast of France, where it originated, is considered a type of potato onion. It has been grown in the United States since the 1820s. The flesh is streaked with red and has a distinctive nutty flavor. ‘Jermor’ has a soft flavor that blends well with duck, squab, and other fowl with dark meat. The bulbs produce large green tops that are better than chives and more delicate than spring onions. ‘Polka’, from Poland, resembles a small, white-skinned onion. It is ideally suited to the upper Midwest, where the climate is similar to Poland’s. ‘Polka’ keeps for almost a year.
These French favorites are difficult to track down in the States. I mention the French varieties for two reasons. First, they are an important part of the shallot story, and second, my hope is that by mentioning these hard-to-find shallots, I’ll stimulate demand and in turn encourage some enterprising seed houses to start carrying them. There are, indeed, several U.S. sources for French shallots, which are most often sold generically, without reference to various names.
There are also several shallots sold as yellow shallot, but this is not a distinct variety name, just a convenient label descriptive of the bulb color. Yellow shallots tend to be hardier than the red varieties, so grow them as a hedge against possible losses due to a harsh winter.
Plant in autumn or early spring
In Zone 5 or warmer, plant shallots from sets (last year’s bulbs) after the first frost of autumn, about 6 inches apart and 2 to 3 inches deep. Vernalization—exposure to winter freezing—usually results in larger and better-flavored shallots.
On the other hand, shallots are sensitive to severe winters, especially if they remain unprotected by straw mulch. In Zone 4, it may be too cold to grow shallots. In this case, don’t plant shallots in the fall; wait until the ground can be worked in the spring, then plant the sets. For spring planting, get the bulbs into the ground as soon after spring thaw as possible, since the cool ground is essential for forming good bulbs. Conversely, Zone 9 may be too hot to produce great bulbs.
Amend and mound the soil
Shallots are particular about soil, and even in an ideal climate, the soil must be well-drained to prevent the shallots from rotting. Although you have no control over the weather, you can amend your soil so it drains well. This is especially important with clay soil.
An unusually mild and rainy winter can wreak havoc, and the bulbs may rot in the ground. The Garden, a Victorian-era British monthly, reported in its May 1873 issue that English gardeners had experienced a massive shallot failure over the winter of 1872-1873, which was much like the unusually mild and rainy winter of 1997-1998 that devastated the shallots in this country. Wilt, cankerworms, and rot were the main culprits.
There is a way to prevent this type of setback: Loosen the soil and plant the shallots in ridges. Dig long trenches, mounding the soil into gentle ridges about 2 feet apart. Do not fertilize because overly rich soil causes growth in the tops rather than in the bulbs and increases the likelihood of worms attacking the roots during the late spring. Gently press the shallot sets into the soil so that the tops remain just below the surface (2 to 3 inches deep, depending on the size of the bulb). Dust the ridges liberally with wood ashes. (Repeat this twice more during the winter to discourage worms and wilt.) Tamp the soil on both sides of the ridges so that water will drain away from the shallots during heavy rains. If you like, scatter seed for mâche between the ridges, so there is a harvest of salad greens while the shallots are growing.
 |
 |
 |
 |
This technique is almost fail-proof, but don’t attempt it in regions with severe winters. Extreme freezing and thawing will heave the shallots out of the ridges in the spring when they are most vulnerable. If you have very cold winters and must therefore plant in the spring, choose your variety carefully. Select a variety known for its storing qualities, so the bulbs don’t sprout over the winter before they’re set out. Firm bulbs store best; large bulbs tend not to keep as well. Try to choose bulbs for planting the following season that will perpetuate the characteristic traits of a particular variety.
Some shallots will try to send up flower heads, a sign that the strain you’ve been selecting may be deteriorating. This normally happens in June due to the day-length sensitivity of the plants. Snip the flower stems off at their base so the shallot concentrates all its strength on the formation of bulbs. Harvest the bulbs once the tops die back.
Storing shallots, and using them in your cooking
Since the flavor of shallots softens in storage, the real secret to their success is having a place where they can be safely stored over the winter. A cool, dry pantry is ideal, for too much humidity will cause the shallots to mold or even sprout. Also, consider the storage qualities of the shallots you want to grow. If you want a constant supply of shallots and a range of flavors, consider which varieties will give you both good flavor and long shelf life. In my experience, ‘Polka’ and ‘Besançon’ are excellent for storage, and the ‘Gray’ shallot can’t be beaten for flavor.
A bountiful supply of shallots is a great joy in the kitchen since shallots can be prepared in any number of ways. Onions and garlic are normally used to create foundation flavors, whereas shallots are often used to create “finish,” that extra zip that pushes a good recipe over the top. I encourage you to experiment with the recipes at right.
This article originally appeared in Kitchen Gardener #26.
Fine Gardening Recommended Products

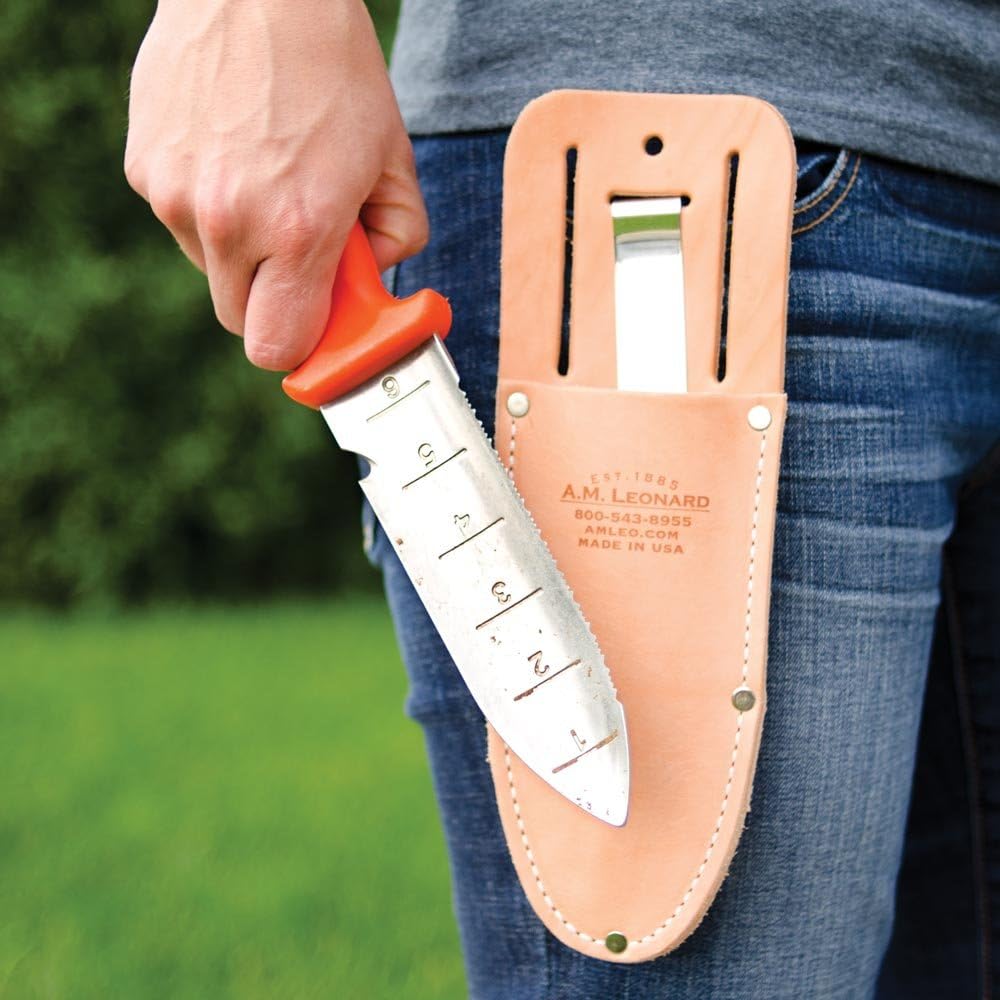
A.M. Leonard Deluxe Soil Knife & Leather Sheath Combo
Fine Gardening receives a commission for items purchased through links on this site, including Amazon Associates and other affiliate advertising programs.

The New Organic Grower, 3rd Edition: A Master's Manual of Tools and Techniques for the Home and Market Gardener, 30th Anniversary Edition
Fine Gardening receives a commission for items purchased through links on this site, including Amazon Associates and other affiliate advertising programs.

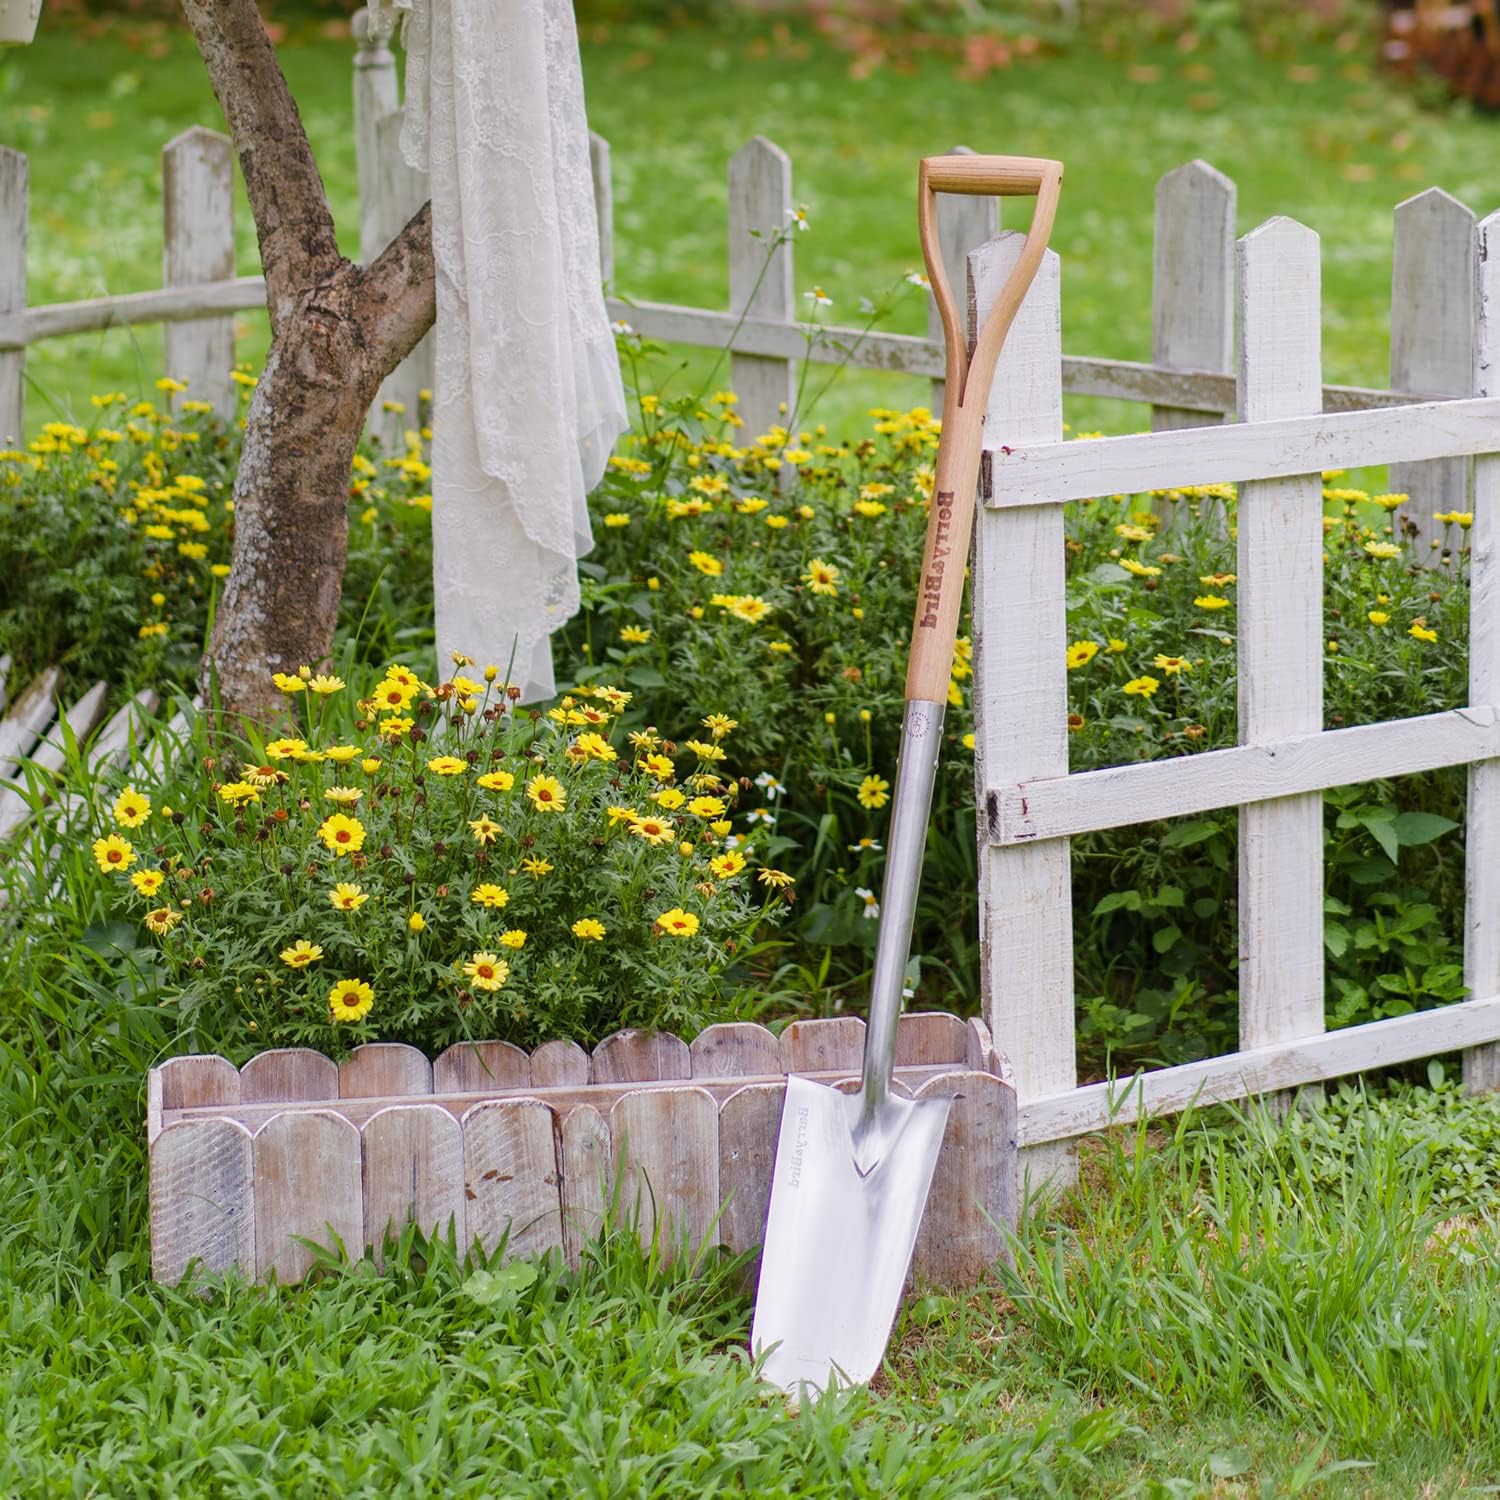
Berry & Bird Rabbiting Spade, Trenching Shovel
Fine Gardening receives a commission for items purchased through links on this site, including Amazon Associates and other affiliate advertising programs.


Comments
Log in or create an account to post a comment.
Sign up Log in