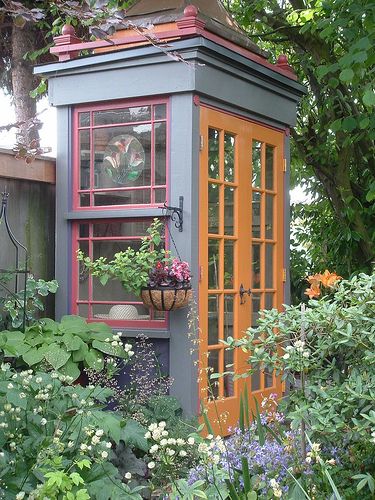
Tool houses can be made from anything you can think of. Gardeners use metal sheds, a covered lean-to, Rubbermaid upright containers, even old playhouses. I’d like to remind folks about how to use a tool shed properly, as I have found that many people simply don’t have a firm grasp on the concept.
The general idea is to place the equipment inside the shed as opposed to behind, alongside, or in front of the door of the shed. The tool house is for containment of proper gardening tools–not your Halloween decorations, your college camp stove, or your unused breast pump.
A corner of the garage can be used to store tools–or even an indoor closet, if it’s close enough to the door leading to the yard or garden. For small hand tools, refurbished mailboxes, terra cotta pots, and old 5 gallon buckets work great as holders. Once again, you can get as clever about storing tools as you’d like. If you are all out of clever ideas, borrow a couple from your third-grader; trust me: he’s got more than one person could ever possibly use.
Caring for your gardening tools
As a tool owner, you have agreed to take on the responsibility of their tool-type needs. One nice perk about garden tools is they are simply built, and if given just a little attention, they last for years and years. Caring for tools is isn’t by any means technical, but here’s the run-down.
|
More on garden tools and their care… |
|
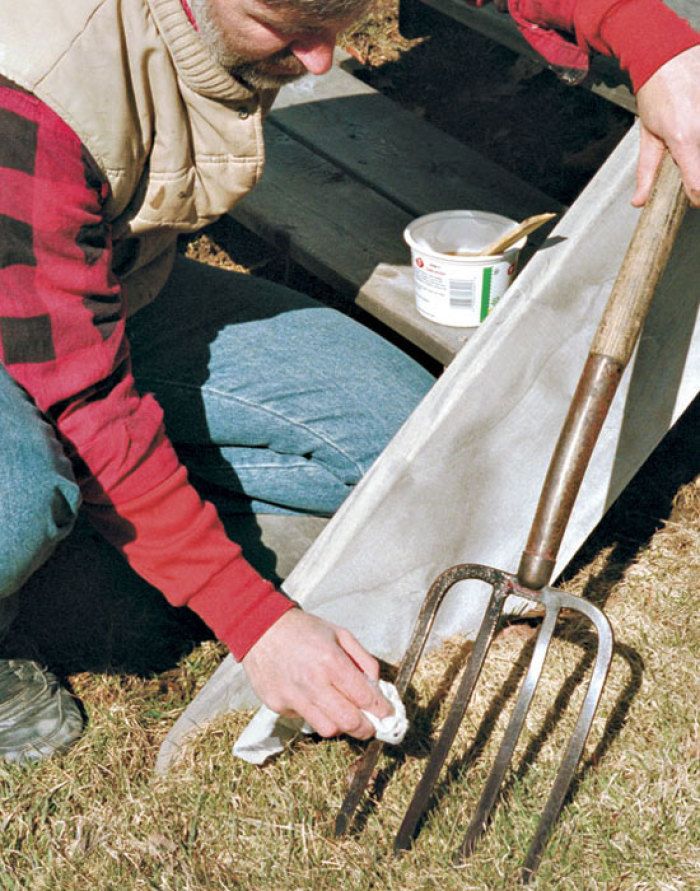
If at all possible, try to clean your tools after you’re done with them for the day. I know this isn’t the glamorous part–-in fact, it’s the boring part, like wiping down the bathroom after you’ve colored your hair. But, it’s important if you want your tools to last, and it’s much nicer to reach for those shiny pups the next time you need them.
One way to clean your tools is to keep a 5-gallon bucket filled with builder’s sand (it’s coarse) and oil. Just dip the tool blade into the sand. Plunging it up and down into the bucket scrapes off most of the soil and does a little sharpening at the same time. Then you can hose it, dry it off, and put it back into the tool shed.
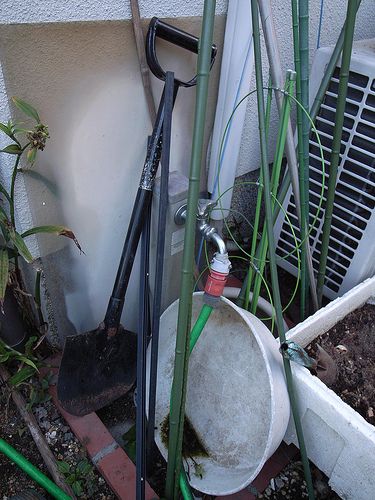
I’ve always believed in the sand-bucket method, but I can’t guarantee it since I haven’t practiced it. I usually gather up all my tools, hose them really well and let them dry in the sun. I do put them away, though. One thing I know you won’t enjoy is if you end up having to clean a bunch of crusty rust off because you left your tools outside the tool house.
At the end of the major part of the growing season, it’s nice to sharpen all of your tools (or take them somewhere where they play with sharp stuff for a living), run some steel wool over the metal parts, and oil them to help prevent rust. Then–say it with me–place them inside the tool shed, to protect them from the winter weather.
If you decide to put this chore off, you’ll have to do your tour of duty in the late winter or the early spring; no one likes to be all jazzed up about seeds and soil only to be faced with a bunch of tool prep work before the main event.
A tool that has a broken or split handle needs to be tossed and replaced as soon as you can. There’s no point in prolonging the agony of its passing and possibly getting injured in the process. Remember the good times, toss it, and move on.
Fine Gardening Recommended Products
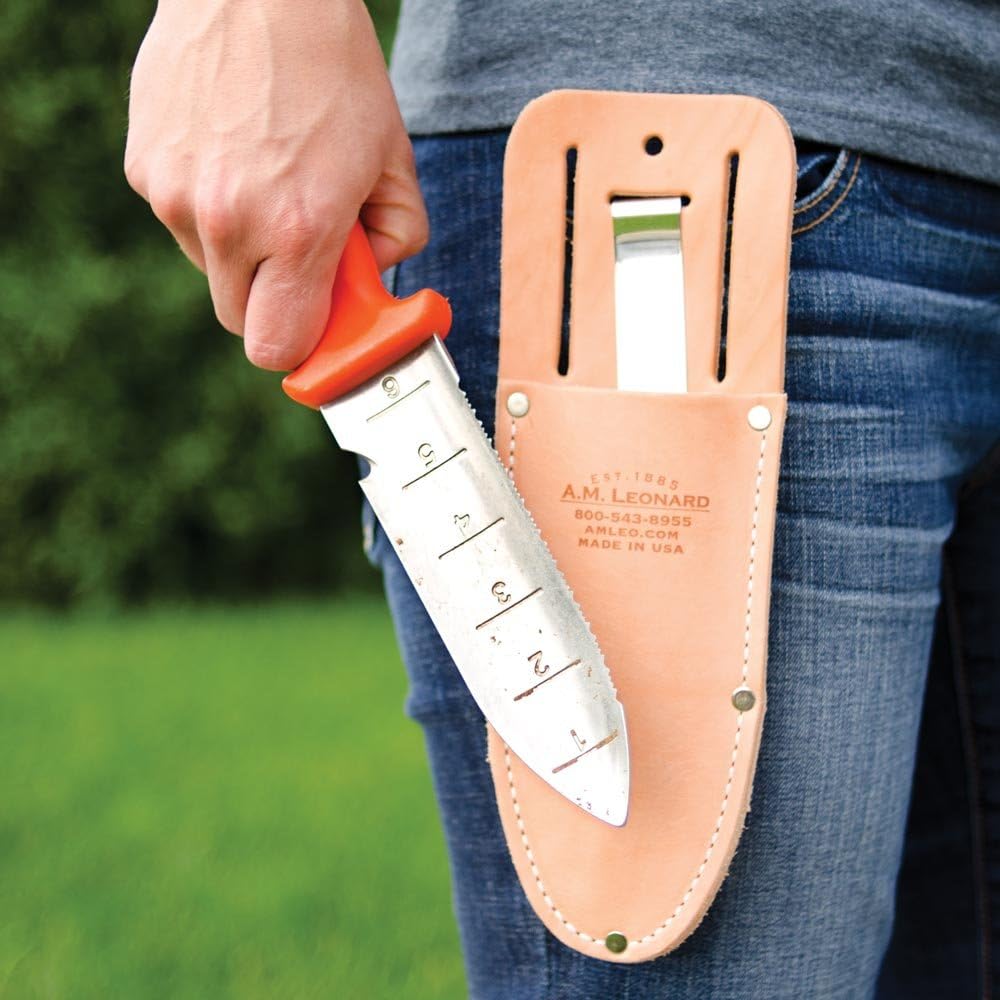
A.M. Leonard Deluxe Soil Knife & Leather Sheath Combo
Fine Gardening receives a commission for items purchased through links on this site, including Amazon Associates and other affiliate advertising programs.
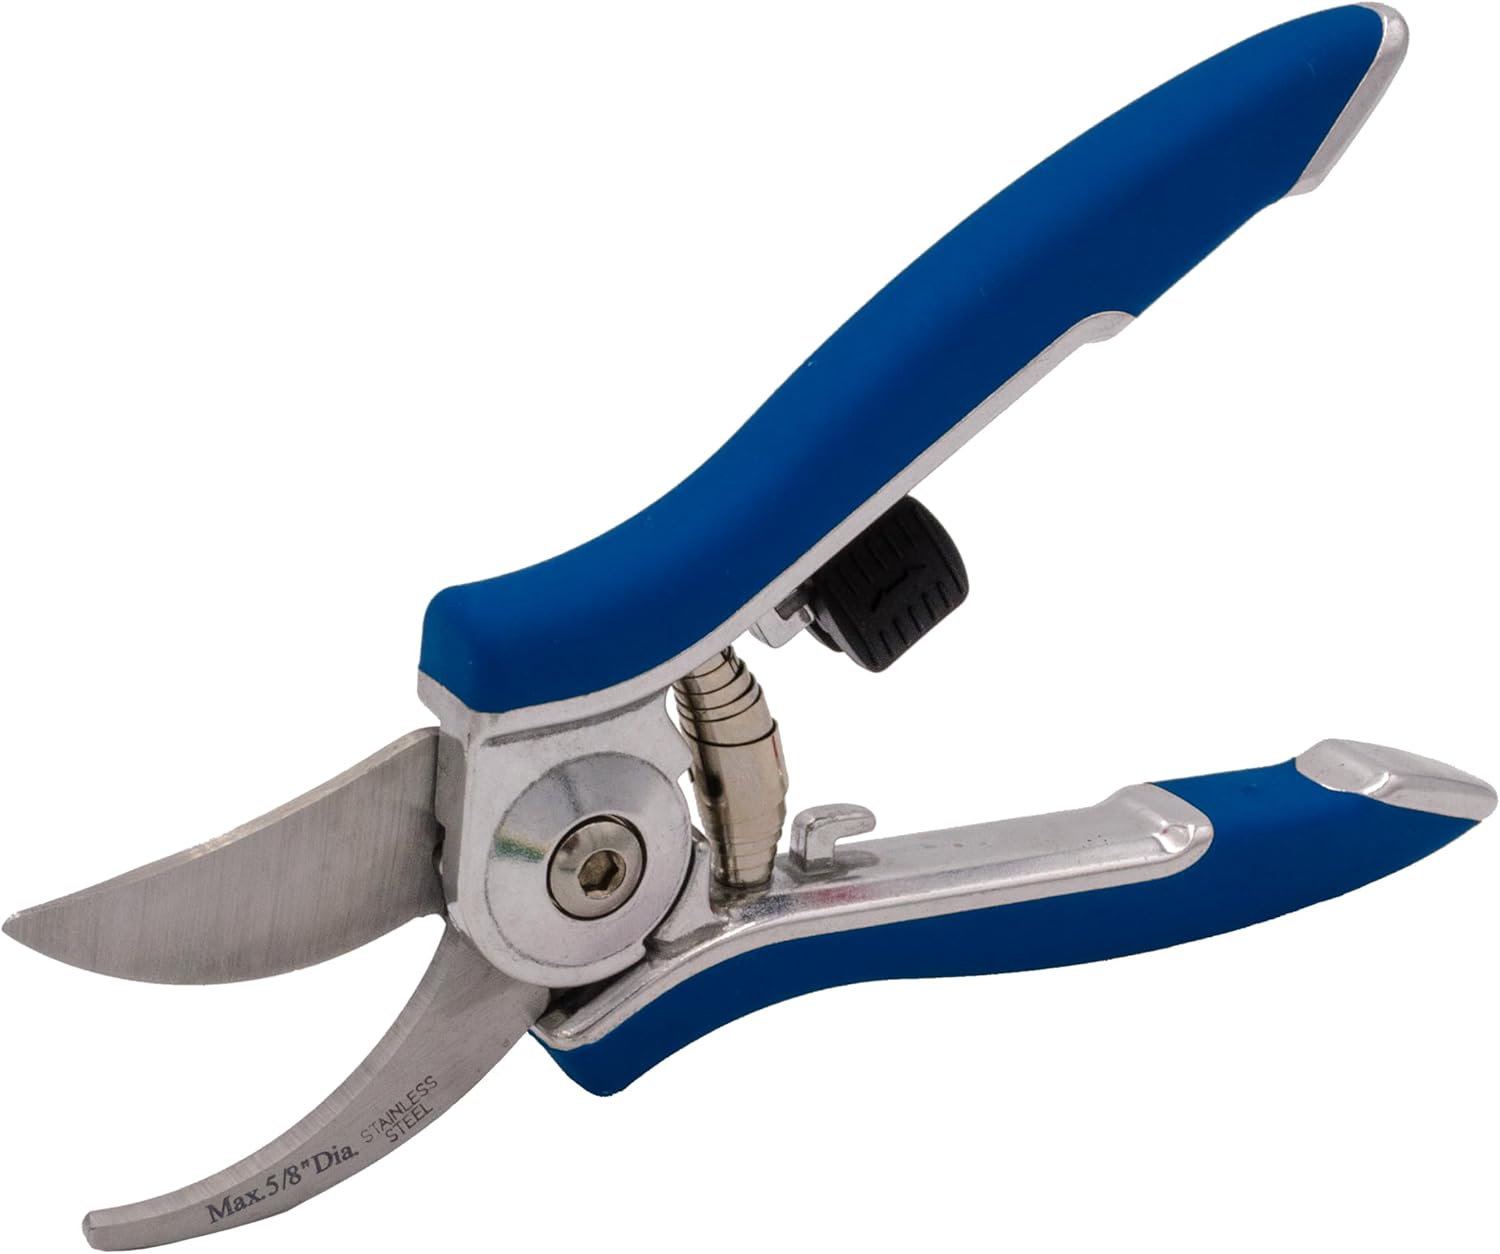
Dramm Bypass Pruner, Cut up to 5/8-inch in diameter, Stainless Steel Blade, Blue
Fine Gardening receives a commission for items purchased through links on this site, including Amazon Associates and other affiliate advertising programs.
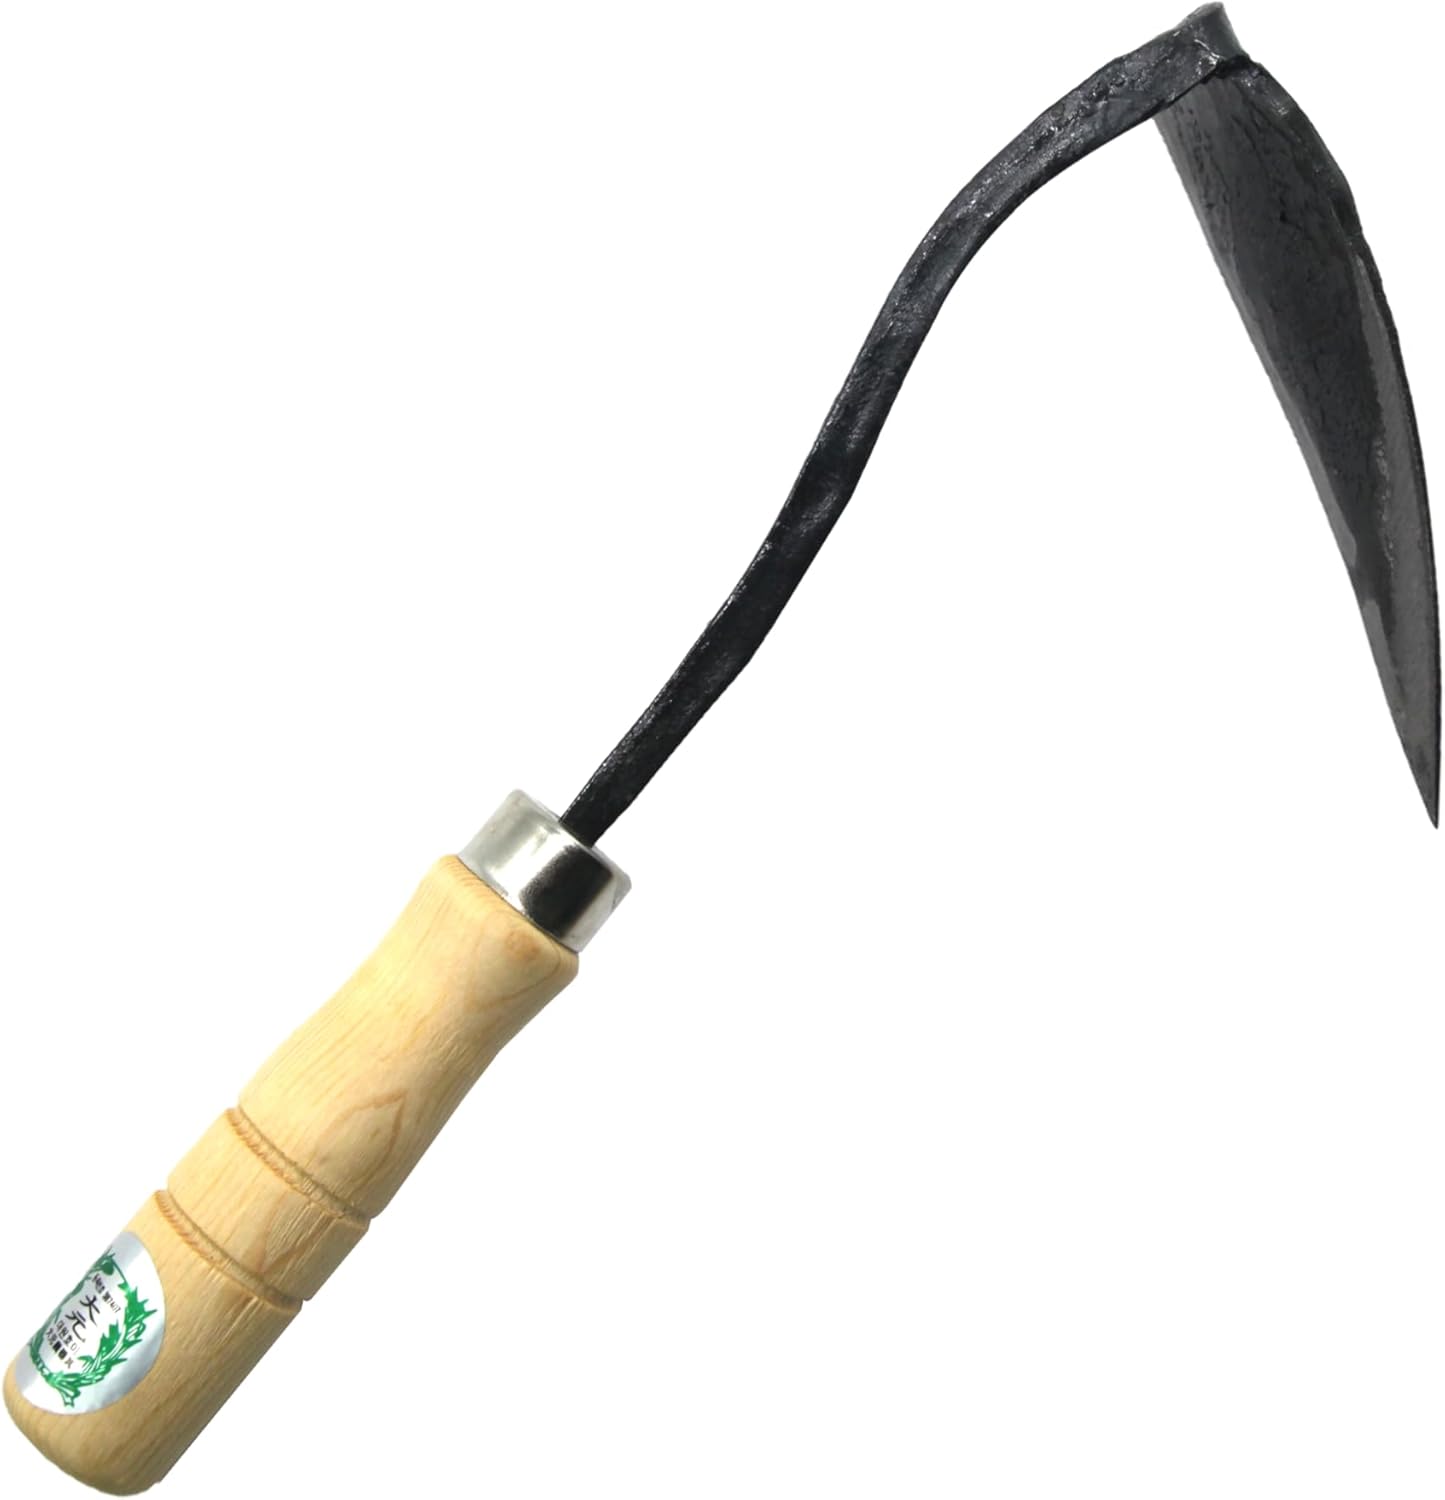
Ho-Mi Digger - Korean Triangle Blade
Fine Gardening receives a commission for items purchased through links on this site, including Amazon Associates and other affiliate advertising programs.




Comments
Log in or create an account to post a comment.
Sign up Log in