How to Grow Corn
Four rows and a little know-how are all you need to grow this summertime treat
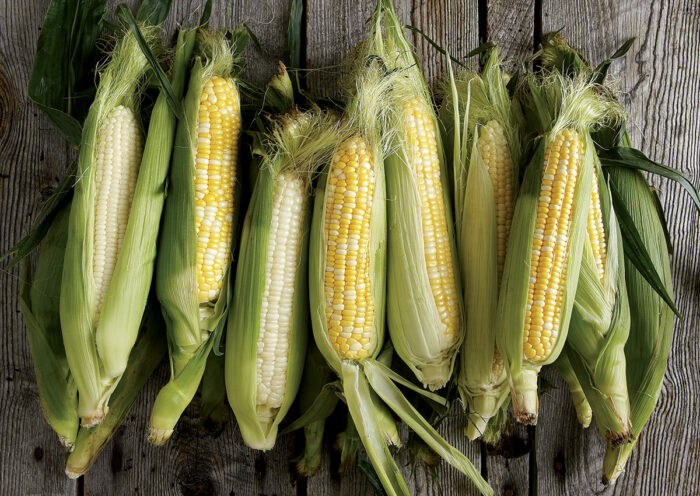
My husband tells a story about growing up in the 1930s when his father, on his way home from work, would stop at Mr. Benkendorf’s farm stand to buy ‘Golden Bantam’ corn, and his mother would start boiling water the instant he walked in the door. Why? Because as soon as it was picked, sugar in the corn started turning to starch, and the corn lost its flavor and sweetness—or it used to. That isn’t a problem today with the new sweets, a group of hybrids developed over the past 30 years to inhibit the usual rapid sugar-to-starch transfer. You can now enjoy corn that’s several days old but still holds its flavor. With so many types of sweet-corn seed varieties available, gardeners can select those that especially suit their needs; older types, like ‘Golden Bantam’, should be considered, too, for their reliability and for what aficionados regard as their unrivaled, traditional “corny” taste.
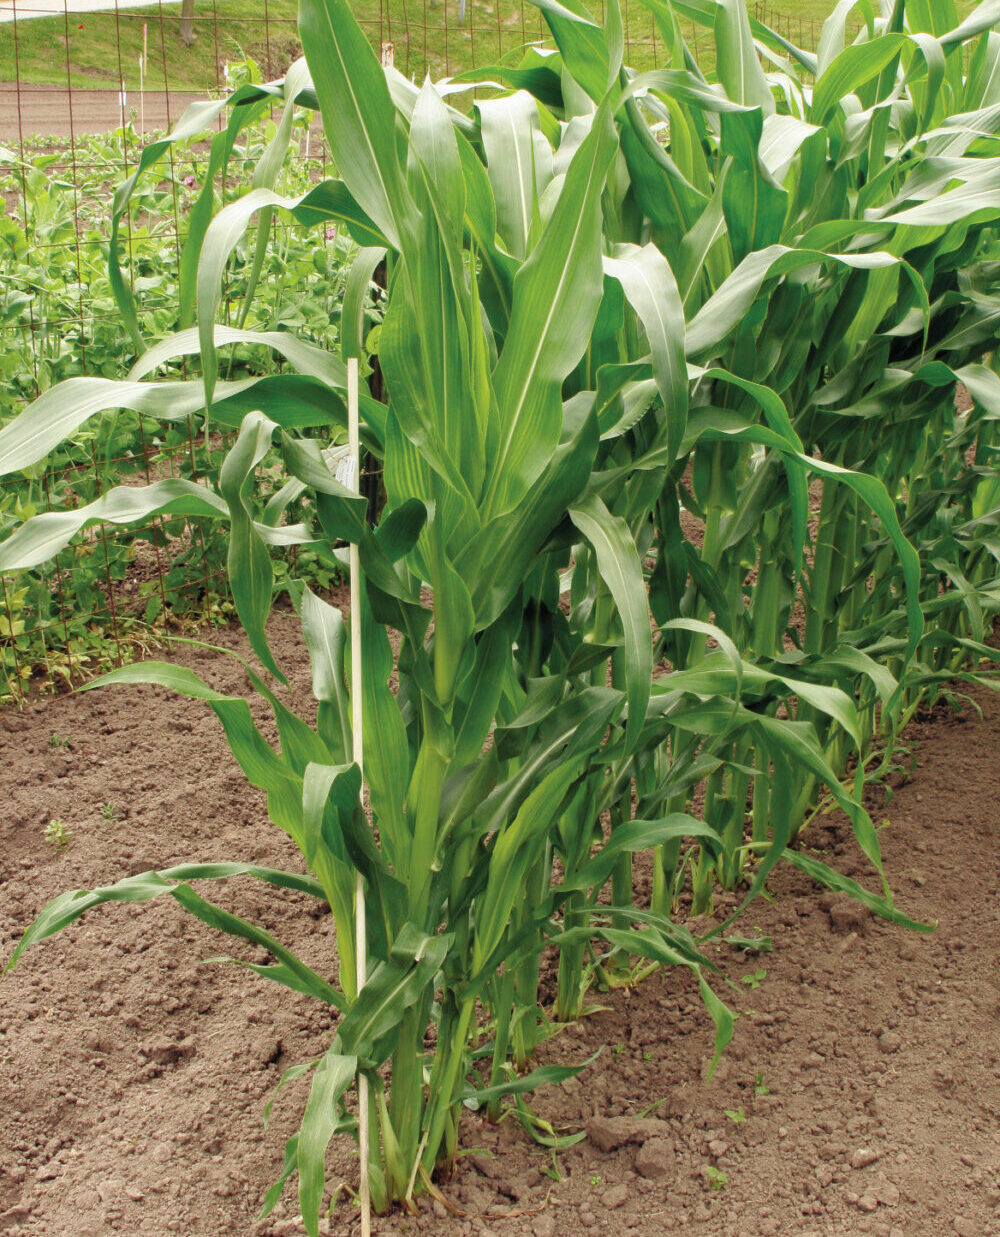
Why grow your own corn? Because nothing beats the taste of fresh sweet corn boiled, steamed, or roasted, with butter and salt on the side. It isn’t as hard to grow as you might have heard. It requires similar conditions as most vegetables: plenty of sun, sufficient moisture, and enriched soil. And you can grow it in a relatively small space. Sweet corn is best planted in blocks with a minimum of four rows, which maximizes wind pollination. A neat block of tall stalks adds an ornamental dimension to the garden, and when the harvest is over, the corn can be cut down and used for fall decorations. Some gardeners even like the look of corn grown as a garden accent or as a privacy hedge.
Growing it right is a cinch
It’s no secret that good veggies start with good soil, and corn is no exception. Prepare the ground by spreading rotted manure in fall and working it into the ground the following spring. Poultry manure, high in nitrogen, is especially good for corn, which is a heavy feeder. Compost can be substituted if you don’t have access to manure. Scatter a balanced fertilizer (10–10–10) over the area, and rake it in before planting the seed. Because corn roots are shallow and are easily drowned, hill (mound up) the soil if the planting area does not drain well.
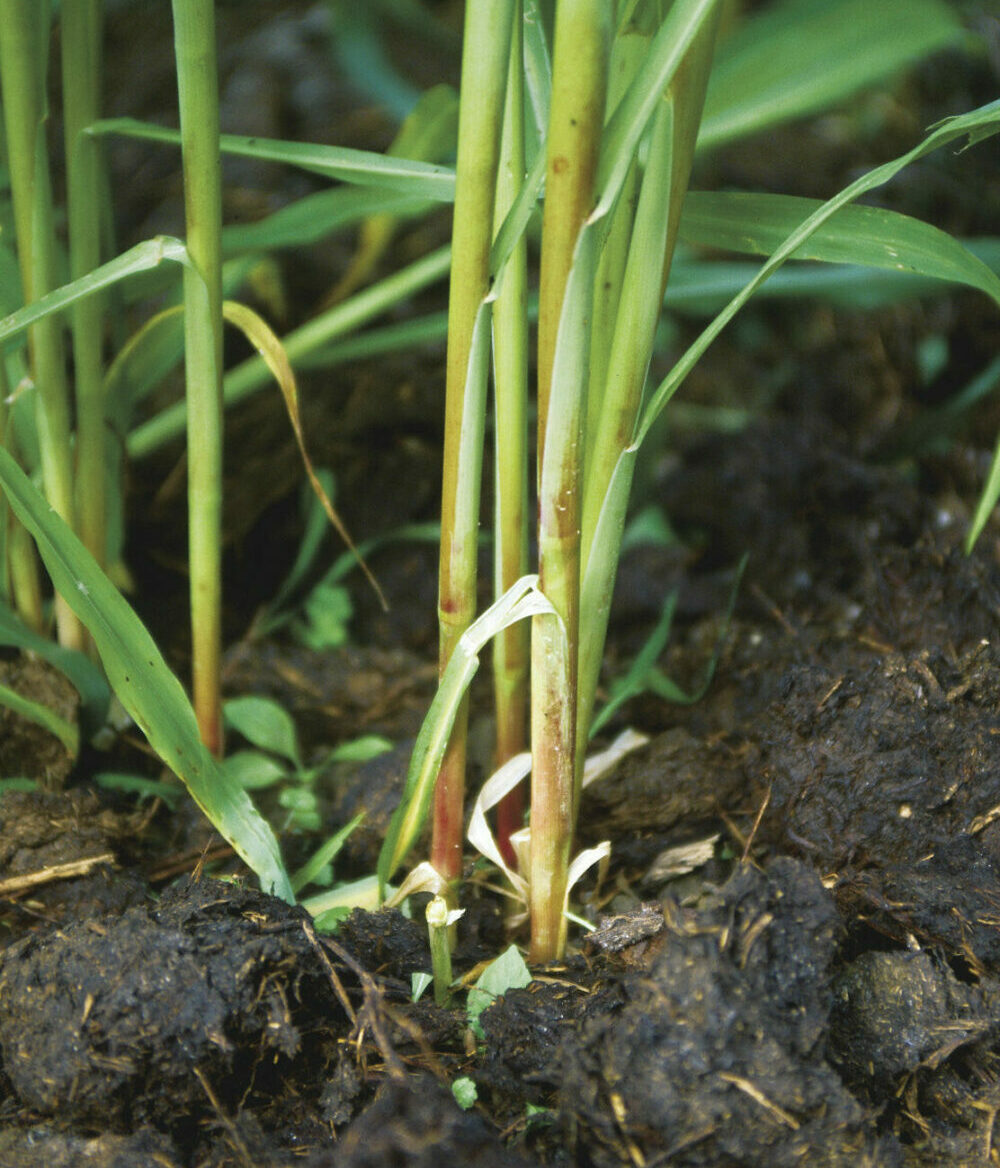
When the threat of frost has passed and the soil has warmed up to roughly 60°F, it is time to plant sweet corn. Where soil is late warming, cover the planting area with black plastic to heat it up. Whether the rows are on the flat or hilled, they should be 2 feet apart, with two or three seeds dropped every 10 inches. Push the seeds about an inch into the soil, and cover them well, tamping them down gently to ensure that they don’t get displaced by wind or a hard rain. Once seedlings germinate, thin them to 12 inches apart. In short-season areas, seedlings can be started indoors two weeks before the last frost and planted out when all danger of frost has passed. Add mulch to conserve moisture. Once the corn plants reach 12 to 18 inches tall, side-dress with a high-nitrogen fertilizer, scratching it into the soil. This gives the plants a boost to grow their leaves and develop their ears. Even if you grow corn under less-than-ideal conditions and don’t fertilize, stalks will inevitably bear ears, although they won’t be as long or as filled out as they would be when well fed.
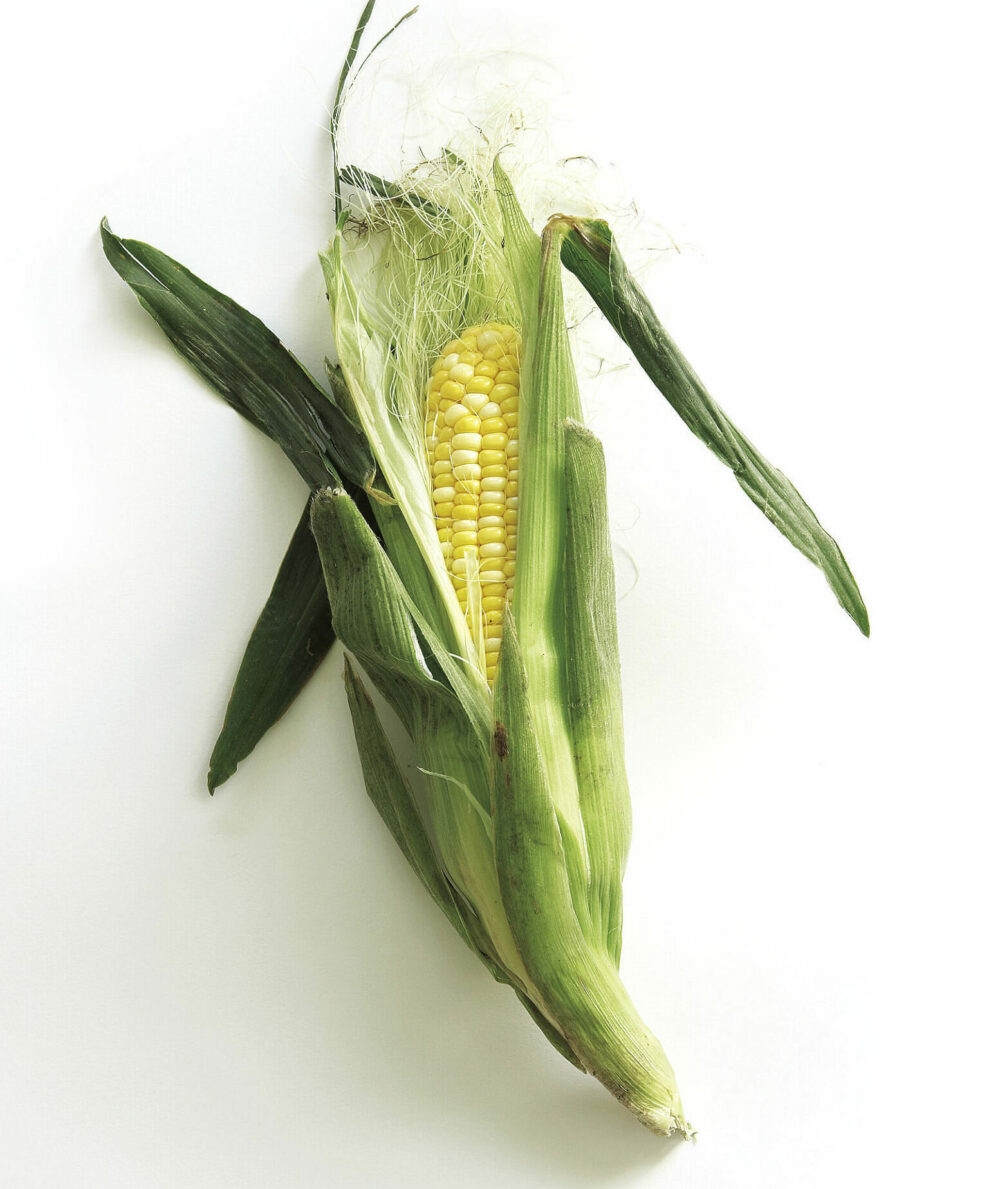
Most stalks bear two or three ears. Begin picking about three weeks after the first silks appear at the top of the ears or when the silks have turned brown. To check for ripeness, pull back the corn husk and squeeze a kernel; if milky juice runs out, the ear is ripe. With experience, you’ll be able to judge ripeness at a glance.
Head off pests and disease
Even when plants are growing well, don’t leave them to fend for themselves. Although you may never encounter a serious problem with your crop, keep an eye out for any pests or diseases that could affect performance and yield. The most damaging ear pests to look for are the larvae of the European corn borer, corn earworm, and fall armyworm. The moths of corn earworms and fall armyworms lay their eggs in corn silks when the silks are green, then the larvae hatch and work their way into the ear. The damage is generally limited to the ear tips and can be cut off at harvest time. Mineral oil poured on the silk (repeated at weekly intervals) can act as a barrier, while neem oil or Pyola can control the larvae when they are small (less than half an inch in length).
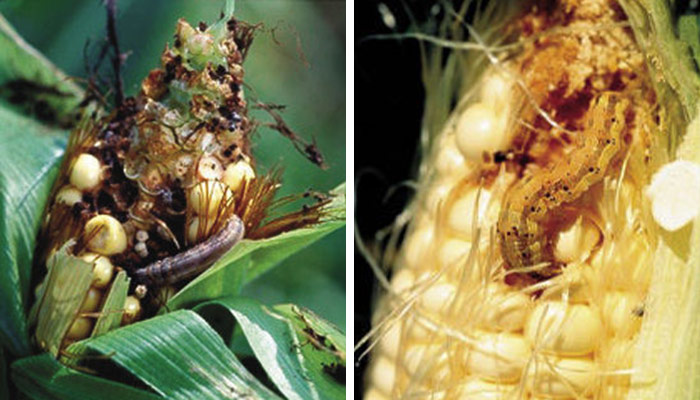
Neem oil and Pyola also work to control the small larvae of the European corn borer (ECB), though removing the pests by hand works, too. ECBs can cause damage all season long, boring into corn stalks and back into the ears as they develop. ECBs lay egg masses on the underside of young leaves. When they are first laid, they are ¼-inch-long white masses, developing a black head before they hatch. Control is best achieved when the eggs are just hatching, so check corn plants frequently.
ECBs are considered the most serious pest of sweet corn, but during hot weather, aphids may also develop. They can be controlled by using ladybug larvae. Ripe corn also sends signals to local raccoons. Havahart traps are an effective deterrent.
In addition to these pests, several diseases can also harm your crop: corn smut, corn rust, and northern corn leaf blight. Corn smut appears as large, puffed-out kernels near the tip of the ear, and it releases black spores when broken open. Sweet-corn rust is a late-season disease that produces reddish brown pustules on the bottom of the leaves that release large amounts of spores. Yellowing and necrotic (browning) areas on the leaves could be northern corn leaf blight, and it will substantially weaken the plant. All three of these diseases have no practical control except for the planting of resistant varieties and planting where there is good airflow. Spacing rows 24 to 30 inches apart and planting 1 foot apart in the row will help keep the air moving so that leaves can dry off after experiencing a heavy rain or dew.
Pick the best variety for you
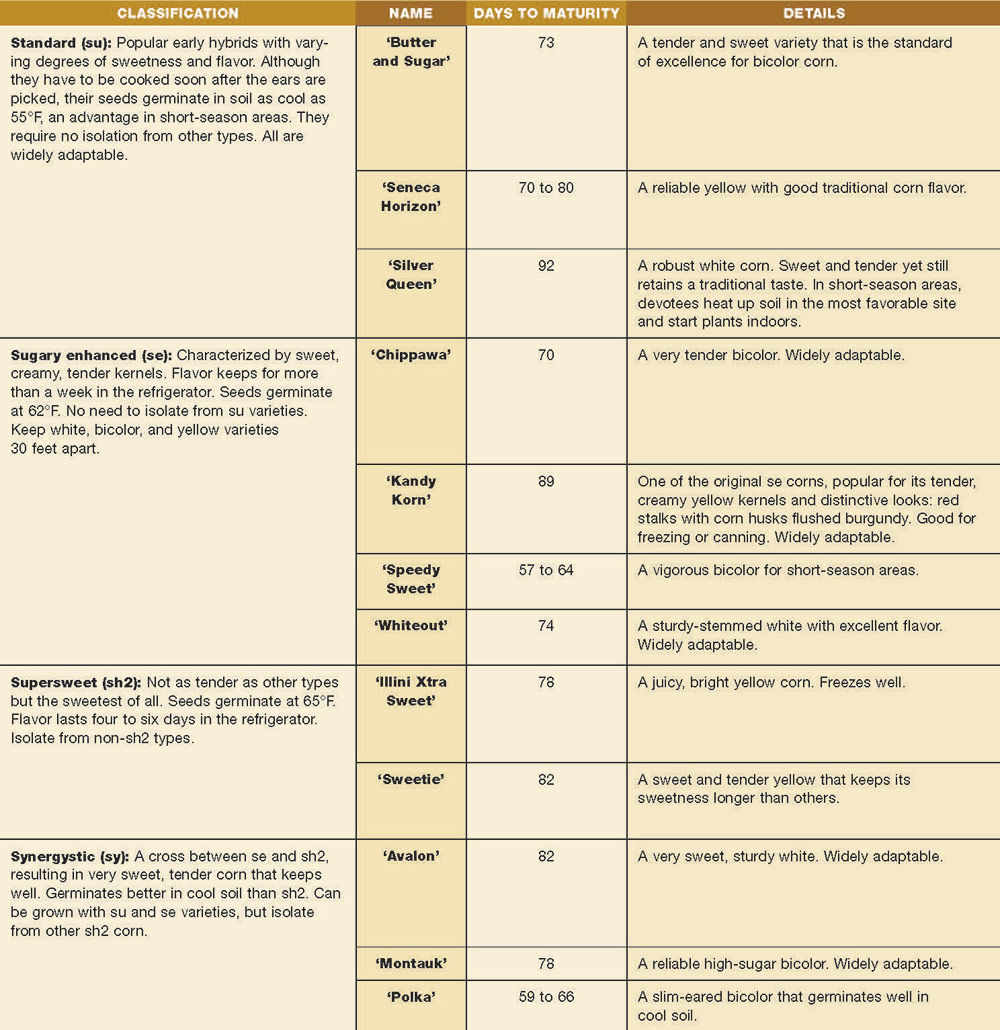
Maneuvering through the corn section of seed catalogs can be daunting. The main things to watch for are phrases like “widely adaptable”—which assumes a degree of disease resistance—and “days to maturity.” Early-season corn is ready to harvest in less than 75 days from sowing, midseason in 75 to 85 days, and late-season corn in more than 85 days. Grow early- and late-season corn to extend the season, but plant them 30 feet apart because cross-pollination between different varieties is possible. Isolation is essential with some new sweets.
 |
 |
 |
Colorful Corn
If the yellow and white color choice of most corn seems too blah for your garden, ornamental corn can jazz things up. Grown for decorative and edible purposes, it comes in a wide range of colors. Plant seeds at least 30 feet from sweet corn and other ornamental varieties. In areas where the season is short, start plants indoors. Harvest ears when their stalks are brown and the kernels are dry to the touch. Complete the drying process indoors or somewhere protected from the elements.
‘Bloody Butcher’
(100 to 110 days to maturity)
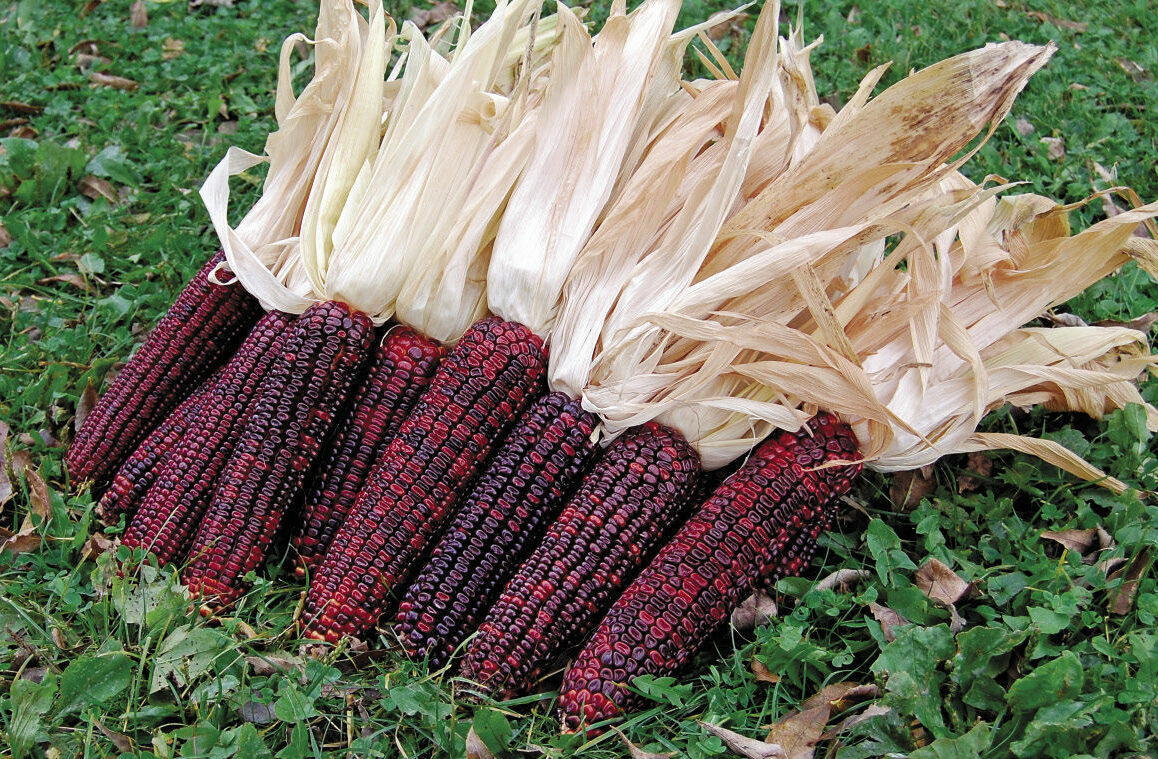
‘Bloody Butcher’ is a dark red heirloom dent corn, so-called because of the shape of its kernels. It can be eaten fresh when first ripe, and its kernels can be ground into red-flecked cornmeal.
‘Painted Mountain’
(85 days to maturity)
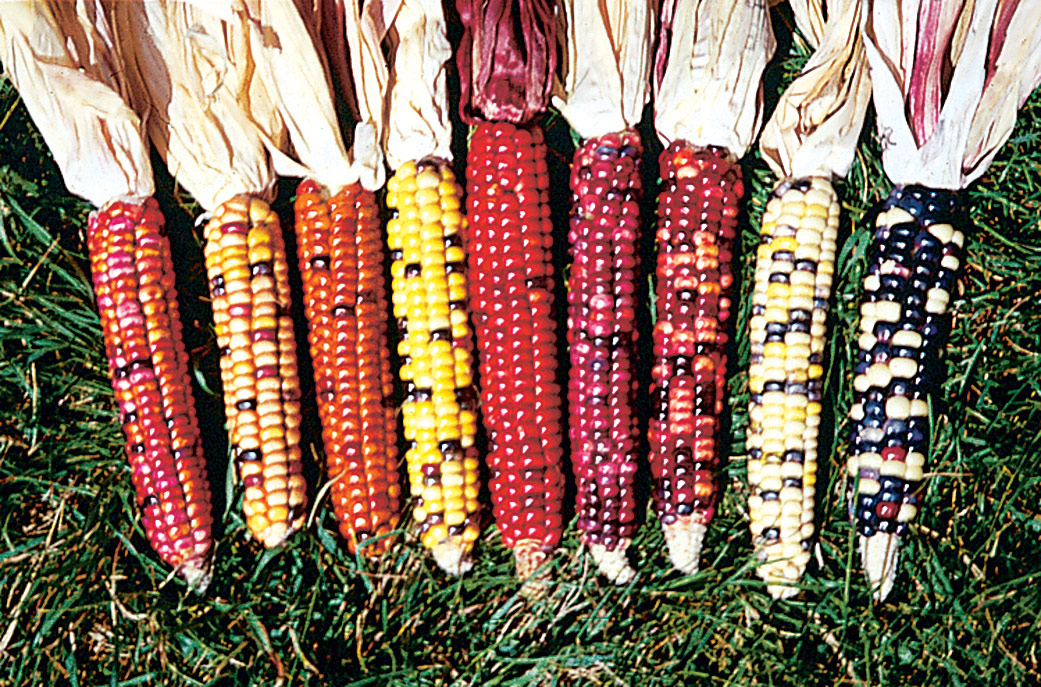
Bred from a Native Indian flour corn for short-season areas, ‘Painted Mountain’ is reported to be impervious to wind, high heat, and cold.
‘Hopi Blue’
(100 days to maturity)
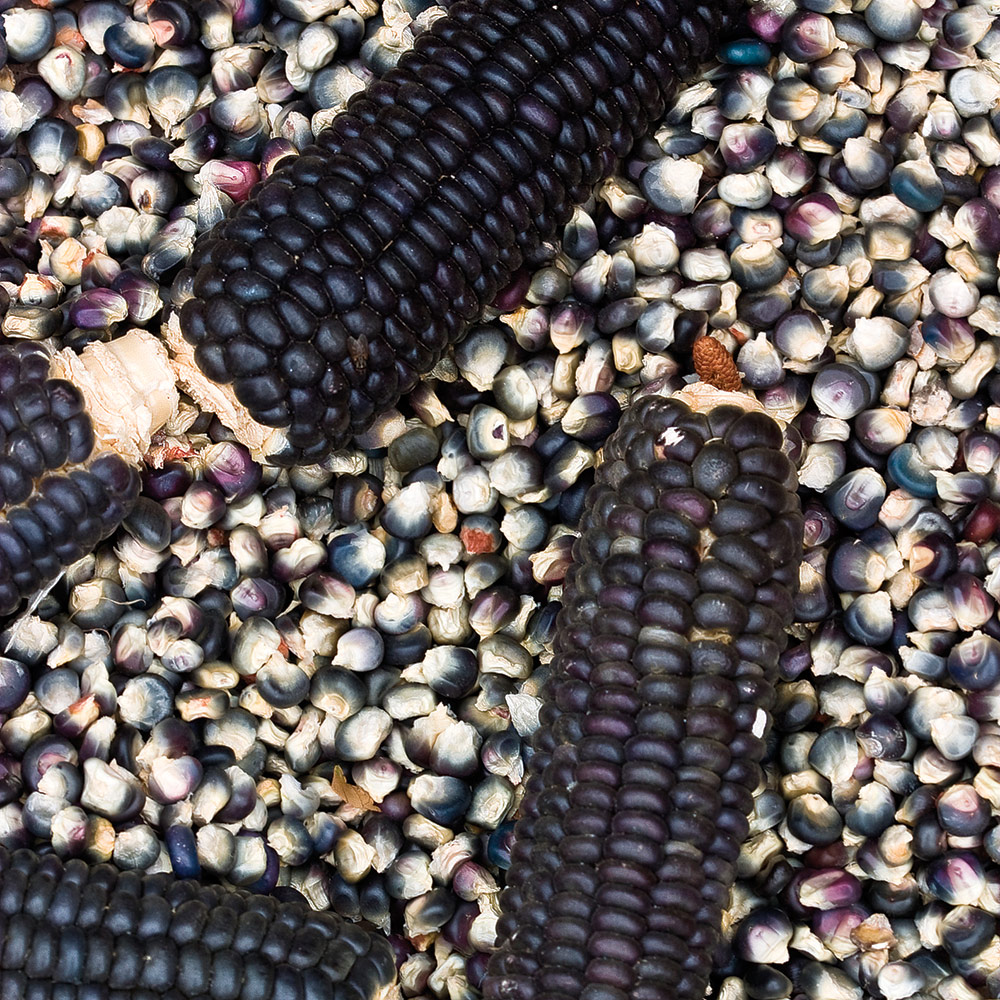
‘Hopi Blue’ is wind and drought tolerant. It dries to an intense blue, and its kernels can be ground into flour.
‘Strawberry Popcorn’
(105 days to maturity)
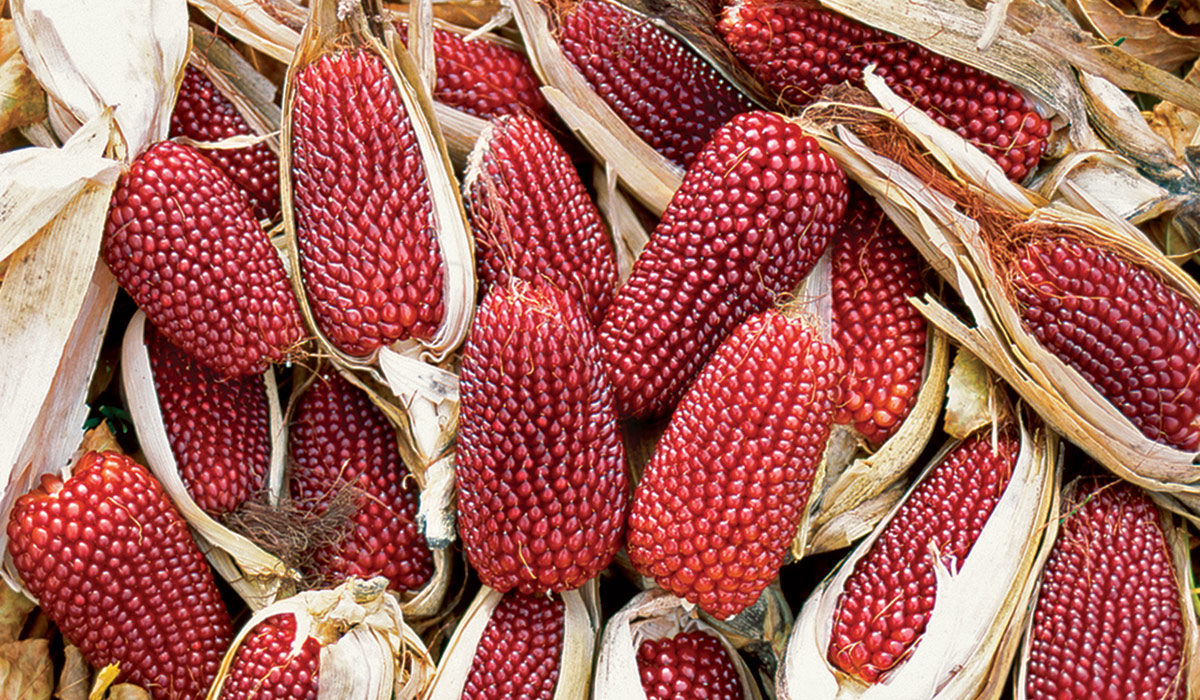
‘Strawberry Popcorn’ is named for its strawberry-shaped cobs. It bears 2-inch-long crimson ears on 3- to 4-foot-tall stalks. Its dried kernels pop easily.
‘Earth Tones’
(90 days to maturity)
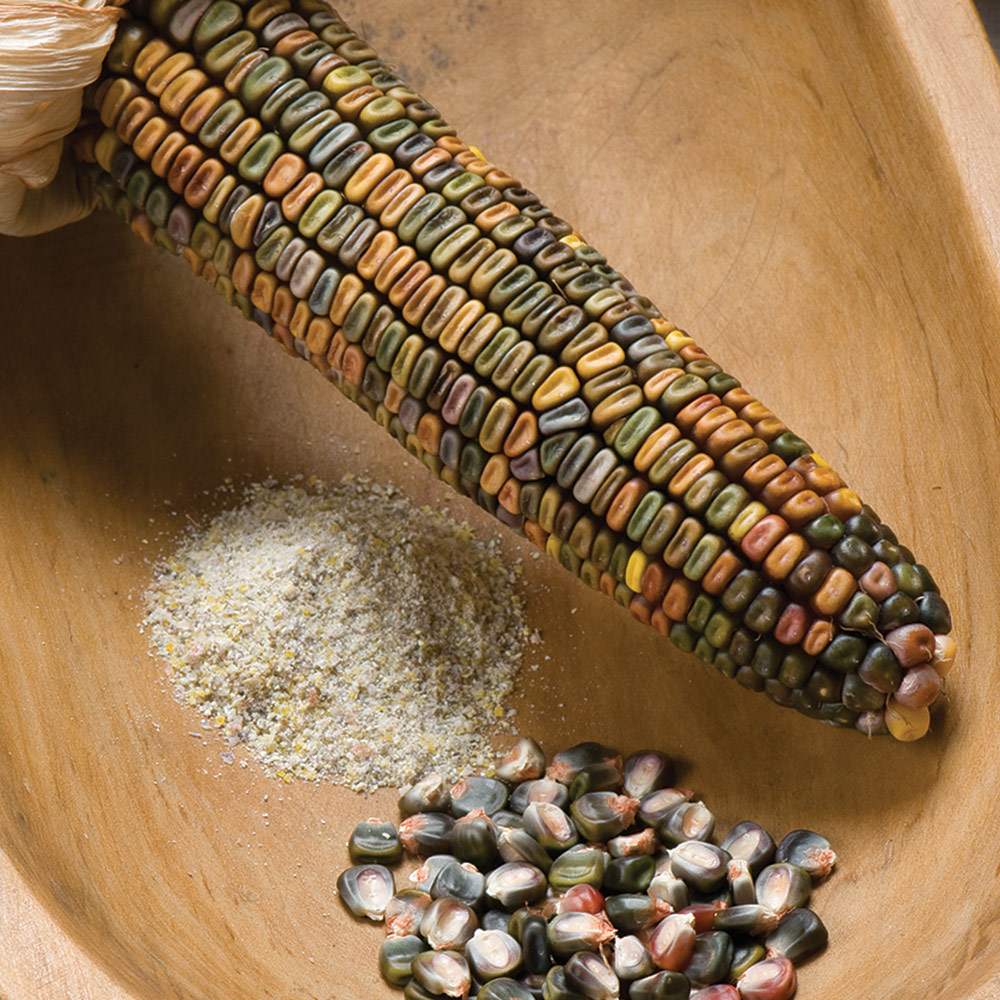
A dent corn, ‘Earth Tones’ includes colorful kernels of pink, blue, and green.
Jo Ann Gardner is coauthor, along with her husband Jigs, of Gardens of Use and Delight. She writes from her home in Westport, New York.
Photos, except where noted: Scott Phillips
Sources:
The following mail-order plant sellers offer the widest selection of the corn featured:
- Johnny’s Selected Seeds, Winslow, Maine; 877-564-6697; johnnyseeds.com
- Jung Seeds & Plants, Randolph, Wis.; 800-247-5864; jungseed.com
- Reimer Seeds, PO Box 236, Mount Holly, NC 28120; reimerseeds.com
- Stokes Seeds, Buffalo, N.Y.; 800-396-9238; stokeseeds.com
- Territorial Seed Company, Cottage Grove, Ore.; 800-626-0866; territorialseed.com
Fine Gardening Recommended Products
Corona E-Grip Trowel
Fine Gardening receives a commission for items purchased through links on this site, including Amazon Associates and other affiliate advertising programs.
VegTrug Classic Cold Frame
Fine Gardening receives a commission for items purchased through links on this site, including Amazon Associates and other affiliate advertising programs.
Fort Vee - Organic Potting Soil Mix
Fine Gardening receives a commission for items purchased through links on this site, including Amazon Associates and other affiliate advertising programs.



Comments
Log in or create an account to post a comment.
Sign up Log in