How to Grow Pumpkins
Follow these easy steps to grow the king of vegetables
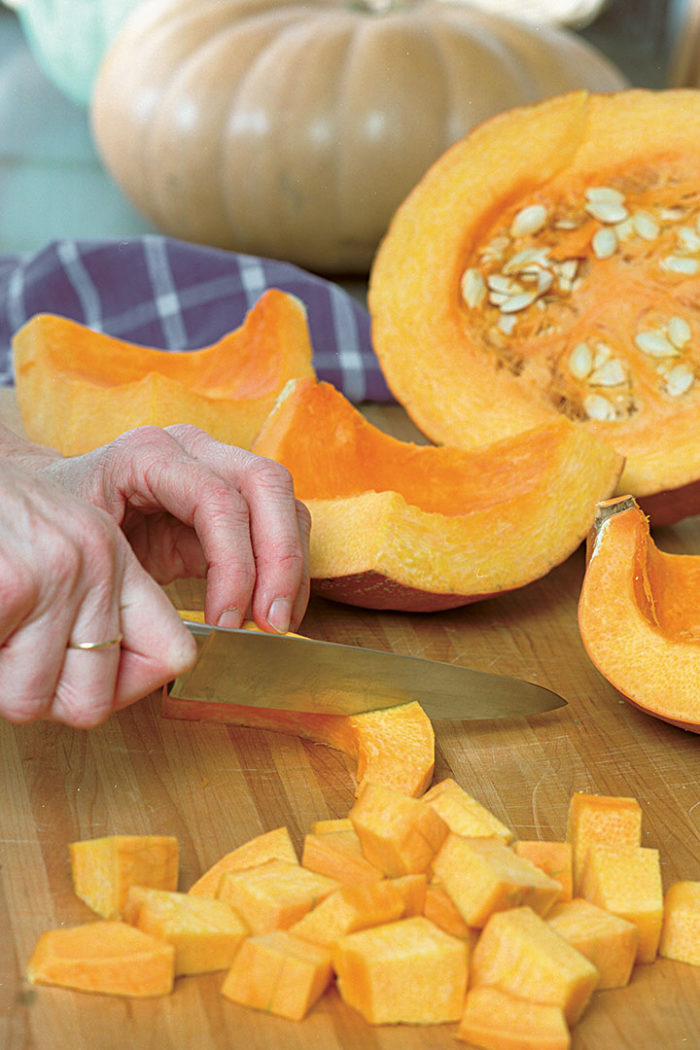
For me, pumpkins are one of those foods that bring up a host of pleasant memories. As a boy, I remember the rich, spicy aroma of pumpkin pies baking in Grandma’s kitchen—a special treat we ate only at Thanksgiving and Christmas. Now that I have more say in the matter of what my family eats, we consume lots of pumpkins: as a vegetable, in loaves of bread, pies, and puddings, and even in ice cream.
A true native American, the pumpkin possesses many desirable characteristics. It is easy to grow, prolific, nutritious, and relatively free from pests and diseases. It stores well and produces edible seeds and meat that can be eaten as either a sweet or savory dish. But undoubtedly, the most common use for pumpkins is decorative.
Pumpkin plant basics
Pumpkins are members of the Cucurbitaceae family and are closely related to squash. They grow well in most climate zones, although northern or high-altitude gardeners will want to use a row cover or some other type of frost protection for cool spring evenings. Most of the varieties grown by gardeners or farmers are of the genus Cucurbita, which is further divided into five species. A word of caution: Members of the same species can cross. This means that if you grow ‘Jack ’O Lantern’ pumpkins and ‘Table Queen’ acorn squash—both pepo species—they may cross. The seeds that result from these crosses may produce inedible gourds.
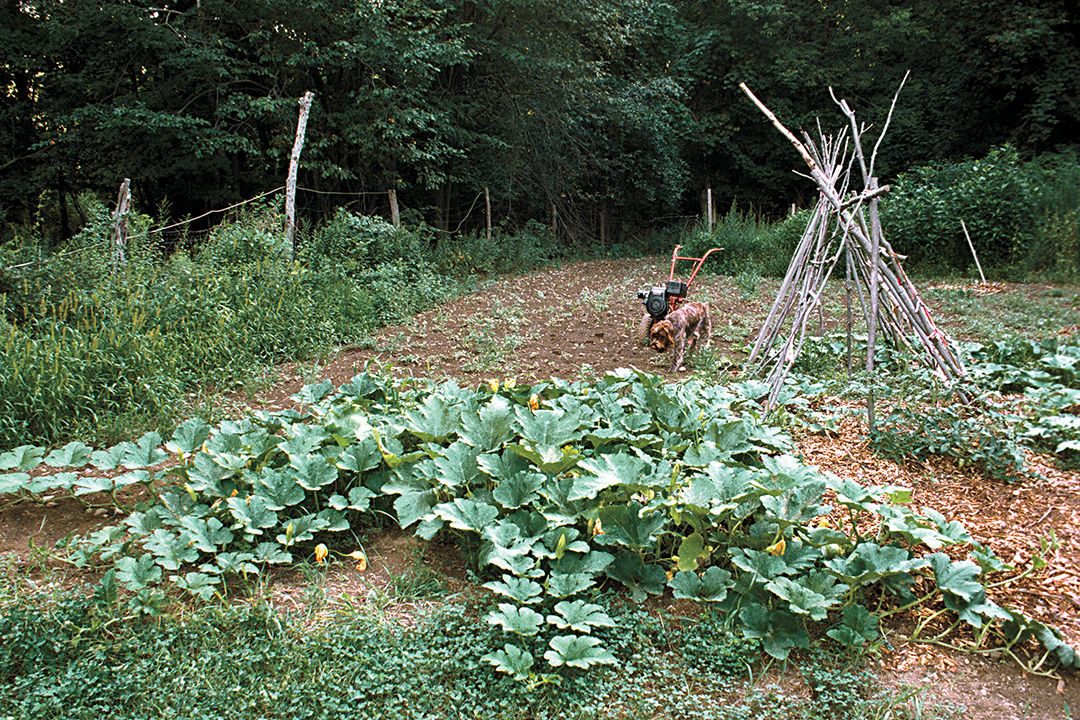
Pumpkin plants are either indeterminate, creeping vines, or determinant, shorter vines but not true bushes. Pumpkins produce both male and female flowers that need to be pollinated. The female flowers are open for only one day and will produce pumpkins if pollinated. Sometimes the first female flowers will open before there are any male flowers to pollinate them. They’ll dry up and drop off, but don’t worry—the plant will continue to produce flowers of both sexes.
Bees are the primary pollinators, but if bees are scarce or you want to ensure a good fruit set, you can also pollinate by hand using a soft brush. You need to do this when the flowers are open—usually from midmorning until dusk, though the best time is around midday when the pollen is the most mobile. Use a small, soft brush—makeup brushes work really well—and brush the pollen from the stamen of a male flower (an upright blossom) onto the pistil of a female flower, which will usually have a small fruit forming at the base.
Besides being easy to grow, pumpkins are available in numerous varieties, each possessing its own appeal. To decide which to plant, consider what you want to do with the pumpkins: eat them as a sweet or savory dish, or use them as an autumnal ornament. Also, consider whether you are growing pumpkins to store for midwinter dining and how much space you have in the garden and root cellar.
Whatever you decide, keep in mind the length of your growing season. Most varieties need at least 95 days to mature, with some larger varieties taking as many as 120 days. I have grown pumpkins in Zones ranging from 1b to 5b, but I know others as far south as Zone 9 who grow them as well. In the South, pumpkins are generally grown as a winter food crop (they mature at the wrong time of the year for Halloween activities), and they do well even in high heat as long as they have enough water.
Use the information in the seed catalogs and recommendations from gardening friends and neighbors to help you choose varieties. Keep in mind that the average size shown in a catalog is the size of the pumpkin at maturity. If you want smaller pumpkins, start with seeds that produce small pumpkins.
I usually grow at least two varieties of small to medium pumpkins, and I try to make sure that at least one variety matures relatively early, just in case the weather gets weird in the fall. My preference for smaller pumpkins—in the 4- to the 10-pound range—is based on their being easier to handle. Several of my favorites are ‘New England Pie’, ‘Rocket’, ‘Racer’, ‘Small Sugar’, ‘Howden’, ‘Montana Jack’, and ‘Long Pie’, an heirloom that is harvested green and turns orange in storage. While I don’t normally grow tiny decorative pumpkins, I have friends who have had great success with ‘Sweetie Pie’, ‘Jack Be Little’, and ‘Fairy Tale.’ For a big carving pumpkin or pumpkins to sell in a farmers’ market, ‘Rocket’ and ‘Tom Fox’ do well in most growing zones.
Preparing the soil
Pumpkins require ample organic matter, slow and deep watering (they are very deep-rooted), and a balanced fertilizer. I fertilize each plant with a mix of 1/2 cup blood meal (for nitrogen), 1 cup bone meal (phosphorus), 3/4 cup greensand plus 1/4 cup hardwood ashes (potassium), 2 tablespoons agricultural lime (calcium), 2 tablespoons pelleted sulfur, and 1/3 cup Norwegian kelp powder.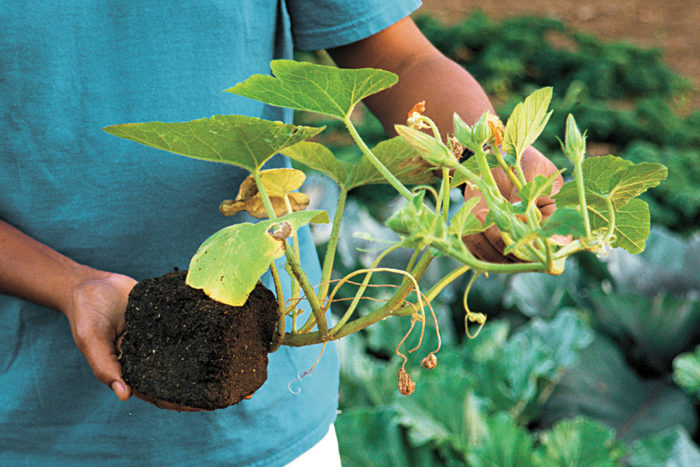
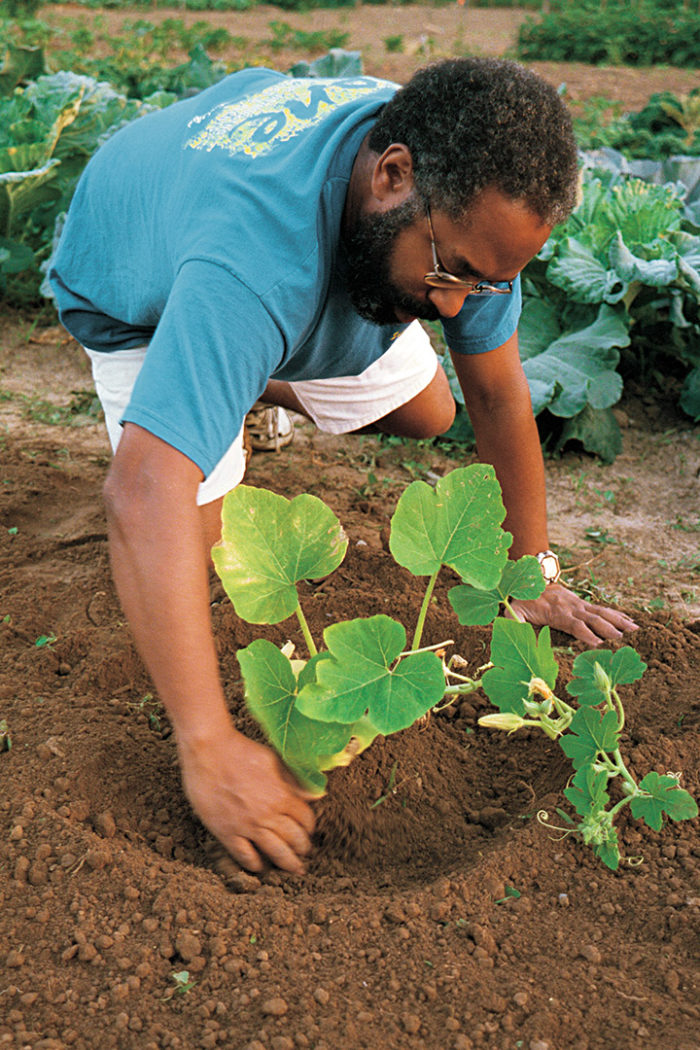
I have been using this formula since 1986 when I had a 5-acre market garden in upstate Minnesota. I figured that most chemical fertilizer recommendations were luxurious, and what I needed was a baseline mix that would produce commercially acceptable yields. With the help of a chemistry teacher, I developed a mix for each crop. This mix works well in warm soil with enough biological activity to break it into a solution plants can use.
All of this goes into the planting hole. I then mound the excess soil and compost mixture into a traditional hill. At the least, you should mix in compost and 1/2 cup timed-release 5-10-10 fertilizer.
Mounds, mulches, row covers, and soil blocks
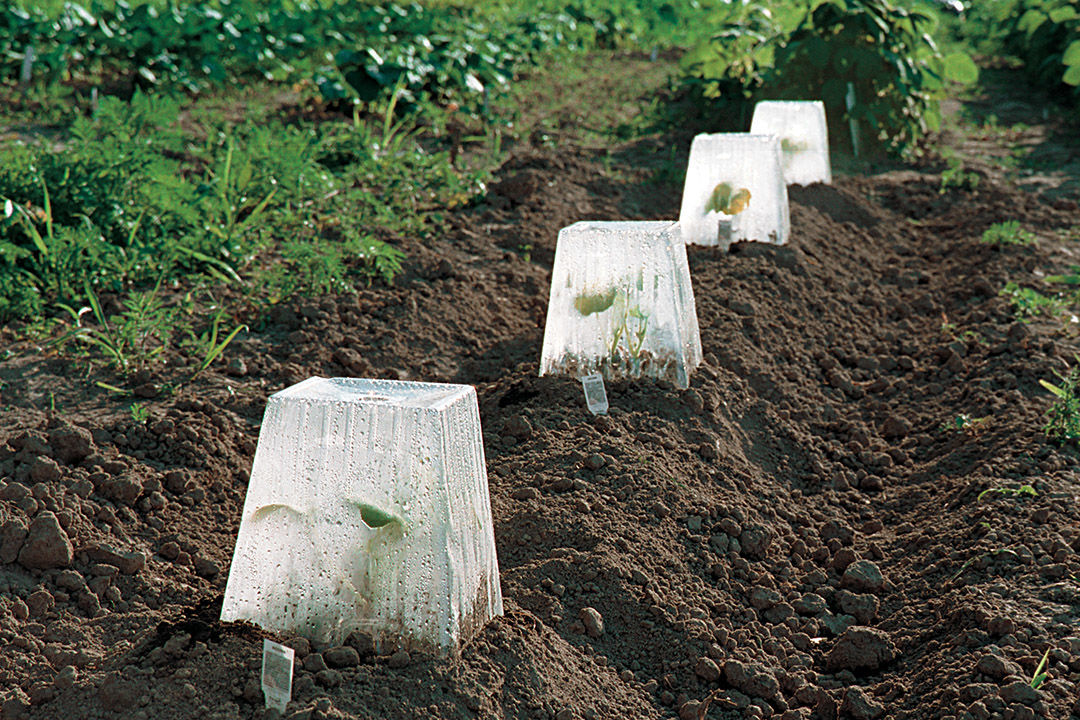
Pumpkins like hot feet. The traditional small hill or mound (12 to 18 inches high) will warm up fast in the spring, hastening seed germination. The increased warmth of the soil also encourages vigorous root growth. While this is still a sound practice, modern agricultural technology has given gardeners another option: the use of plastic mulch with or without floating row cover. Both hills and plastic mulch increase the soil temperature in the root zone. The floating row cover provides warmth and uniform growing conditions as well as protection from most flying insect pests.
Combining black plastic mulch with a row cover gives you a good jump on the season. Lay trickle or drip irrigation under the plastic. The plastic eliminates the need to weed and allows you to plant seeds on level ground. Once the danger of frost is gone, however, you should remove the row cover to allow the bees to pollinate your squash.
Soil blocks are another option. I began using them when I was gardening in northern Minnesota, then in northeastern British Columbia. Using soil blocks, I can hold off on transplanting my pumpkins until late spring (here in Zone 5b, around May 15) without plants becoming root-bound. I put out 8- to 12-week-old plants late in the spring and cover them with floating row cover or cloches for protection from late-season frost. In warm climates, this practice has another advantage: The plants are very mature by the time their archnemesis—the squash vine borer—shows up. In central Indiana, this occurs around the first week of July.
The trickiest part of transplanting any members of the squash family is to avoid disturbing their roots. Here again, soil blocks come to the rescue. I start seeds in a 2- by 2-inch block, then transfer the small block into a 4- by 5-inch block when the seedlings outgrow the small block.
Transplants grown in soil blocks do not have their roots tangled together, nor have they spiraled around, as they tend to be when grown in solid containers. They don’t even appear to notice that they’ve been moved, except that once they’re in a more fertile environment, their growth takes off. All the large plants I transplant in the big soil blocks—squash, cucumbers, tomatoes, peppers—usually have blossoms and occasionally small fruit when they go into the ground.
Pumpkins need ample space
Ample space is important because these sun-loving plants will grow to fill the available space and then some. I usually grow the indeterminate, creeping-vine type, but this year I tried ‘Racer’, a short-vine variety, which also grew well. To conserve space, train the vines to climb a sturdy shelter; this is recommended only for smaller pumpkins. While I have never tried growing pumpkins in containers, I did read about a woman who grows them on the flat roof of her condo in a child’s wading pool. She trains the vines to spread across her skylight to provide summertime shade.
I plant vining types of squash into hills 12 feet apart, then train the vines toward the next hill in the row so they fill the space between the hills. The larger varieties usually need 8 to 10 feet between the rows. I space bush varieties 8 feet apart in all directions.
Once pumpkins are in the garden and growing, they require very little maintenance, just consistent watering and a watchful eye for pests: leaf miners, squash bugs, and squash vine borers. You can use neem extracts, rotenone, or rotenone, and pyrethrins to control the first two pests. The best strategy for dealing with vine borers is to time plantings so the vines are mature enough to withstand the damage. As with all insecticides, follow the label carefully and dress appropriately; organic insecticides can be just as harmful to you as chemical insecticides. I also spray the plants once or twice during the growing season with a foliar mix of kelp and liquid fish emulsion.
Thwarting squash vine borer
Despite my best efforts, I’ve still had trouble with the squash vine borer. This critter wreaks havoc by attacking the plant at the base of the stem, within 2 inches of the ground. It literally bores a hole into a stem and deposits one or more eggs inside. The eggs hatch within seven to 10 days. Once hatched, the borer larva eats the soft inner tissue of the plant stem, effectively stopping the flow of nutrients and moisture from the roots and leaves. Usually, the first thing gardeners notice is that the plant is wilted beyond hope.
Once the larva matures, it crawls out of the stem, burrows into the ground, and metamorphoses into a pupa. The pupa matures and emerges as a flying adult, seeks out a mate, and begins the cycle again. Depending on what zone you live in, there may be two cycles, but most northern gardeners will have to face only one generation.
The initial infestation is revealed by a tiny pile of what looks like sawdust at the base of the plant. Keep an eye on your plants, and if you notice this damage, you can surgically remove the larvae by slicing the stem longitudinally and plucking the little beasties out with tweezers. Wrap the stem with breathable adhesive tape (from your first aid kit), and the plant should heal and continue growing.
As I mentioned earlier, a floating row cover will protect pumpkins (unless larvae hatch out under the row cover), but you will have to pay close attention to pollination. My homemade alternative is to glue a strip of aluminum foil around the stem before I transplant the seedlings. My “glue” is a mixture of pressed garlic, cayenne pepper, and boiled molasses. I use a wooden spatula to paste the goop on (from the ground up about 6 inches), then wrap foil around it. I secure the shield with a loose twist tie.
If you consistently have a problem with vine borers, applying nematodes in the spring is a good idea. If nematodes are not feasible, slow borers down by making sure the plants are mature by the time the adults show up, then carefully monitor plants for signs of attack.
Once you’ve seen to the basics and taken care to keep pests under control, all that’s left to do is harvest. You must be patient and wait until the fall after the vines have been killed by frost and the stems are dry and shrunken. Pumpkins picked before they are mature will be “green” and won’t store well. Likewise, be careful not to break the stem off the pumpkin because that too will affect the length of time you’ll be able to store it.
After I harvest my storage pumpkins, I wash them with mild soapy water and rinse them with a mild bleach solution: 1 cup chlorine bleach to 5 gallons of cool water. The final rinse helps to inhibit mold and other fungal growth while the pumpkins are in the root cellar. When you get ready to use a pumpkin, be careful when cutting it open, and don’t forget to clean and toast the seeds. They, too, are scrumptious.
Soil block recipe
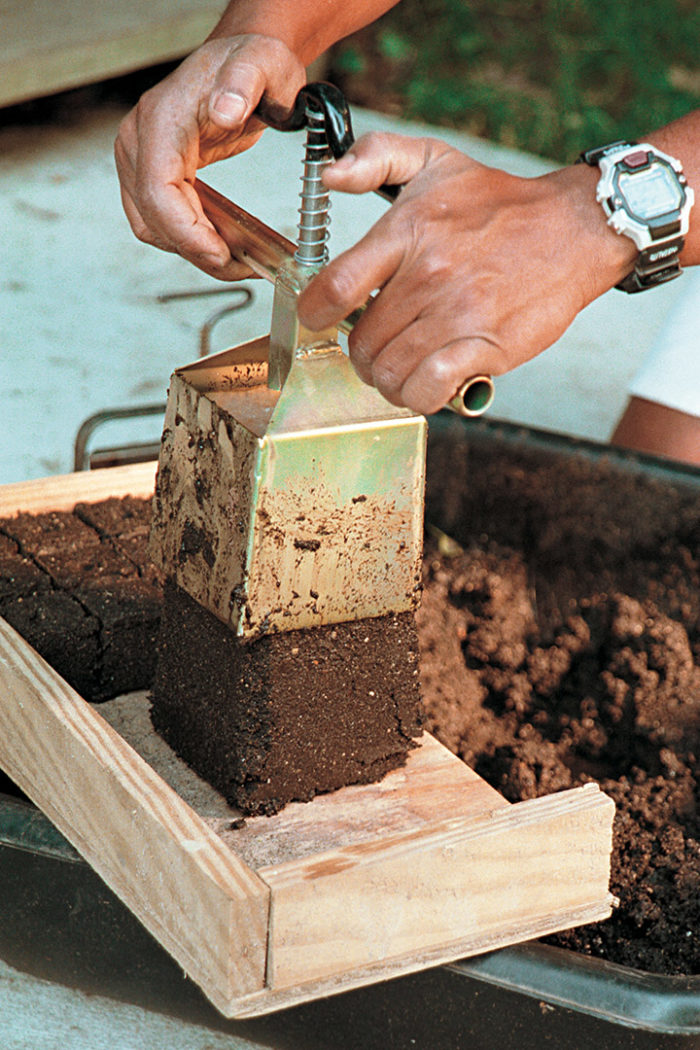
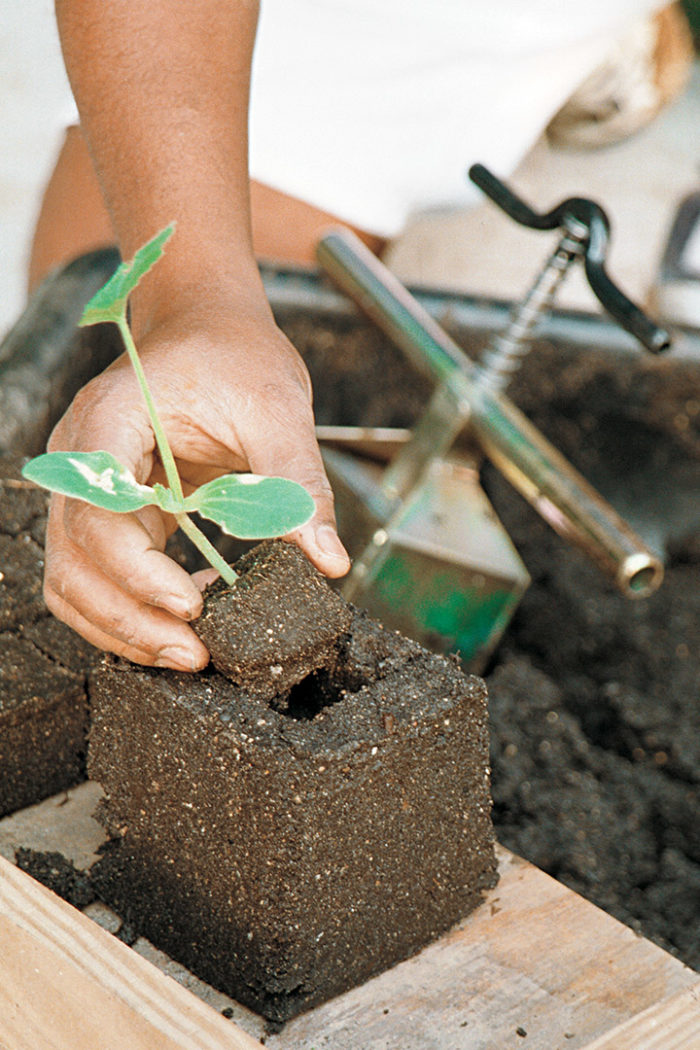
For measuring out quantities, I use a 1-gallon plastic pail. One pail equals one part. Measure out and combine 1 part topsoil, 2 parts compost, 3 parts peat moss (or 1 part peat moss, 1 part perlite, 1 part worm casings), 2 parts coarse sand, 3 cups fertilizer mix, and 1/2 cup lime. Then slowly moisten the mix. The result should be the consistency of mashed potatoes or a little drier.
This article first appeared in Kitchen Gardener #29.
Fine Gardening Recommended Products
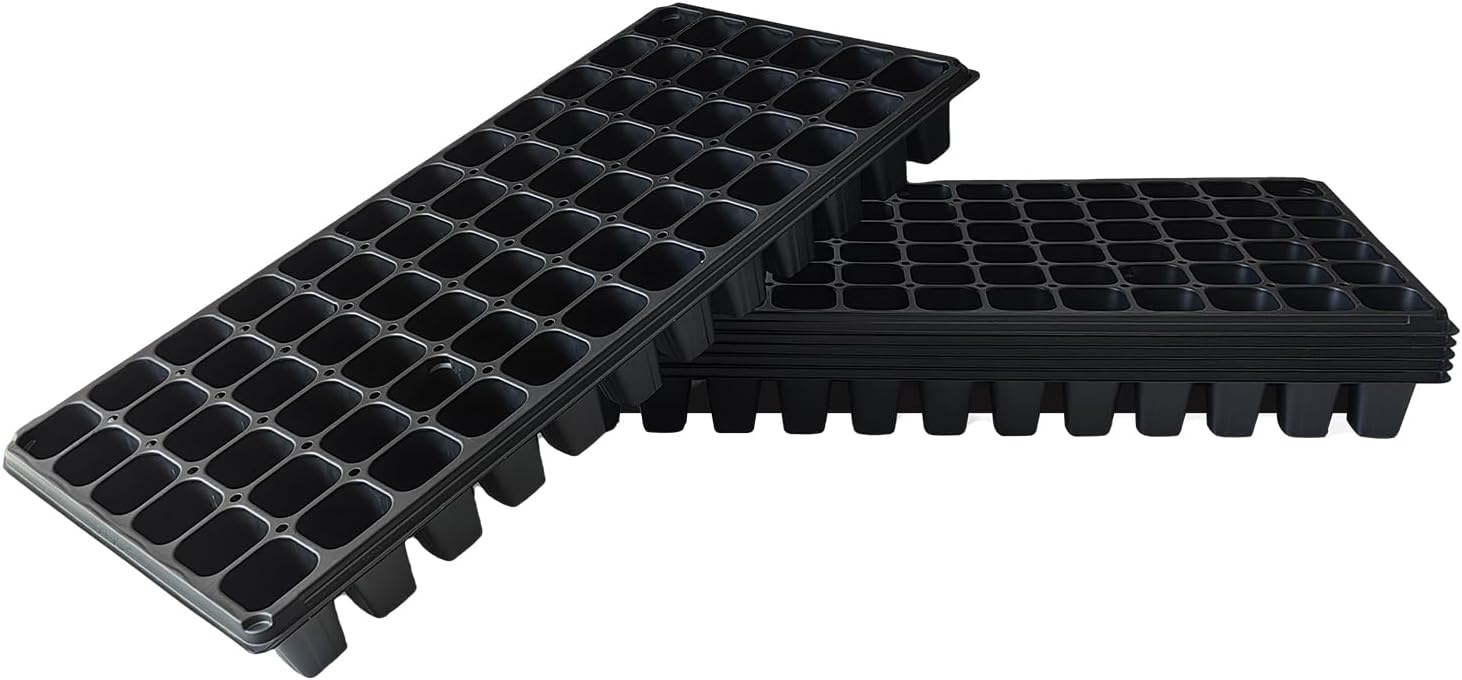
Deep 72 Cell Seedling Trays (10-Pack)
Fine Gardening receives a commission for items purchased through links on this site, including Amazon Associates and other affiliate advertising programs.
Berry & Bird Rabbiting Spade, Trenching Shovel
Fine Gardening receives a commission for items purchased through links on this site, including Amazon Associates and other affiliate advertising programs.



Comments
Great post. I really liked it!
Log in or create an account to post a comment.
Sign up Log in