When you first start to think about changing part of your landscape, slow down, look, and listen. Pay attention to how the existing conditions make you feel. Is the space too cluttered or noisy? Is it too exposed to the elements, the neighbors, or the road? Is it too dark or too bright? What do you like about the space? Encourage yourself to stop, feel the space, listen to your intuition, and slowly begin to make a plan.’
If you don’t like how a space feels, try to figure out why it makes you feel this way. Visualize different elements being added or eliminated. Jot ideas down or sketch them, and don’t be afraid to think big. Allow all possibilities, and then identify your most important priorities. Ask yourself what your needs are. How will you be using the space?
Your initial observations will help you to figure out the “how, why, and what” of a project. By adding a few more steps to your planning process, you can dig deeper and make your design even better.
Rule 1: Deconstruct the scene to identify what’s not working

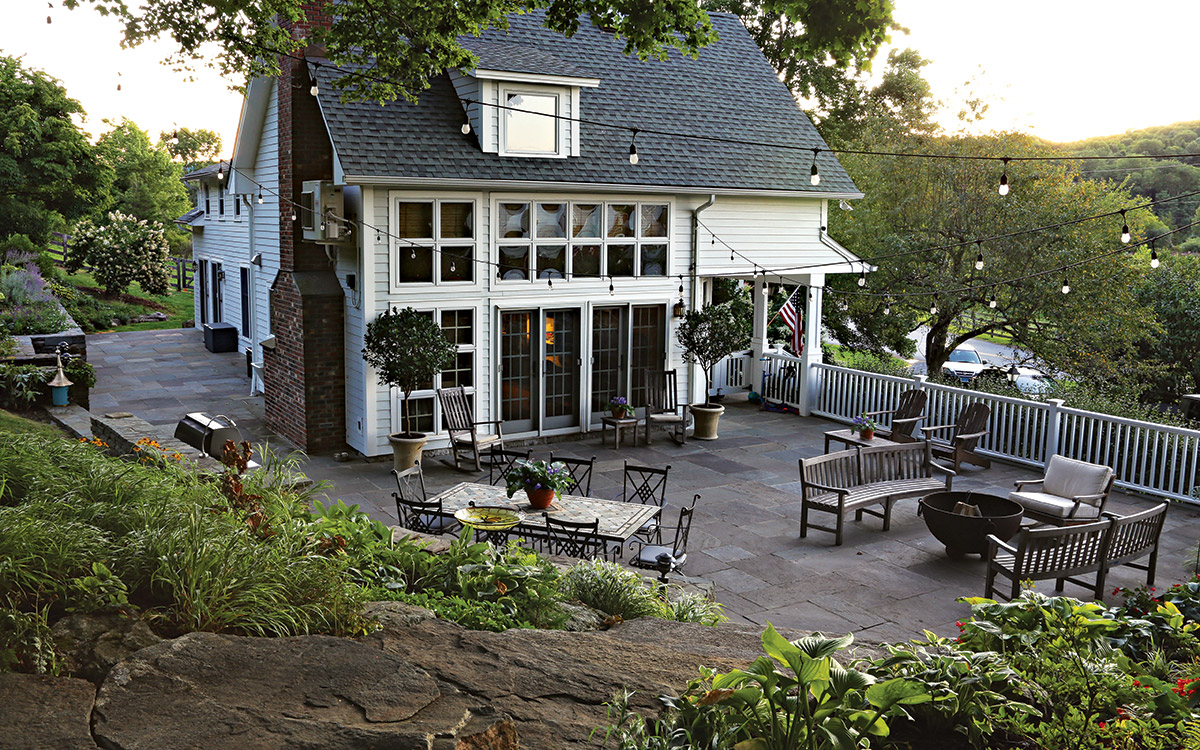
At this property, a stand of hemlock trees lined the east side of the patio, and mature sugar maples encroached everywhere else, blocking all the light. The space was broken up by many steps— several up to the front porch, two steps down to the patio, two steps up again to the kitchen, and even more ups and downs where the patio wrapped around the rear of the house.
Claustrophobia was the predominant feeling I got upon entering the existing patio. The area felt cluttered. Looking at the space from all different angles, I asked myself, “What is causing this crowded, disorganized feeling?”

Standing back and observing the space helped me identify the main elements that needed to be changed: overgrown trees and shrubs, excessive grade changes in the main traffic area, a weedy slope that needed to be replanted, and drainage problems that had to be corrected.
Rule 2: Pay attention to light patterns

Clearly the hemlocks and several maples had to be removed. Doing so allowed eastern sunlight (the kindest light) into the outdoor room and opened up lovely views to the barn and fields across the road.
Rule 3: Visualize traffic patterns to get the hardscape right

Raising the patio grade by about 14 inches brought it level with the front porch. By raising the patio grade, we were able to eliminate a total of eight risers, effectively streamlining the space and creating an easy flow between indoors and outdoors.

Tip: Safe Outdoor Steps Follow a Formula
In this space, as in all our designs, we ensured the outdoor steps were safe. All outdoor steps need the proper riser-to-tread ratio.
In the following formula, “tread depth” refers to the front-to-back measurement for the horizontal surface of each step. “Riser height” refers to the vertical measurement from the top of one tread to the next. The formula we use for outdoor riser-to-tread ratios is:
Tread depth + (riser height × 2) = 26 or 27.
Outdoor risers should not be taller than 7½ inches.
| Tread depth | Riser height | Tread depth | Riser height |
| 12 in.
12 in. 14 in. 14 in. |
7 in.
7½ in. 6 in. 6½ in. |
16 in.
16 in. 18 in. 18 in. |
5 in.
5½ in. 4 in. 4½ in. |
Catharine Cooke and her husband, Ian Gribble, own Spring Lake Garden Design in Sherman, Connecticut.
Fine Gardening Recommended Products

Buffalo-Style Gardens: Create a Quirky, One-of-a-Kind Private Garden with Eye-Catching Designs
Fine Gardening receives a commission for items purchased through links on this site, including Amazon Associates and other affiliate advertising programs.

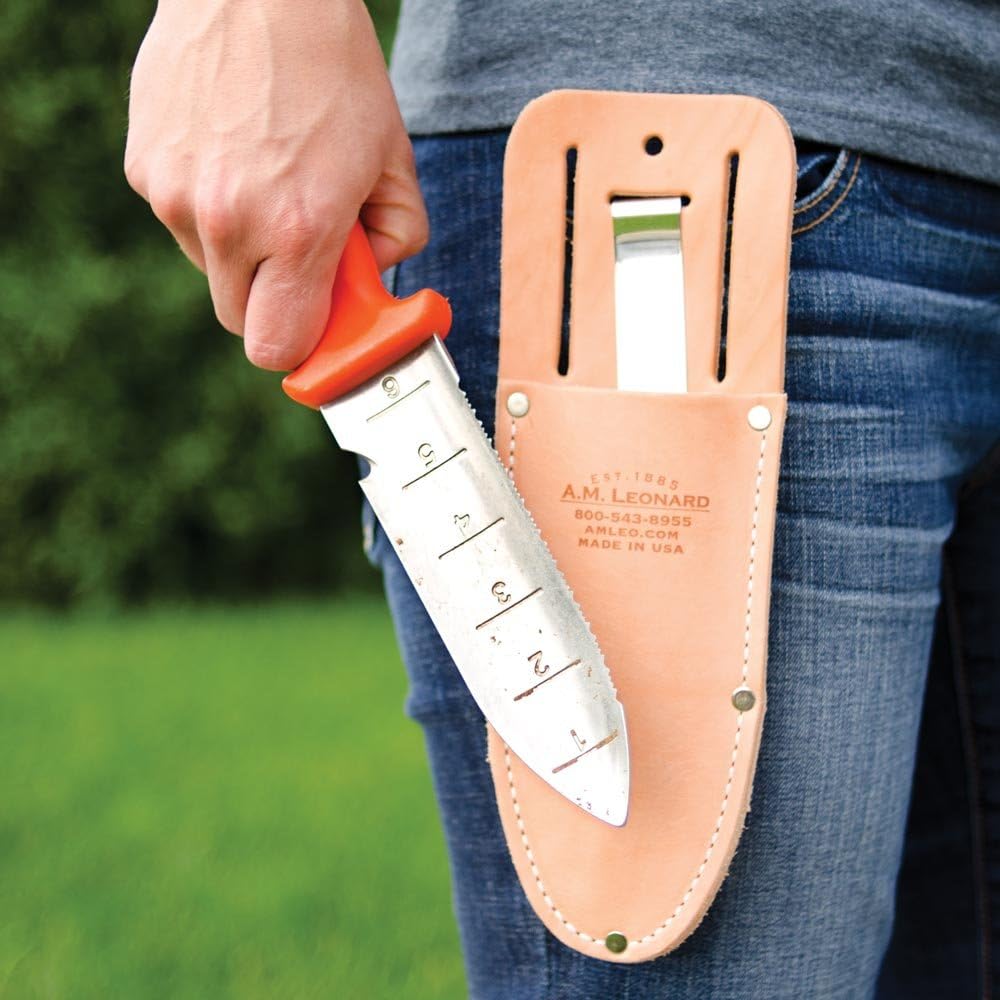
A.M. Leonard Deluxe Soil Knife & Leather Sheath Combo
Fine Gardening receives a commission for items purchased through links on this site, including Amazon Associates and other affiliate advertising programs.

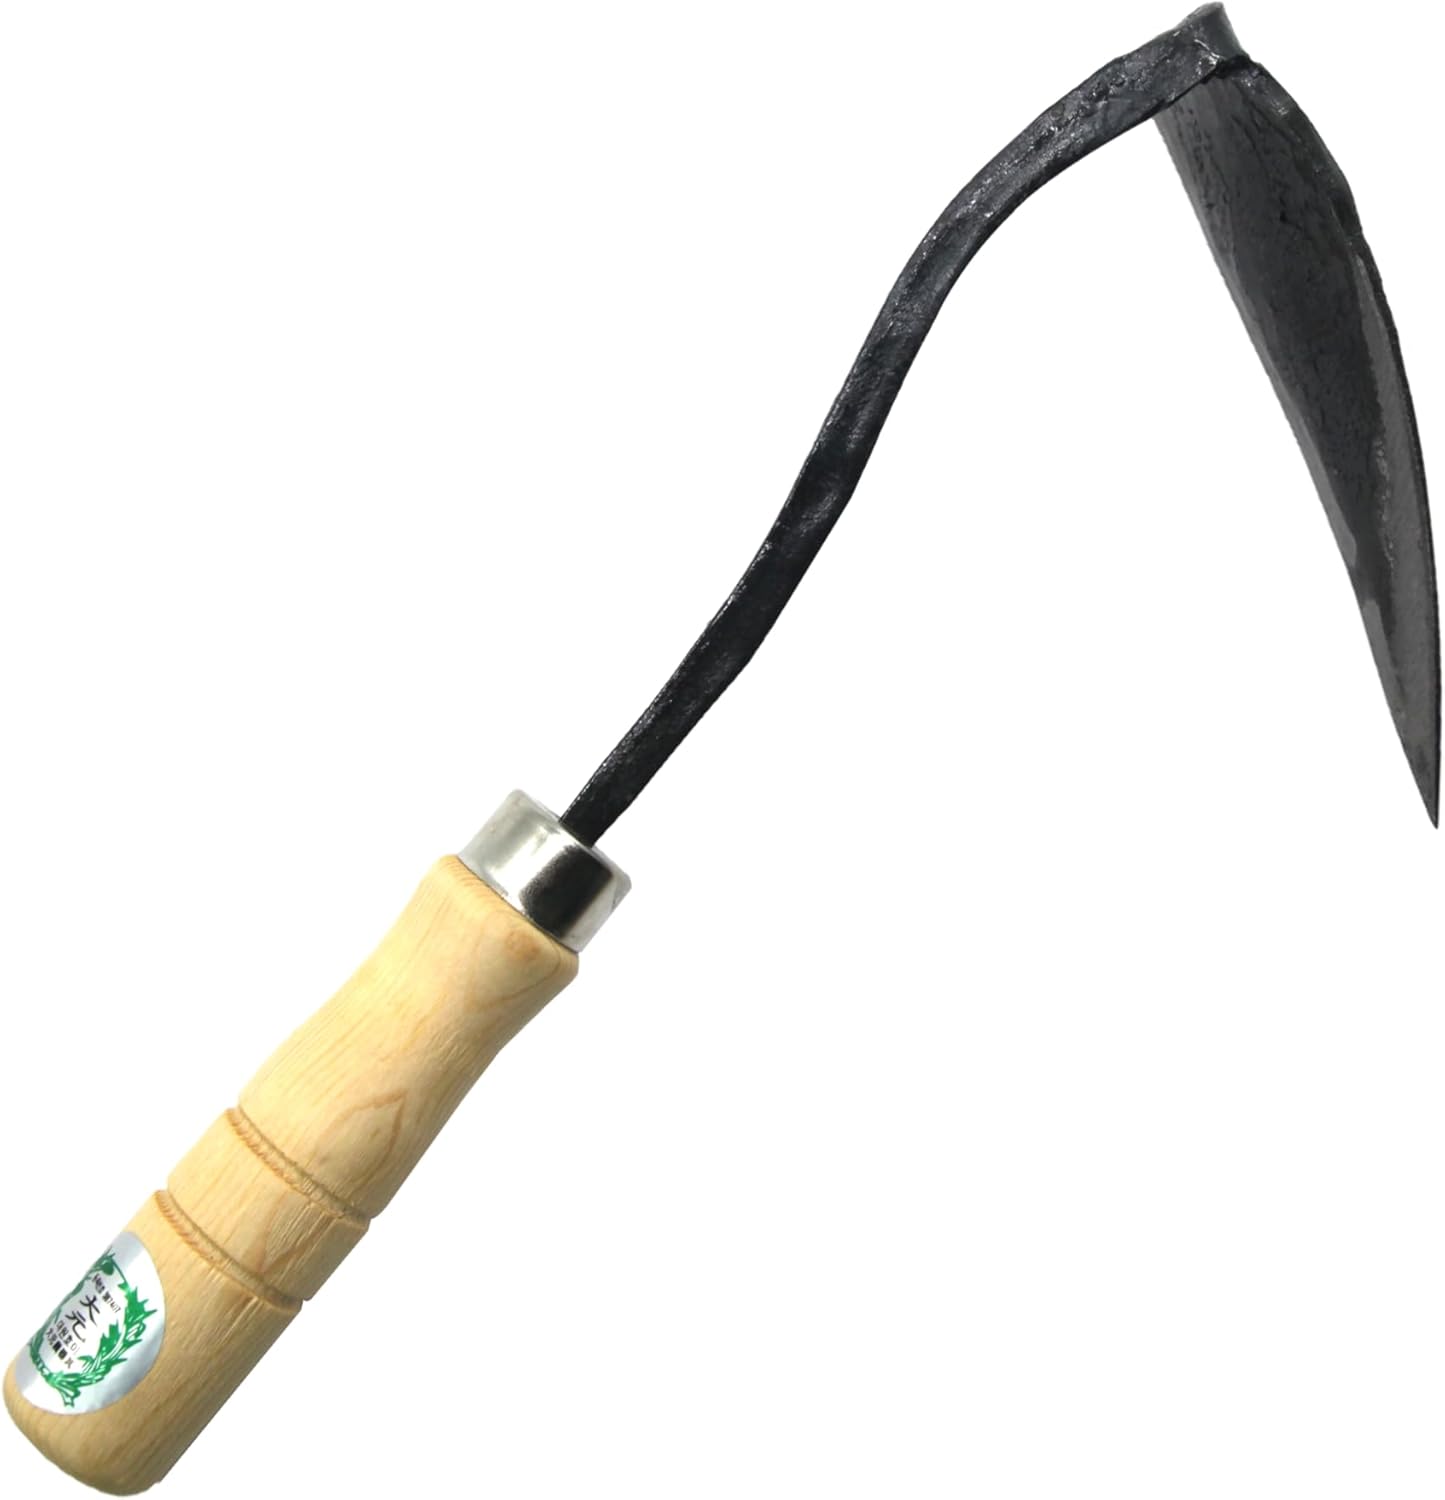
Ho-Mi Digger - Korean Triangle Blade
Fine Gardening receives a commission for items purchased through links on this site, including Amazon Associates and other affiliate advertising programs.


Comments
Log in or create an account to post a comment.
Sign up Log in