Planting Trees and Shrubs the Right Way
Packaging determines how to put your new purchase in the ground

Let’s be honest. Who always follows those guidelines found in garden books and extension-service bulletins for planting trees and shrubs? Whether we’re in a hurry or simply lack the effort, all too often we quickly dig a hole—usually too small—plop in the plant, then kick dirt around it. No wonder so many plants never survive their first season.
Learn more: The Science of Transplanting
Planting the right way, however, can be the difference in a plant’s survival. The best way to get a new plant off to a healthy start is to base your practices on how that plant is packaged: as bareroot, container grown, or balled and burlapped (B&B). Packaging influences the condition of the roots and the root-ball soil, which in turn affects how to plant properly. So even if you know the basics, there is a good chance you will learn a trick or two from the following guidelines to increase the odds your plants will thrive.
Bareroot plants must be kept moist

Most people first encounter bareroot plants through mail-order catalogs. Harvested from the field with no soil attached to the roots, bareroot plants are lightweight but highly perishable and should be purchased and planted prior to bud break in the spring. While they require some additional tender loving care, the advantage of bareroot plants is that they allow complete inspection of the root system prior to planting.
1. Keep bareroot plants damp after their arrival. Do not allow their roots to dry out before you plant them. Though dormant, they are still living and require water to survive. Store or transport them out of direct sunlight in a pot or plastic bag packed with moist straw or shredded newspaper. Check the packing material frequently: If it’s moist, then so are the roots. If it’s dry, the roots are also dry, and you should set them in a bucket of water for several hours before planting to rehydrate them.
2. Inspect and prune the roots prior to planting. Remove all damaged or in-turned roots by making clean cuts with sharp pruning shears. Torn roots heal more slowly than a clean cut and thus increase the likelihood of disease. Roots that grow toward the center of the plant can restrict root and trunk growth over time.


3. Dig a proper hole wide enough so roots can spread into their natural position and deep enough so the root flare or the crown (where the roots meet the trunk or stem) will be at the soil line. Planting too high or too deep stresses the plant and threatens its long-term health. To prevent large air pockets, which hinder root growth, break up any soil clods. Then backfill the hole halfway, and water gently to settle the soil around the roots. Don’t tamp down the soil with your foot because it may break some roots. Finish backfilling the hole, and make a soil berm, or levee, several inches high by forming a wide bowl that will retain the water over the roots until it soaks in. Water again to completely settle the soil around the roots. Because their roots have been physically separated from the soil they were growing in, bareroot plants experience more shock and initially require more frequent watering than container or B&B-packaged plants.
Container-grown ornamentals may need their roots pruned

Perhaps the most popular option with consumers, container plants are grown aboveground in a pot filled with an artificial substrate (no real soil), which makes them easy to handle.
1. Remove the container before planting regardless of the material it is made of. Once the plant is free from the container, inspect the root system. Thin, white roots at the outside of the root-ball are normal.
2. Tease the roots out with your fingers before planting to promote root expansion into the surrounding soils. This is essential for long-term survival.
3. Cut out thicker, woody roots on trees and shrubs with sharp pruning shears to prevent them from girdling the trunk or root flare. Girdling roots slow the flow of nutrients, water, and carbohydrates through a plant. If the plant is root bound (a dense mat of roots encircling the outside of the root ball), use a knife to slice the root ball from the top to the bottom in three or four locations. To prevent future girdling roots, make the cut deep enough to sever any roots growing in a circular manner. Though this may seem drastic, it will not hurt a vigorous plant, and new roots will arise from these cuts.
4. Dig a planting hole two to three times wider than the container to provide loose soil into which emerging roots can expand horizontally, and only as deep as the distance from the top of the root ball to the bottom of the container to ensure the crown is above grade. Set the plant in the hole, backfill halfway, and water it in to settle the soil. Finish backfilling, and use the excess soil to shape a bowl around the planting hole where water can collect and slowly seep in. Water again to settle the rest of the soil. Do not use your foot to firm the soil because it can compact it and slow root growth.


Check for “potted plants”
Balled-and-burlapped woodies need a wide hole
**See editor’s note below.

Trees and shrubs are the most common plants sold balled and burlapped. Harvested with a ball of soil wrapped in burlap surrounding the roots, B&B specimens are readily available at your local nursery, and though the ball of soil can be heavy and difficult to handle for the average homeowner, this packaging is often the only choice for large plants.
1. Dig a planting hole two to three times wider than the root ball to provide loose soil into which the roots can expand horizontally near the soil surface where there is more oxygen, a necessary ingredient for root survival. Check the depth of the hole as you dig so that the top of the root ball sits just above the surrounding grade. Digging a hole that’s too deep will allow the root ball to settle. When settling occurs, excess soil that accumulates around the trunk creates an ideal location for disease to enter the plant.
2. Backfill halfway once the plant is properly situated in the hole. Watering at this point will reduce large air pockets and help stabilize the plant while you perform the following steps.

3. Remove all twine or wire tied around the main stem of the plant. If the root ball is supported by a wire basket, use wire cutters to remove the top portion of the basket to prevent the wire from restricting growth as the roots and root flare expand over time. Remove the burlap from the root ball with a sharp knife. Burlap on top of the root ball can act like a wick if exposed to air and draw moisture from the soil. The burlap on the very bottom of the root ball will decompose as the roots grow through it.
4. Finish backfilling, and break up large soil clods to prevent air pockets where roots will have trouble growing. Build a berm around the outside edge of the planting hole high enough to hold 3 to 5 gallons of water when you irrigate. Don’t pile the excess soil on top of the root ball. This has the same effect as planting too deep.
5. Irrigate inside the soil berm allowing the water to settle the soil around the root ball. Manually tamping the soil can cause compaction and reduce root expansion.


Now that I planted it, what do I do?

KEYS TO ESTABLISHING NEW PLANTS
Provide ample water
Proper watering is vital to plant survival, but requirements vary. In clay soils, infrequent yet thorough watering is best, but bear in mind that water will not percolate rapidly through the soil. In a sandy loam, however, water percolates easily through the soil. In that case, lower volume and more frequent watering is best. To determine if trees should be watered, insert a screwdriver into the soil. If it penetrates easily, the soil is moist and no water is needed.
Mulch the root zone
Mulching preserves soil moisture and moderates soil temperature, keeping it within the range that roots prefer. Mulch also controls competing weeds and helps keep lawn mowers and string trimmers—leading causes of trunk damage—at a distance. Mulch should be 2 to 4 inches deep and cover the entire planting hole and soil berm. It should not touch the plant, however, because a continually moist environment around the trunk or crown will encourage harmful insects and disease.


Delay fertilizing
A rule of thumb is that newly planted trees and shrubs should not be fertilized during the first year or two; the only exception would be those planted in nutritionally poor soils. Incorrect fertilizing can actually reduce root growth while encouraging the top of the tree to grow out of proportion to what the roots can support. Perennials should be given a resting period of a week or two before supplemental synthetic fertilizers are applied.
Limit staking
The purpose of staking is to prevent the root ball from rocking, not to prevent the top of the tree from swaying in the wind. For most trees, one or two stakes should be sufficient. Drive a 4-foot-long 2×2 stake into the ground at a 45-degree angle near and low to the trunk. Fasten the stake to the trunk with rubber strapping. Be sure the rubber strapping is between the bark and the stake so that they do not rub. Inspect the stake throughout the year to ensure that it is not damaging the bark and is still functional. With the exception of perpetually windy sites, all staking should be removed after one year.
Prune lightly
Carefully inspect your new plant and remove any dead, broken, or diseased limbs at planting time. Aside from that, newly planted trees and shrubs need no pruning. Because leaves manufacture the necessary carbohydrates to produce new roots—and more leaves equals more carbohydrates—pruning will only slow the growth of new roots required for survival. It generally takes one year per inch of trunk diameter when planted for a woody plant to become established, so hold off any structural pruning until then.
**Editor’s note: Research into planting trees and shrubs is ongoing. The practice of root washing is gaining advocates. All-Access members can read about it here.
Fine Gardening Recommended Products

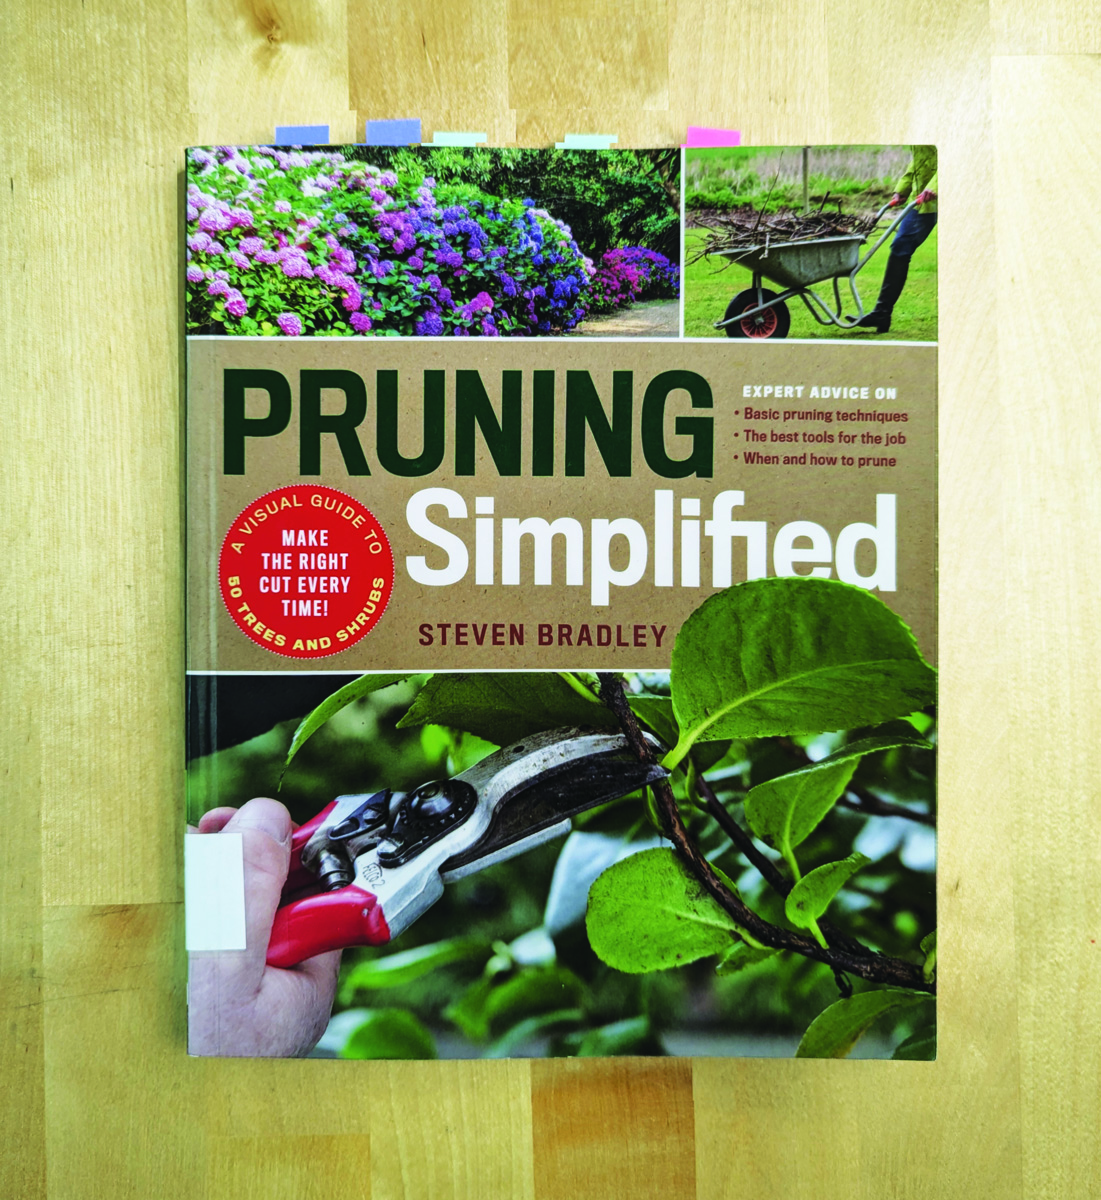
Pruning Simplified: A Step-by-Step Guide to 50 Popular Trees and Shrubs
Fine Gardening receives a commission for items purchased through links on this site, including Amazon Associates and other affiliate advertising programs.

SF600 LED Grow Lights 2x4 ft
Fine Gardening receives a commission for items purchased through links on this site, including Amazon Associates and other affiliate advertising programs.

DeWalt Variable-Speed Cordless Reciprocating Saw with 6-Piece Saw Blade Set
Fine Gardening receives a commission for items purchased through links on this site, including Amazon Associates and other affiliate advertising programs.
- 18.31 x 6.13 x 4 inches
- 1-1/8-inch stroke length
- Variable speed trigger with 0-3000 spm
- DW4856 Metal/Woodcutting Reciprocating Saw Blade Set, 6-Piece


Comments
Research from the University of MN is that you should box cut the root ball if the roots are circling the pot. Especially when the larger roots are circling. Also when planting a potted tree make sure it is not planted too deep in the pot. You should see where the base of the trunk flares out. If it looks like a stick stuck in the soil carefully escavate the soil from around the trunk til you see the flare. Planting too deep is another reason for girdling roots
Log in or create an account to post a comment.
Sign up Log in