Starting Wildflowers From Seed
Knowing when to keep them wet, dry, warm, or cold helps you to coax these woodland seeds to grow
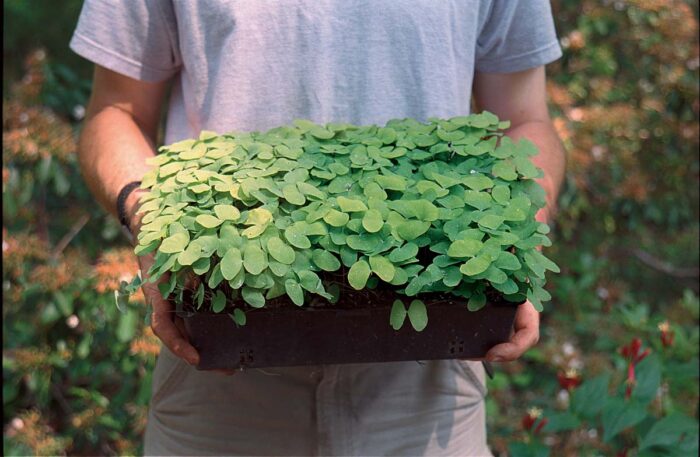
Raising your own plants from seed is like brewing your own beer or knitting your own sweaters. It is a commitment to immerse yourself completely in an activity you feel passionately about. When you collect and clean seeds, sow them, and nurture the young plants to adulthood, they are old friends by the time you find them a place in your garden.
Starting plants from seed also allows you to draw from an incredible diversity of species from specialty nurseries, collecting forays, and plant society seed exchanges. Since many woodland wildflowers are fairly slow-growing plants, and their seeds may not hold up well in conventional dry storage, raising woodlanders like trilliums, bloodroot, and lady-slippers from seed is the only way to stop the unscrupulous harvesting of these types of plants from public and private lands. Although the process does require some patience, it is not difficult if you understand some basic aspects of a seed’s biology. See more about wildflowers.
Gather seeds when they’re ripe
Collecting seed is a matter of timing. My season begins in May when the Hepatica species ripen and ends in December when the climbing fern (Lygodium palmatum) finally sheds its spores. Generally, seeds of woodland wildflowers tend to ripen within three to six weeks after a plant has flowered. Rather than follow this rule, I recommend using your eyes instead. If a plant produces fleshy fruits, its seeds will be ripe when the fruit begins to color. If a plant’s seeds are enclosed in a woody or papery capsule, wait for it to turn yellow or brown before harvesting its seeds.
While some seeds may continue to ripen if picked too soon, it is always best to let them mature on a plant as long as possible. A ripe seed has a coat that is typically some shade of tan, brown, or black. Unripe seed is white or green in color. If you are unsure, try picking the seed in three or four batches a week or so apart. This way you can compare and note when the seed becomes fully ripe.
When collecting, you can also cut seed open to test viability. Ripe seeds should be filled with white material that is some combination of embryo and the food-storing endosperm that often surrounds it. In unripe seed, this material is milky or watery, and the seed coat that surrounds it will be soft and easily compressed. As the seed matures, the inside becomes firmer, like the flesh of coconut, and the seed coat hardens and is not easily crushed between the fingers. At this stage, the seed is ready for harvest even if the seed coat is not quite fully darkened.
 |
 |
| Since seeds do not ripen uniformly, collect them at various stages of maturity, noting the condition of the seeds as you gather. | |
Separate dried seeds from the chaff
 |
 |
When the “shake” is finished, the seeds settle to the bottom, and lighter pulp and skins rise to the top. He then skims off the top layer and pours the remaining mixture through a strainer.
While some plants like columbines and dodecatheons release their seeds easily from their woody capsules when perfectly ripe, the seeds of many wildflowers require additional drying and cleaning after harvest. One to two weeks in a well-ventilated space should be enough to adequately dry most of them. You can usually hear and feel when the seed is crunchy-dry.
A few tools make my seed preparation easier. I use a rolling pin to crush stubborn seed capsules. For plants like violets, wild geraniums, and Indian pinks that catapult their seeds 10 to 20 feet when ripe, I pick the pods before they are completely mature (but after the seed coats have darkened) and put them in a paper bag, which I keep indoors until they shed. I treat them like microwave popcorn, leaving them in the bag until the popping stops.
I use a set of stackable sieves to separate seed from chaff, capsules, and seed heads. While my set is fairly expensive, a more moderately priced set of sieves with mesh nettings of different sizes can be purchased at any cooking supply store, and these work just as well. A manila file folder is an indispensable tool for catching sieved seeds and for cleaning seeds as well. To clean seeds this way, I tilt a file folder full of seeds and shake it gently. Since many seeds are roundish and heavier than chaff, the seeds roll off, leaving the debris behind.
Remove the pulp from fleshy seeds
The fleshy fruits found on some woodland wildflowers are designed to entice birds, reptiles, or mammals to eat the fruit, digest the flesh, and remove any chemical inhibitors present in the pulp or skin that would otherwise retard germination. Since it is unlikely that gardeners will adopt this digestive approach to seed cleaning, there are several alternatives.
The simplest way to remove pulp and inhibitory chemicals is to mash the fruits to break the skins, then let them ferment for a week or two in a dish of water. Once they have soaked, I dump the fermented seeds in a strainer, scrub them clean, then rinse them with water.
Since fermenting seeds can become foul-smelling, a better option is to immerse the seeds in water and use a blender to remove the pulp and skins from the fruit. I used an inexpensive, handheld milkshake or prep blender equipped with a disk blade, like that of a cheese grater, which does not harm the seeds. When the blender stops, the seeds settle to the bottom of the liquid. By filling the blender’s canister several times and gently pouring off the floating materials, I am left with perfectly clean seeds. In addition to removing any chemical inhibitors present in the pulp or skin, the blender’s blades partially wear away the very hard seed coat that inhibits germination in some seeds.
Moisture and temperature affect stored seed
 |
 |
Seeds are alive, so they must germinate and begin photosynthesizing before their stores of energy are used up. Cool temperatures and low humidity are good for seeds because they slow down respiration and keep disease-causing fungi from developing. As a general rule, every 10°F drop in temperature will double the storage life of your seeds. Thus, seeds that might live for one year at 70°F will still be viable after eight years if kept at 40°F, the temperature of most refrigerators. Since temperatures below 32°F may damage some seeds, I never store seeds in the freezer.
The moisture content of seeds also affects longevity, so drying the seeds fully and storing them in breathable containers, like paper envelopes, should suffice. However, some genera like Hepatica, Sanguinaria, Polygonatum, Trillium, and Viola can be plunged into deep dormancy or killed if their moisture content drops below a critical level. I call these seeds hydrophyllic (water-loving), as other terms like recalcitrant or ephemeral are misleading. When kept in moist, cold storage, hydrophyllic seeds can remain viable for years. I experimented with bloodroot seed, which I harvested and immediately sealed in a plastic bag with a handful of slightly damp vermiculite. After three years stored at 40°F, 73 percent of the seed germinated upon sowing in a warm location.
The best way to handle hydrophyllic seeds is to sow them as soon as they ripen. Since many have protracted germination times, I place them in an outdoor cold frame until they sprout. For example, I collect Trillium seed in summer as the fruits begin to ripen, squeeze out the seeds, and sow them in flats outdoors. That way, they spend the fall and winter in cold, wet conditions, and germination takes place the following or second spring. Sow your seeds and store them outside Whether I am planting seeds that will germinate in a few weeks or sit in a flat for several years, I use the same sowing procedure. For a small batch of seed, a 4-inch pot is an adequate container. First, I soak used pots in a solution of 9 parts water to 1 part household bleach and rinse them thoroughly. Once they are dry, I fill them with a sterile soilless seed-starting mix that I buy. I never mix in garden soil or compost, as they make the mix heavy and sodden over time. Since I am typically.
 |
 |
Sow your seeds and store them outside
While some seeds can be planted as soon as they mature, other seeds need more coddling to get them to grow. All of the woodland wildflowers in the chart below have at least one germination code; most have more than one. For example, Heuchera species are both Type A and Type H because they are light-sensitive seeds (H) that should be stored for 6 months before sowing them in spring (A). Actaea seeds are hydrophyllic (*) and have pulp that must be cleaned (G) before they are sown and given cold stratification (B).
|
Botanical name (common name) and germination code
|
Zone
|
Germination codes |
| Aconitum uncinatum (wild monkshood) B* | 5-8 |
Type A – Once cleaned, these seeds should be kept in cool, dry storage for 2 to 6 months, then sowed at room temperature under lights or outdoors in spring. (Storage allows after-ripening, a process important for good germination.) Type B – These seeds require at least 90 days of moist, cold stratification at temperatures between 25° and 45°F before being moved to a warm location to germinate. Type C – These seeds require multiple cycles of cold and warm temperatures to germinate—typically 90+ cold days followed by 90+ warm days followed by 90+ cold days. Type D – These seeds require a period of 60 to 90 warm days followed by 90 cold days. Type G – The pulp or skin of these types of seeds contains chemical inhibitors that must be removed for the seed to germinate. Sowing seed still encased in fruit will delay germination markedly. Type H – These types of seeds are light sensitive and will germinate only when sown at or near the soil surface and kept in a bright spot. Type I – The seed coats of these types of seeds are impermeable to water. The seed coat must be worn down or abraded (scarified) for the seed to germinate. Type J – Some small seeds and most fern spores are what I call moss germinators, which require even moisture and high relative humidity until they are well established. Moss germinators are best surface sown and put in a sealed plastic bag under fluorescent lights until they are large enough to be carefully weaned outdoors. Type * – Hydrophyllic species cannot be allowed to dry out after harvest. They should be sown when ripe and left outdoors for the winter, or stored in plastic bags filled with damp vermiculite and chilled for 3 months prior to sowing.
|
| Actaea species (red baneberry) B*/G | 2-8 | |
| Allium tricoccum (wild leek) C | 3-8 | |
| Anemone quinquefolia (wood anemone) D* | 3-8 | |
| Anemonella thalictroides (rue anemone) D* | 4-9 | |
| Arisaema triphyllum (Jack-in-the-pulpit) B/G | 3-9 | |
| Aruncus dioicus (goat’s beard) A/H | 4-8 | |
| Asarum species (wild ginger) D* | 3-8 | |
| Aster cordifolius (blue wood aster) A or B | 3-8 | |
| Campanulastrum americanum (tall bellflower) B | 4-8 | |
| Caulophyllum thalictroides (blue cohosh) D* | 3-8 | |
| Chrysogonum virginianum (golden star) B* | 5-9 | |
| Cimicifuga species (bugbane, black cohosh) D | 3-9 | |
| Claytonia species (spring beauty) D* | 2-9 | |
| Clintonia umbellulata (speckled wood lily) C/G* | 4-8 | |
| Cornus canadensis (bunchberry) B/G | 2-6 | |
| Dicentra species (wild bleeding heart) B* | 3-9 | |
| Disporum species (fairy bells) B*/G | 4-8 | |
| Epigaea repens (trailing arbutus) A/H/J* | 3-9 | |
|
Erythronium americanum and E. albidum (trout lily) C*
|
3-9
|
|
| Galax urceolata (galax, wandflower) A/H/J* | 4-8 | |
| Gaultheria procumbens (wintergreen) A/H/J | 2-8 | |
| Hepatica species (hepatica) D* | 3-8 | |
| Heuchera species (alumroots) A/H | 3-9 | |
| Iris cristata and I. verna (dwarf iris) B* | 5-9 | |
| Jeffersonia diphylla (twinleaf) D* | 4-9 | |
| Mertensia virginica (Virginia bluebells) B* | 3-9 | |
| Mitchella repens (partridge berry) B/G | 3-8 | |
| Mitella species (bishop’s caps) A/H | 3-8 | |
|
Pachysandra procumbens (Allegheny spurge) B*
|
4-9
|
|
| Phlox divaricata (wild blue phlox) B* | 3-9 | |
| Podophyllum peltatum (mayapple) B*/G | 3-9 | |
| Polygonatum species (Solomon’s seal) C/G* | 3-9 | |
| Sanguinaria canadensis (bloodroot) D* | 3-9 | |
| Solidago caesia (wreath goldenrod) A or B | 3-9 | |
| Spigelia marilandica (Indian pink) B* 4-9 | 3-9 | |
| Stylophorum diphyllum (celandine poppy) B* | 4-8 | |
| Thalictrum dioicum (early meadow rue) B* | 3-8 | |
| Tiarella species (foamflowers) A/H | 3-9 | |
| Trillium species (showy trillium) C* | 3-9 | |
| Viola species (violets) B* | 2-9 |
Whether I am planting seeds that will germinate in a few weeks or sit in a flat for several years, I use the same sowing procedure. For a small batch of seed, a 4-inch pot is an adequate container. First, I soak used pots in a solution of 9 parts water to 1 part household bleach and rinse them thoroughly. Once they are dry, I fill them with a sterile soilless seed-starting mix that I buy. I never mix in garden soil or compost, as they make the mix heavy and sodden over time. Since I am typically sowing large numbers of seed, I follow the same procedure but sow the seeds in large flats instead of pots.
I sow most seeds in late fall when temperatures fall consistently below 50°F (around Thanksgiving in the Boston area). Since I sow the seeds of all but moss-germinating species (Type J, see chart) outdoors, I cover all my flats with a layer no more than 1/4 inch deep of coarse, washed sand.
To wash sand, I fill a 5-gallon bucket half way with builder’s sand and run a garden hose into it. The fine silt will float off and leave the coarser sand behind. A layer of washed sand on top of a flat helps protect seed from being displaced by raindrops and may cut down on damping-off diseases.
Once the seeds are sown, I carefully record the species, the origin of the seed, and the sowing date on a label, in pencil rather than ink. I make sure I tuck the labels down inside the wall of the pot or the flat, as crows take a peculiar delight in pulling out any labels left visible. I place my flats in a cold frame covered with insulation (a piece of rigid Styrofoam insulation held down with ropes and bricks works well). If you live in USDA Hardiness Zone 7 or warmer, insulation is not necessary. I uncover the cold frames as soon as night temperatures remain above 25°F, and the seeds begin to sprout slowly. With a few exceptions, if seed has not germinated after two springs, I assume it is dead.
I try not to leave seedlings in a community pot longer than necessary. Woodland species are especially sensitive to root disturbance, and timely transplanting into individual containers as soon as the first leaf or leaves have expanded is far less upsetting to them than waiting until they have gotten larger and tangled with their neighbors. I transplant faster-growing species into plug trays or small pots for a month or so, giving them dilute weekly feedings of liquid fertilizer. In mid-summer, I move them on into 4- or 6-inch pots. I leave slower species like trilliums in their flats for two to three years, until they’re large enough to handle.
I recommend establishing all seedlings in small pots before moving them into their final spot in the garden. If possible, let them stay in their larger pots for another season to give them a good head start. Remember that the woodland is a tough environment, so the bigger and healthier the plants are before moving them there, the better.
Fine Gardening Recommended Products
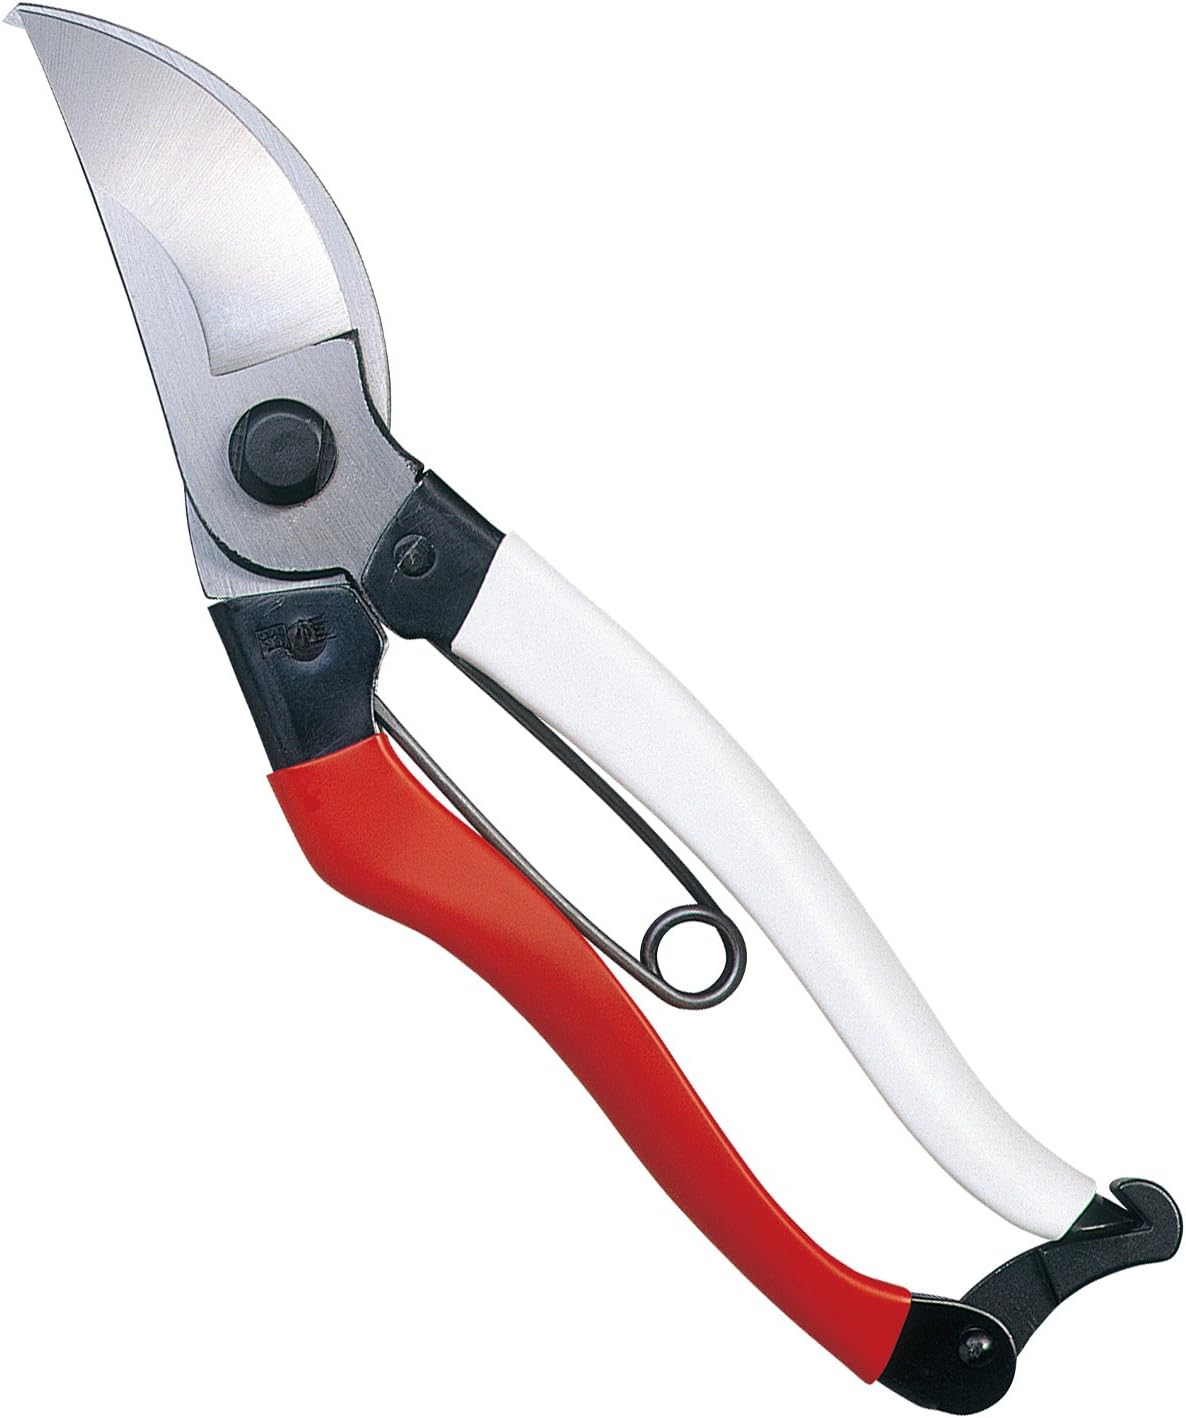
Okatsune 103 Bypass Pruners General Purpose Medium
Fine Gardening receives a commission for items purchased through links on this site, including Amazon Associates and other affiliate advertising programs.
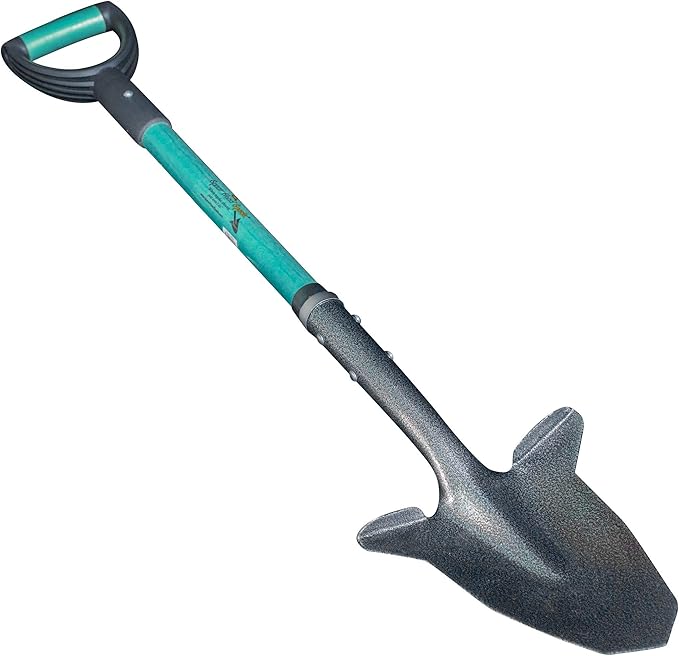
Spearhead Shade Gardening Shovel with Steel-Reinforced Fiberglass Handle
Fine Gardening receives a commission for items purchased through links on this site, including Amazon Associates and other affiliate advertising programs.
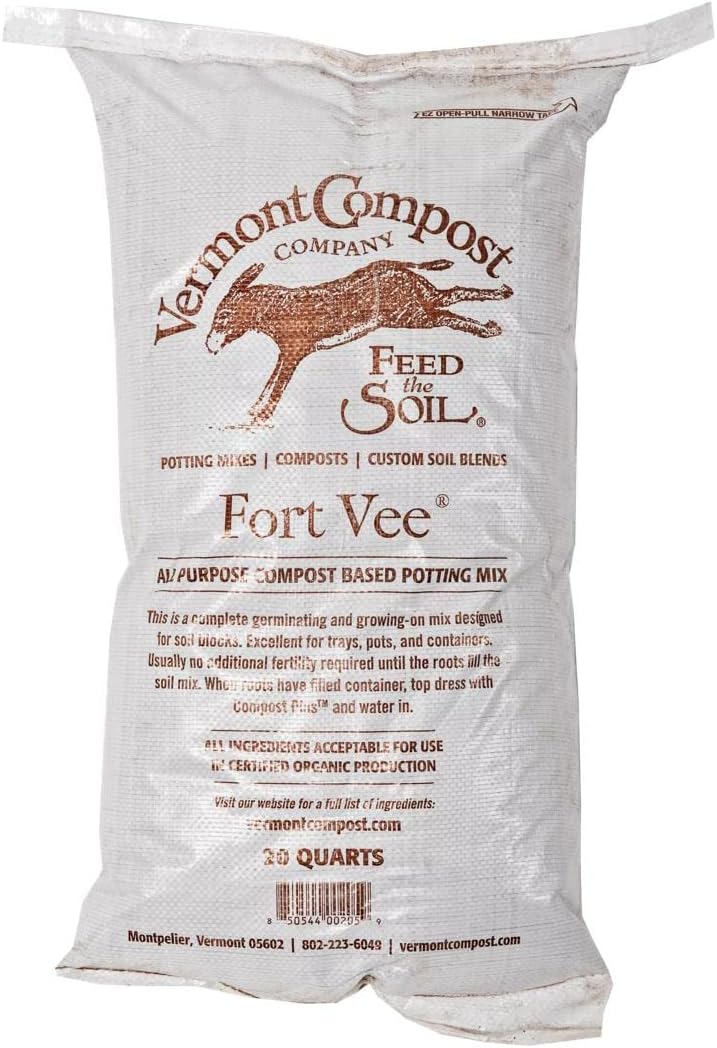
Fort Vee - Organic Potting Soil Mix
Fine Gardening receives a commission for items purchased through links on this site, including Amazon Associates and other affiliate advertising programs.



Comments
Log in or create an account to post a comment.
Sign up Log in