9 Pruning Tips and Tricks
These reader insights will have you pruning like the pros
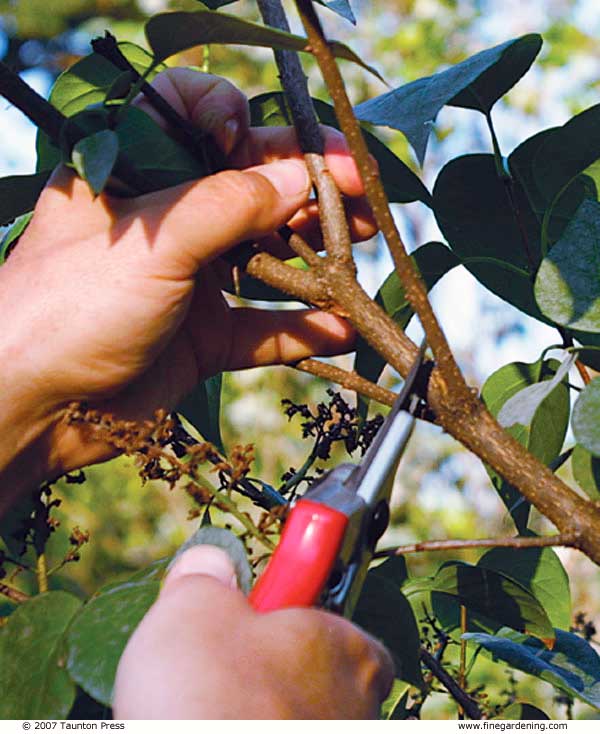
We compiled these nine pruning tips to help you start gardening like the pros. Pruning is a chore, but with these helpful tips, you’ll be done in no time. Learn time savers, functional uses for your discarded branches, good practices for tools, and more! If you need basic information on how to begin, check out this guide to all things pruning.
1. Paint tools to find them easier

I used to lose my tools in the garden when I would put them down for a moment and walk away. Inspired by the vermillion grips of my hand pruners, I paint bands of bright colors around the handles of my tools as soon as I buy them. Any bright color that doesn’t blend with foliage or soil is easily spotted from afar, and my tool shed is a lot cheerier!
Yvonne Savio; Monterey, California
2. Barbecue tongs
Protecting my hands and arms from thorns while pruning my roses isn’t easy. I find that the heavy-duty gloves I’ve tried are not flexible enough and make it hard for me to use my pruners. Now I use regular gloves, but I also use a pair of long, metal barbecue tongs to safely but gently hold branches out of the way with one hand while I prune with the other.
Irene Moretti; Ridgeville, Ontario
3. Bargain pruners
I have a variety of hand pruners, but I find that a pair of light-duty tin snips are far superior to pruners for daily gardening maintenance. They’re lightweight, easy to use, and fit readily in my pocket. They’re less expensive, too, so when I (inevitably) lose them, I’m not as upset.
Mary Finelli; Silver Spring, Maryland
5. Mark cane roses before pruning
It can take a long time to get ready to prune all of our climbing roses. As I select which canes to prune, I put a clothespin on each one that will be removed. This helps me to quickly find the canes again when I prune. Clothespins painted with bright neon paint are especially easy to spot.
Sheila Robertson; Pitt Meadows, British Columbia
7. Pruner wipes
It’s important to sterilize pruners often, especially when dealing with roses. Instead of lugging around a bottle of alcohol and some paper towels, I take along a pocketful of individually wrapped alcohol swabs. They’re easy to use and even easier to carry.
Linda Hames; Lake Forest, Washington
8. Mow instead of prune
If you planted an ever-bearing red raspberry bush, you can avoid pruning it altogether. Some gardeners are content with just a fall crop from the plant’s year-old canes and simply mow down the plant in late winter. This eliminates the larger summer crop that would have come from the canes the following summer, but it takes less time than pruning. Come spring, new stems will appear and bear another fall crop, and the cycle will repeat itself. If you decide to go this route, wait until the plant is at least three years old so that it can better tolerate the stress of mowing.
David T. Handley; Monmouth, Maine
9. Cleaning sap from pruning saws
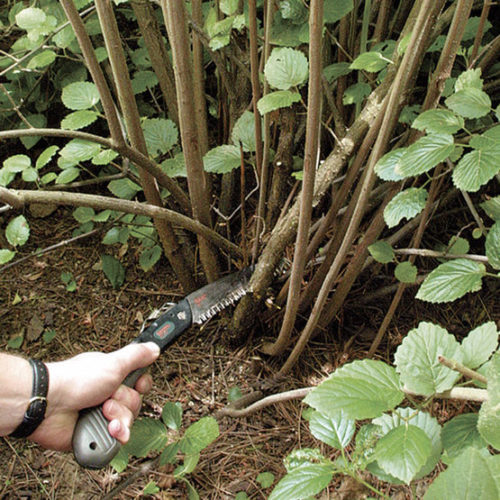
Using a pruning saw on green wood often clogs the teeth with sap and sawdust. The accumulated debris interferes with the cutting action, increasing the effort required to cut a limb. The debris also may trap moisture next to the steel, promoting rust.
The sticky residue can be very difficult to remove, but here’s an easy way to do it. Apply a spray-type oven cleaner to the mess on the saw’s teeth and let it sink in for a few minutes. (Wear gloves when working with oven cleaner, and avoid breathing in the toxic fumes.) Then brush away the dissolved gunk with an old toothbrush. Rinse the saw with water, dry it, and spray it with a little penetrating oil. Your saw will be ready to cut again the next time you are.
Cheryl Wilson; Plainfield, Illinois
We need your gardening tips!
Send your tips to [email protected]. We pay $25 for each tip we publish in the magazine.
Prize for winning tip: A FREE one-year subscription to Fine Gardening.
Fine Gardening Recommended Products
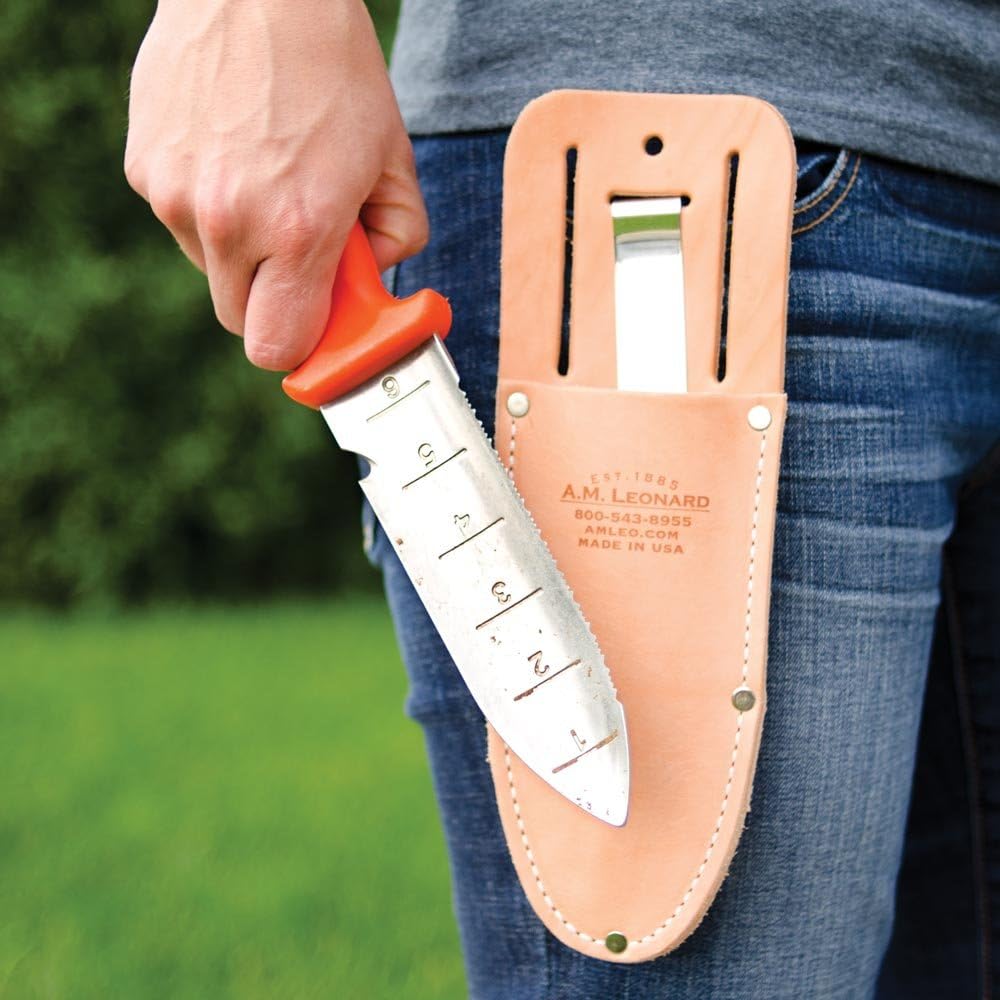
A.M. Leonard Deluxe Soil Knife & Leather Sheath Combo
Fine Gardening receives a commission for items purchased through links on this site, including Amazon Associates and other affiliate advertising programs.




Comments
#9 suggests using oven cleaner to clean sap from saws. There are more earth friendly and healthier ways than using toxic oven cleaner. I believe the cleaner called Simple Green can be used as I use it to clean my table saw blades from pitch from cutting wood. You can search online for "greener" ways than using oven cleaner.
As a tree trimmer, I find lighten them up can really help with growth for the future. The angle at which they are cut also affects the plant. For tree trimming angle it parallel to the brach for a straight cut.
Log in or create an account to post a comment.
Sign up Log in